Hi everybody, welcome back to my site!
Some time ago a friend of mine sent me this link about a photoshop tutorial:
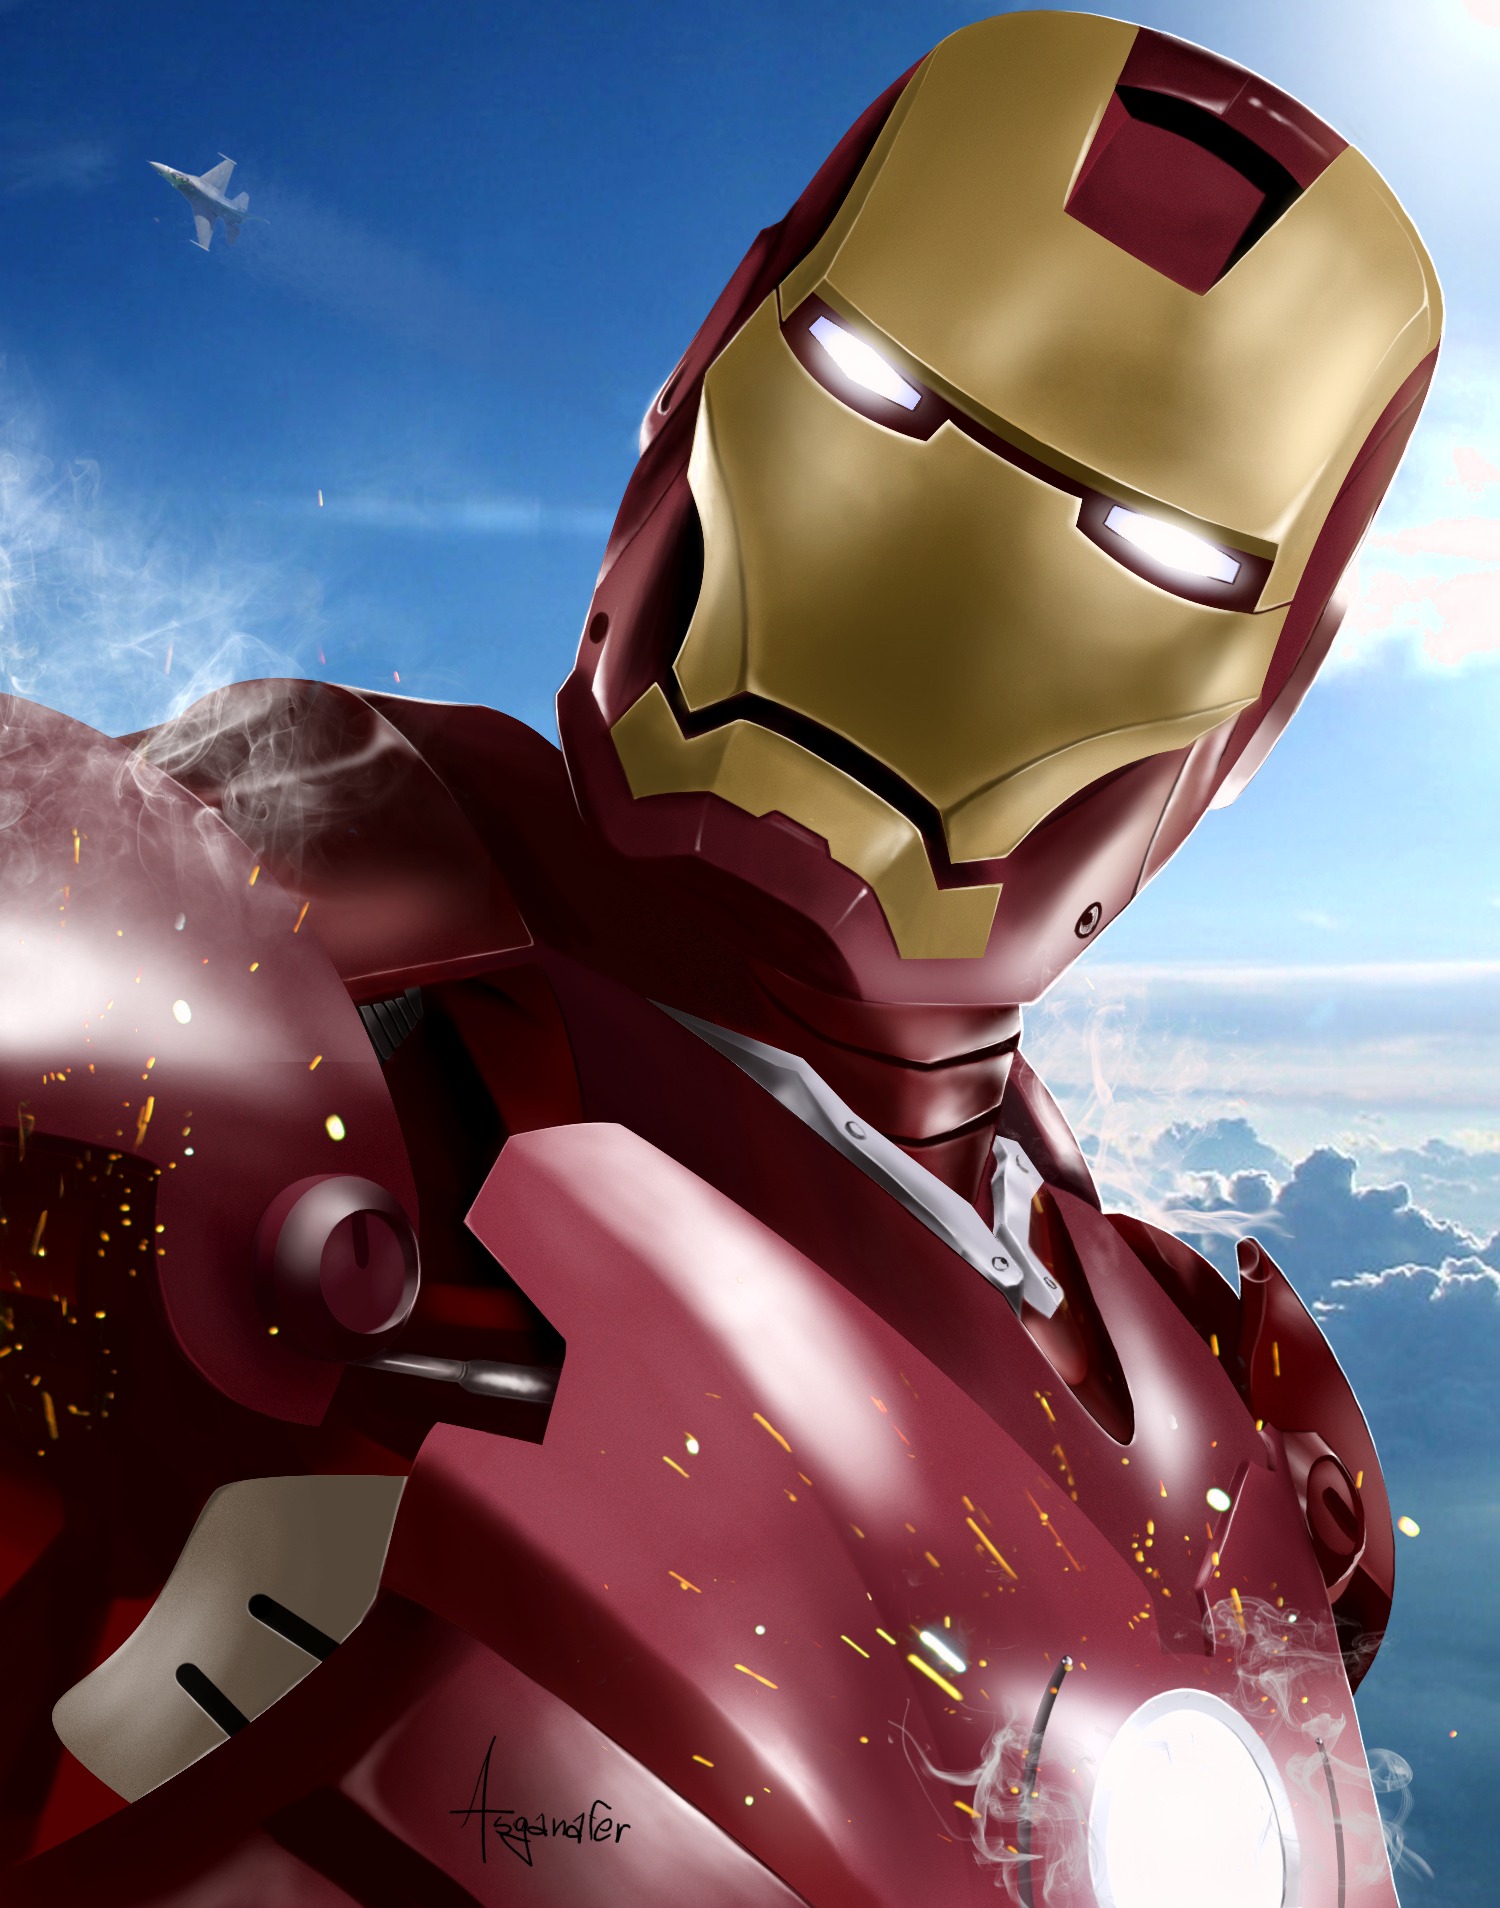
Create Stunning “Iron Man” Fan Art From Scratch in Photoshop
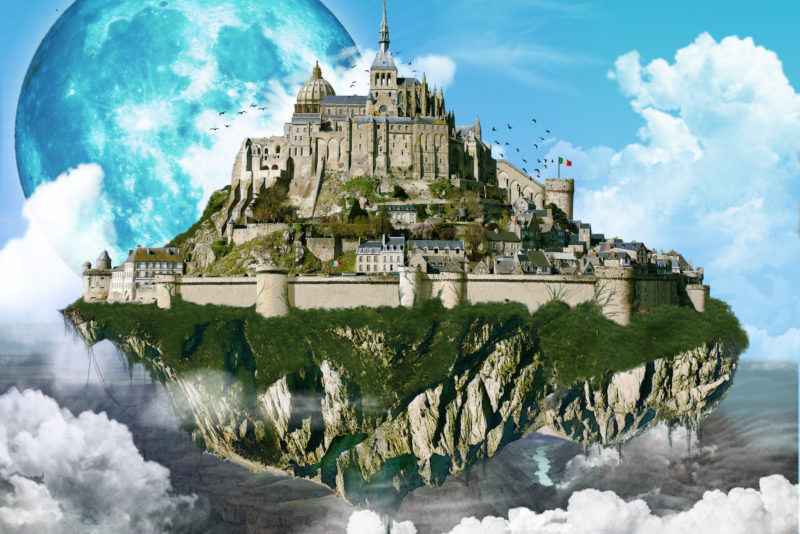
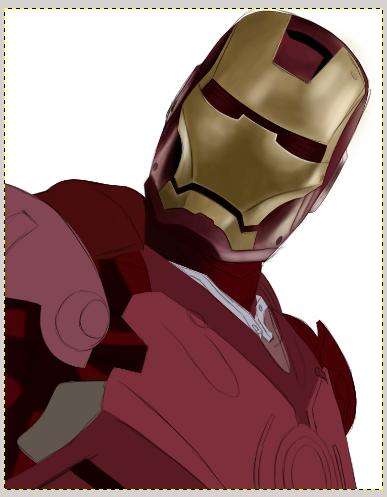
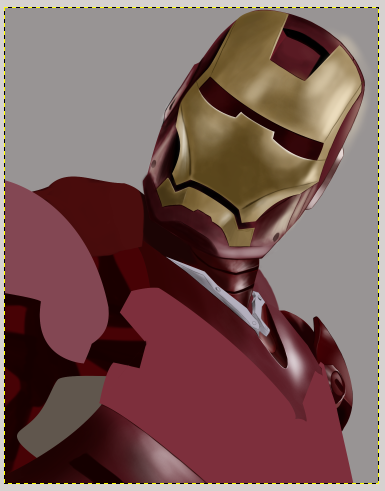
He told me that it was totally impossible to get this result by using Gimp. Challenge accepted! I took my graphics tablet and I opened up Gimp. The outcome is the image you can see below, and in today’s tutorial I’ll take you through the step by step process of creating it.
Before starting, you need to download the following materials:
- Sky
- Spark
- Smoke (To install brushes you can follow this tutorial)
- G’MIC (here you can find the installation tutorial for linux or windows).
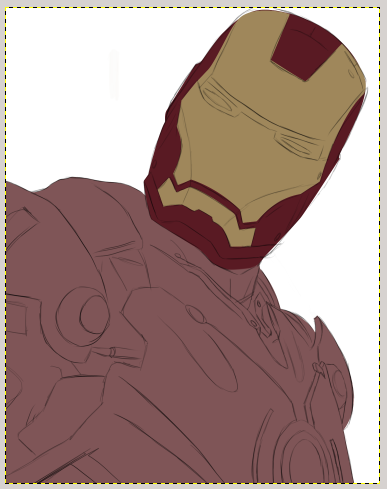
I recommend using the graphics tablet in this tutorial, because working with the mouse only is very difficult in some points. Now we can start! Begin by creating a new document in Gimp and draw a sketch of Ironman over a new transparent layer.
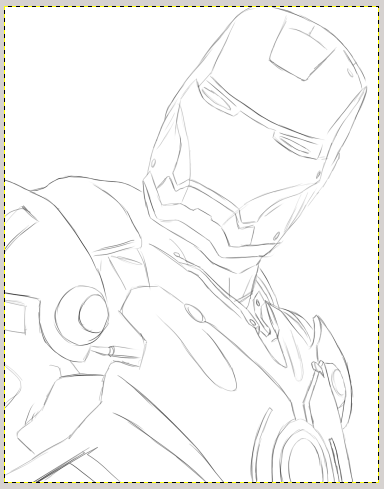
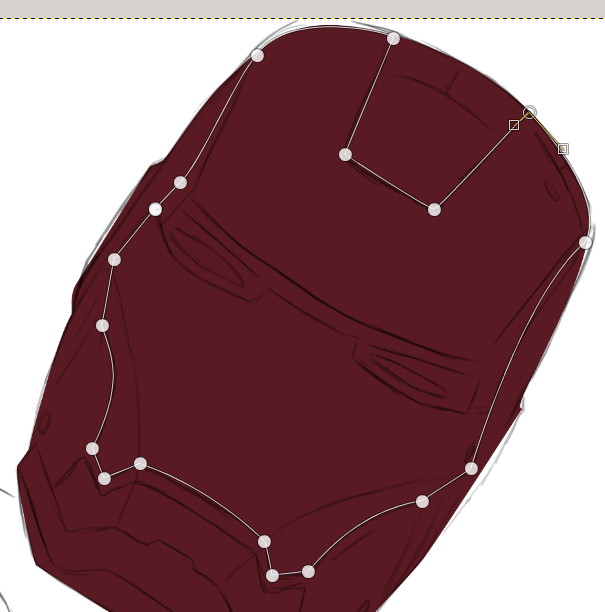
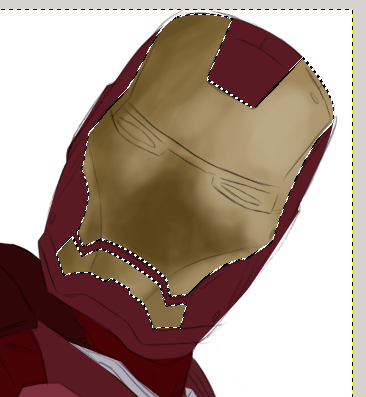
I split the image into 3 big “sections”: the head is in the first section, the body is in the second one and then there is the background. Now start contouring the head using paths tool in this way:

Click Select –> From path to select the whole head. Create a new layer and fill the selection with color #591a23.
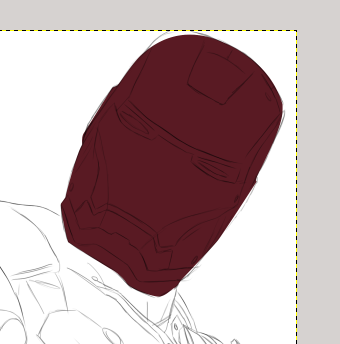
I decided to split the head in two big sections: red zone and gold zone. I recommend creating two layer directories which contain these sections in order not to make a confusion with the numerous layers this project has.
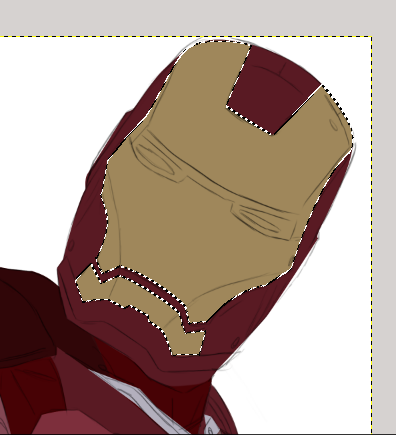
Start drawing from the gold part section, click on Paths Tool and delineate the gold traits of the mask.
Repeat the process and fill the selection with color #9f875b.
At this point the two sections of the head are delineated. Now you must do the same process on the body. Create a layer directory named “Body” and create 8 layer directories inside it.
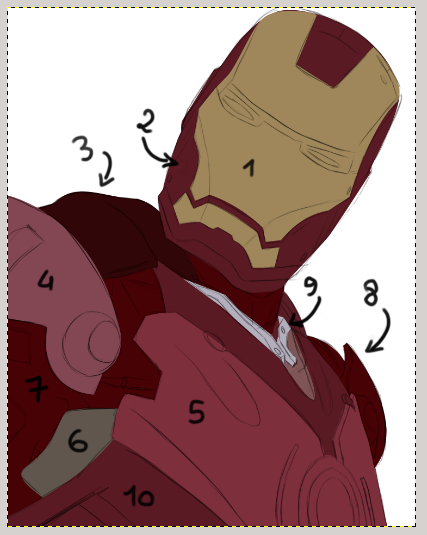
In the image below there are some numbers: each number corresponds with a section of the body. Define the areas with Path Tool and fill them with the colors on the list:
Section 3 –> #300608
Section 4 –> #834753
Section 5 –> #7d2f3c
Section 6 –> #60564d
Section 7 –> #470205
Section 8 –> #470205
Section 9 –> #b3afbd
Section 10 –> #591a23
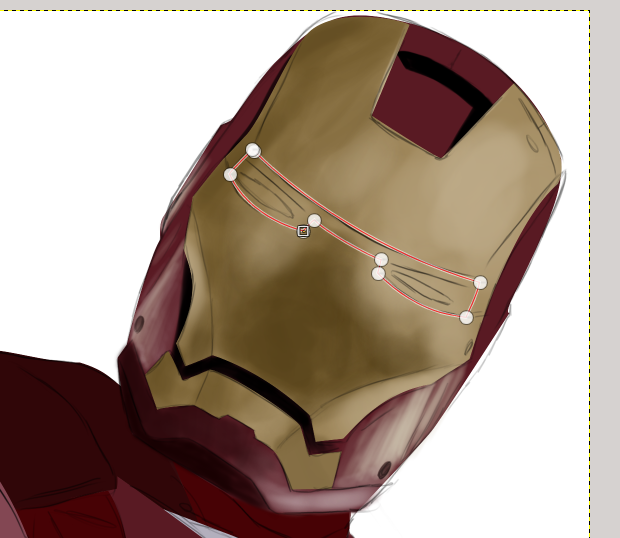
Now you can start defining lights and shadows of the head. Light will come from top – right, knowing this particular is essential. Right – click on the gold mask layer and select Alpha to Selection.
I suggest you to create two layers for each section: one for lights and one for shadows. Create the two layers in this section and define shadows with color #5b461d.
Draw a shadow over the red section of the head using black color with 80% opacity. Soften the right side of shadow with Blur Tool.
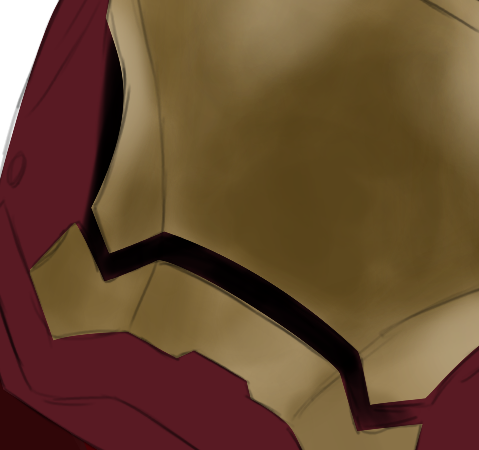
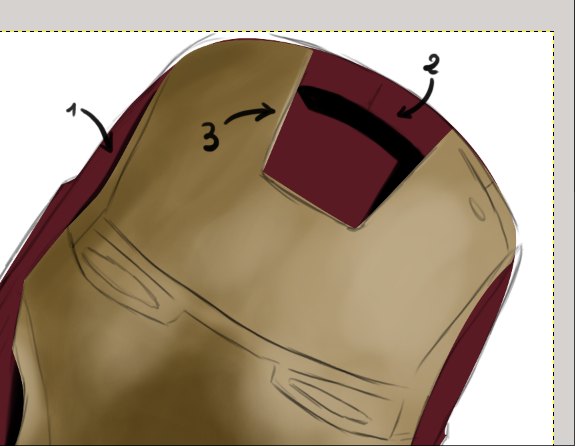
Continue with black color ( set up like before ) and define two shadows on the red zone (1 and 2 ), and a small light on gold section ( white color, opacity 30% – point 3 in the image ) to define border.
Define che main light of the red section using Brush Tool with these settings: white color, 30% opacity.
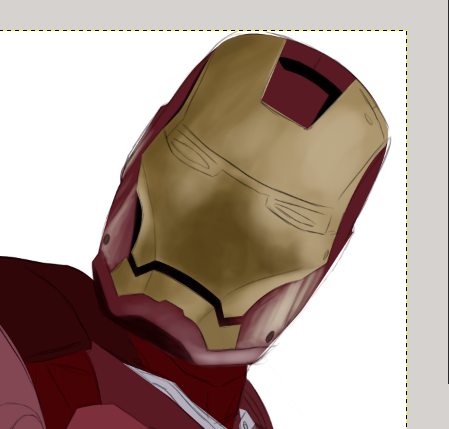
In this step you will learn how to draw eyes slots! Create a layer mask on the gold section, click Path Tool and define the borders of the slot.
Click on Select –> From Path, then invert the selection and add a layer mask ( layer mask mode on “selection” ).
Continue defining the face shadows ( the main areas are highlighted in the image ).
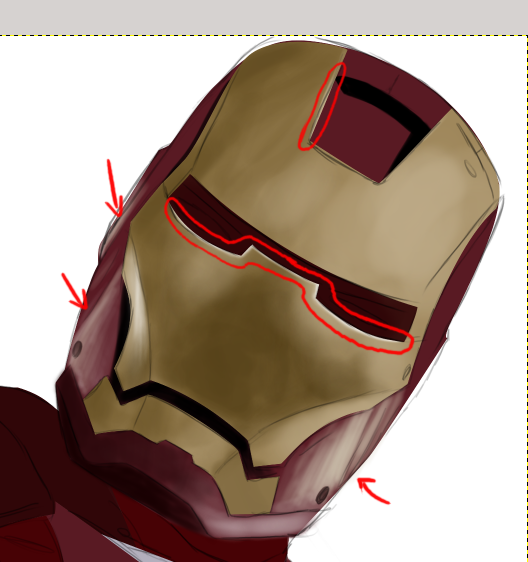
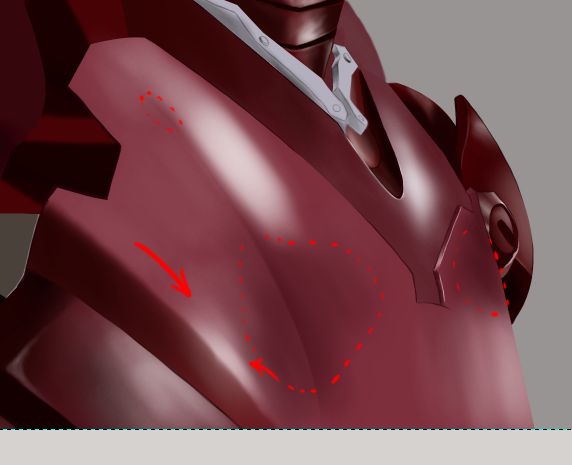
Now we are going to add other shadows and redefine lights.
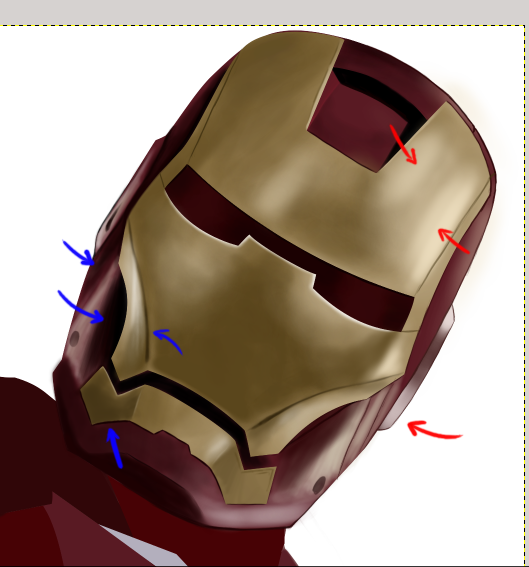
Blue arrows are for shadows, and red arrows are for lights. Start blurring lights and shadows with Blur Tool.
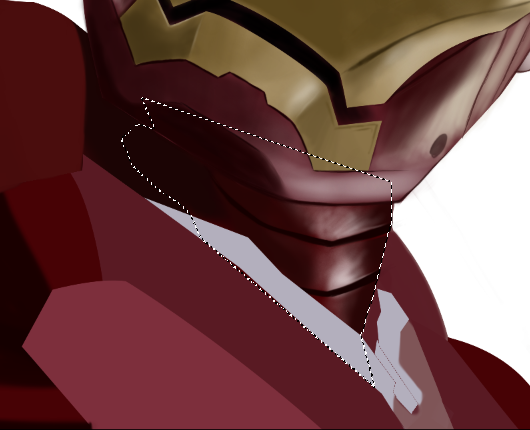
It’s time to better define the body! First start delineating the principal lines of the body (section #7 ) with color #1a0000, then add shadows on the neck ( Section #3 ) with the same color.
Take the free select tool and follow the border of neck: in this way you don’t have to worry about the borders while you are defining lights.

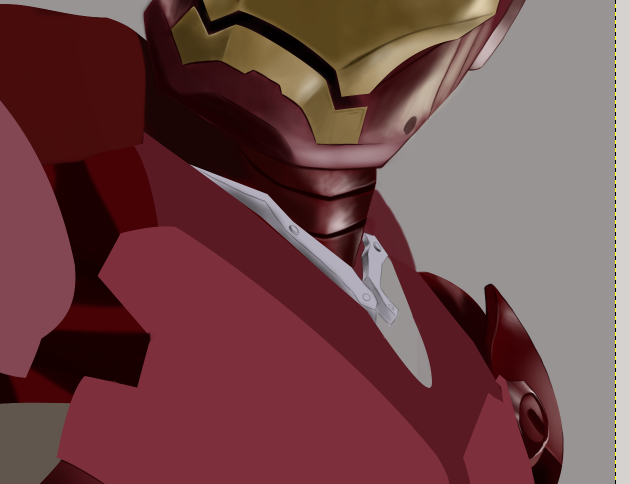
As we did for every section, create a new layer named “Light” and define reflection.
Let’s pass to the shoulder! You just have to repeat the process used for the head. The base color is already defined, so take Brush Tool with color #1d0102 for shadows ( opacity 40% ) and white for lights. The weaker lights get, the lower brush opacity we use.

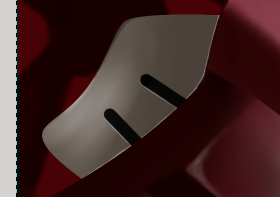
Create a new layer in section #9 to better define the grey hooks borders. Apply shadows ( on a new layer ) with color #555256.
Continue with section #10 and create two levels ( lights and shadows ) as usual: we will use white for lights and #320303 for shadows. Dont’ forget that light comes from right.
Repeat the process for Section #5 too.
Now define the shadows using Brush Tool with color #63232e.
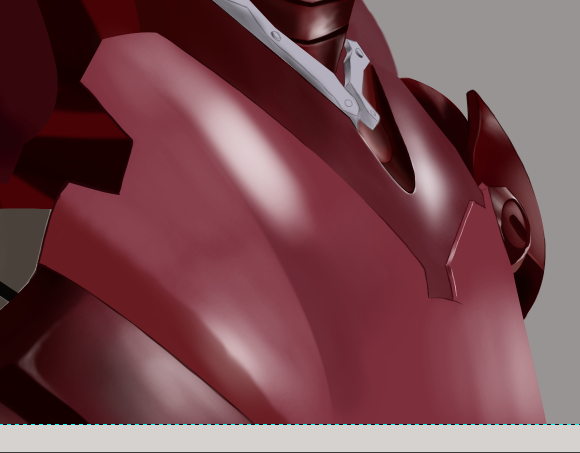
The shadows will be more smoother on the lower right side of the section.
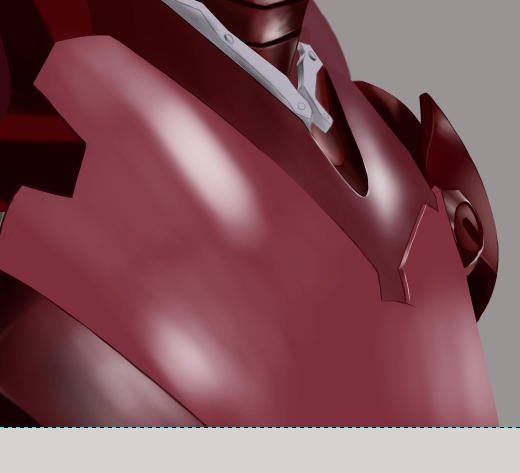
It’s time for Section #6! Like you can see in the image below there isn’t too much work to do. In this case we are going to create 3 layers: two layers for lights and shadows and the third one for light-grey borders.
Configure the settings: white color with 20 of opacity for lights and color #4a423a for shadows.
The first part of this tutorial is finished, don’t miss the next part! ( Next Part here! )
Bye for now!