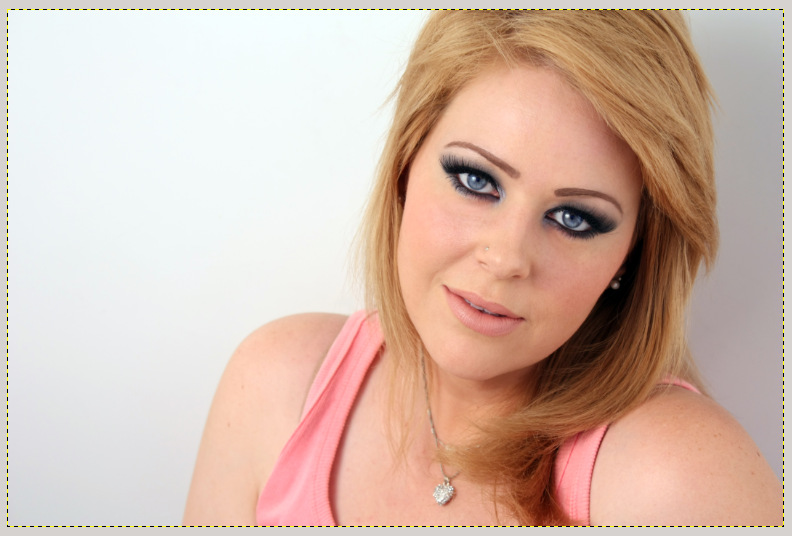
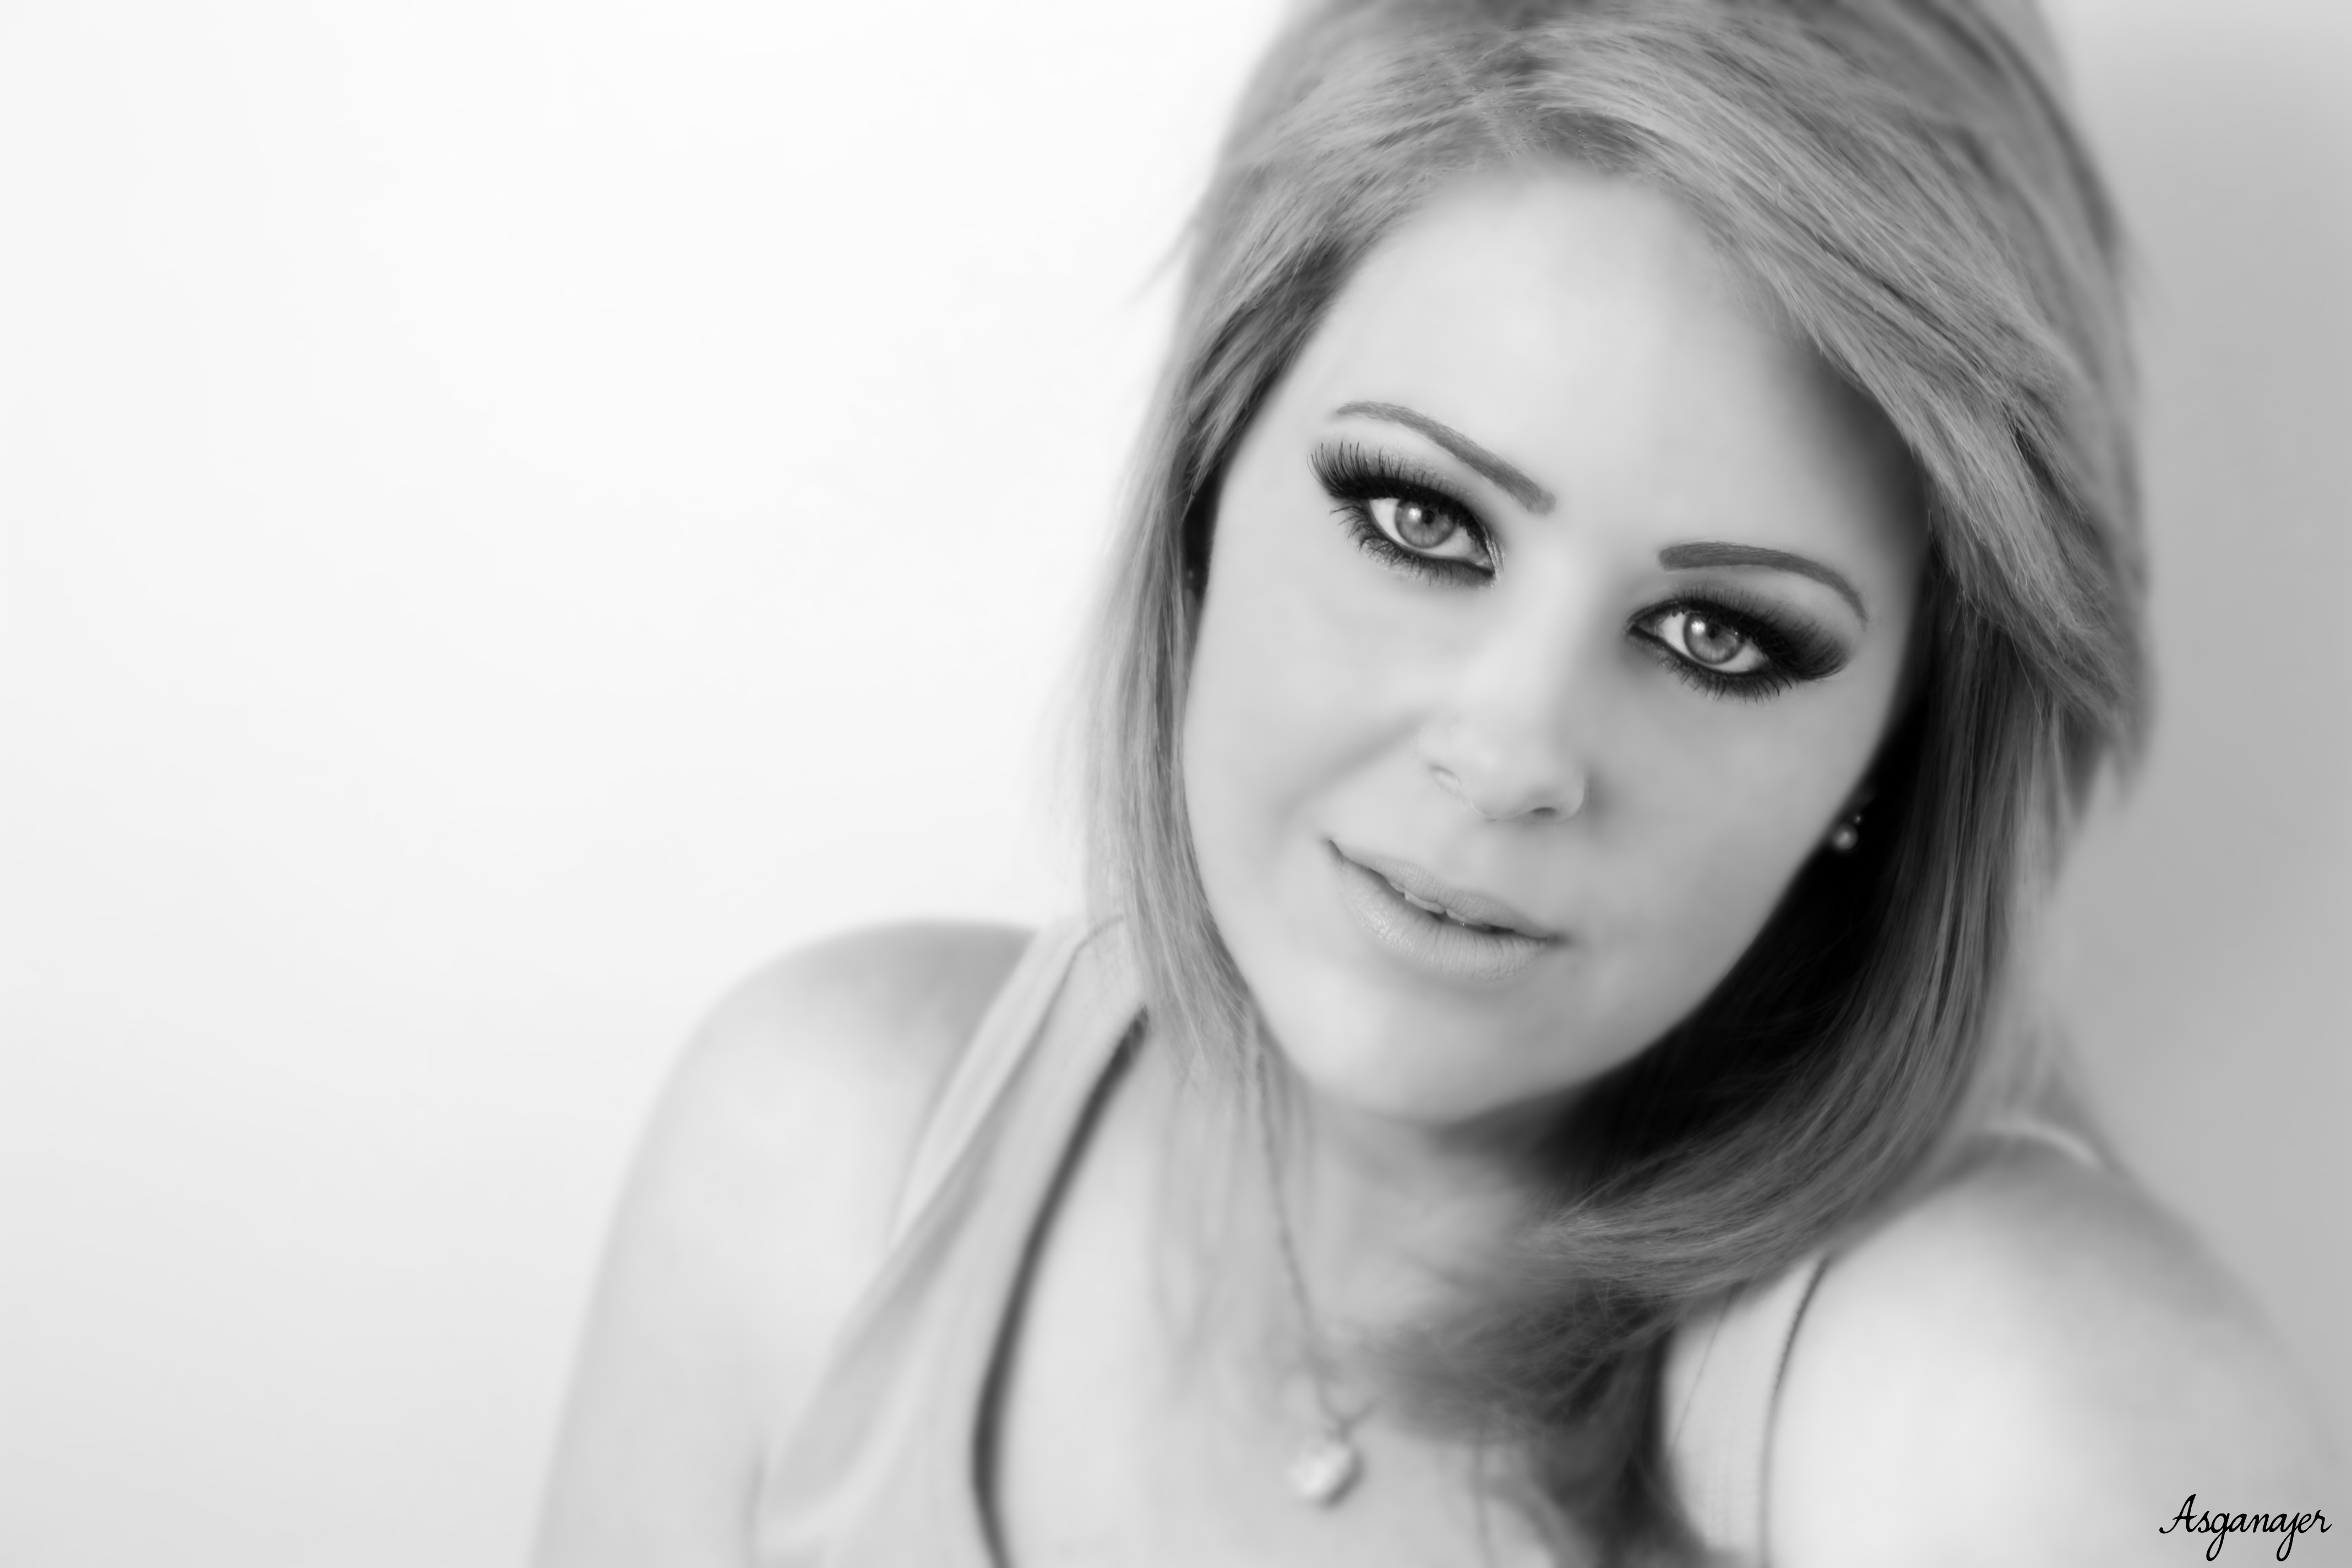
Ciao a tutti e benvenuti in questo nuovo tutorial! 🙂 Quest’oggi vedremo come realizzare un effetto bianco e nero con effetto fuoco, per dare all’immagine un particolare effetto di messa a fuoco. Iniziamo subito: come prima cosa apriamo la nostra immagine.
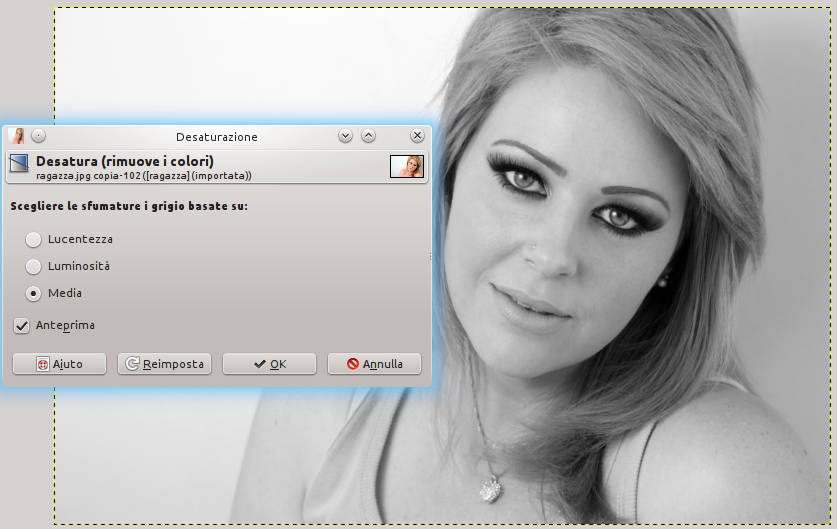
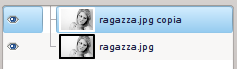
Duplichiamo il nostro livello e sul livello copia facciamo Colori—>Desaturazione
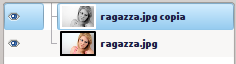
Ci troviamo in questa situazione: il livello originale e il livello in bianco e nero
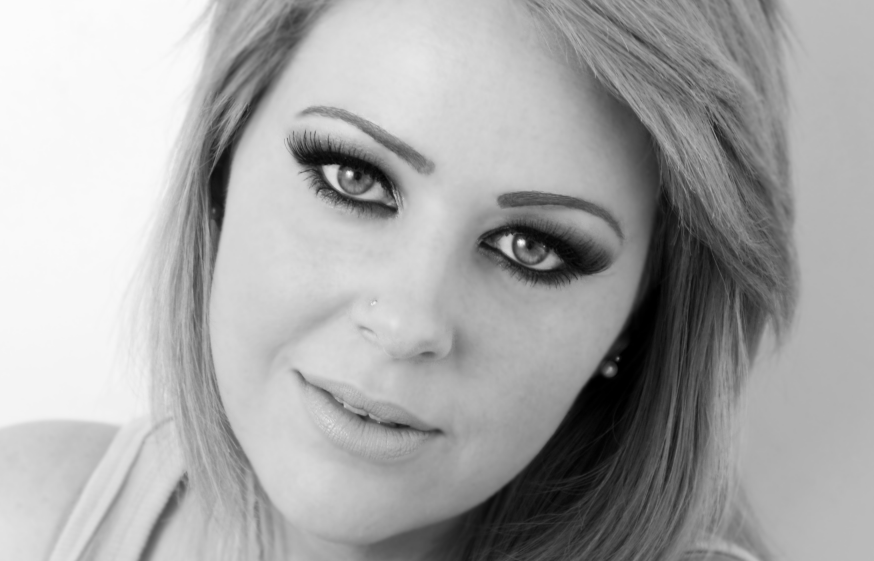
Ora concentriamoci sul livello in bianco e nero. Andiamo su Colori—> Curve in modo tale da regolare i colori dell’immagine (eliminiamo le zone di troppa luce e di troppa ombra.

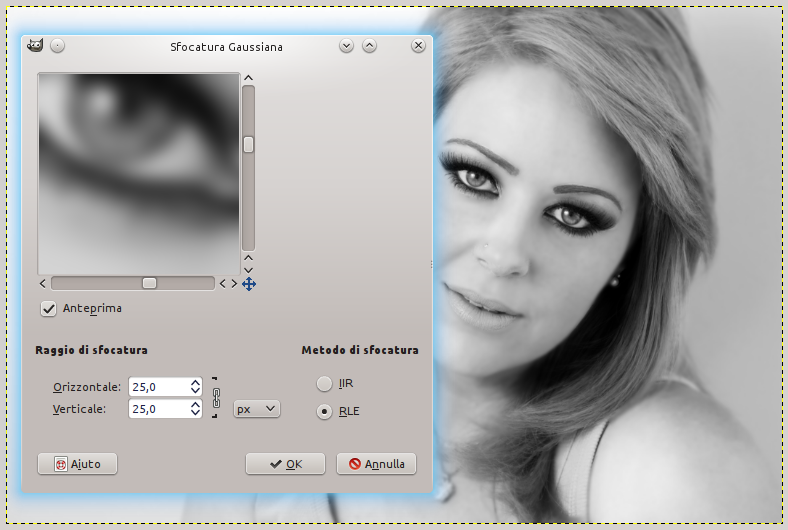
A questo punto duplichiamo questo livello bianco e nero, facciamo Filtri—>Sfocature—>Gaussiana
Aggiungiamo una maschera di livello al livello sfuocato
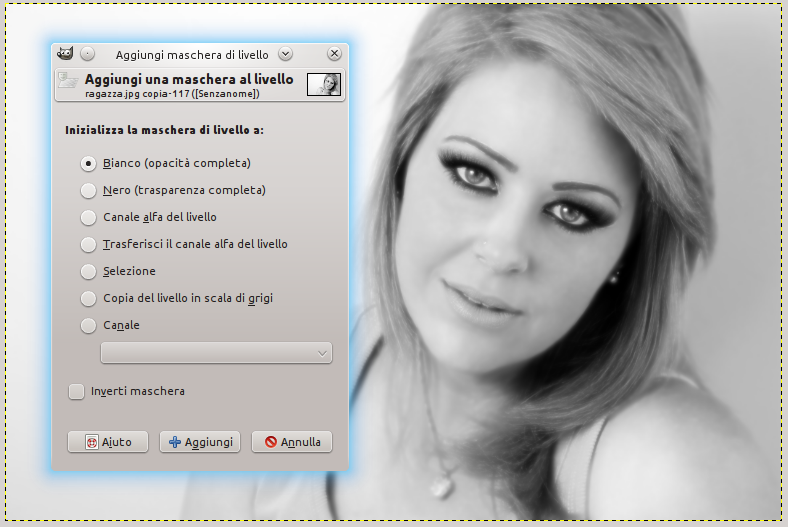
Con il pennello andiamo a colorare la zona degli occhi, del naso, della bocca e dei capelli subito adiacenti al viso (quindi tutto eccetto quel che abbiamo colorato risulterà sfuocato).
Creiamo un nuovo livello chiamato “luci” sopra a tutti gli altri.
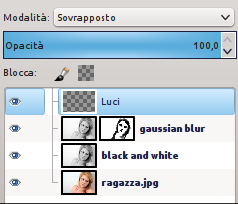
Selezioniamo lo strumento pennello, opacità al 60% e modalità del livello su “sovrapposto“: andiamo a colorare le zone del viso da dove arriva la luce in modo da ottenere un effetto simile a questo:
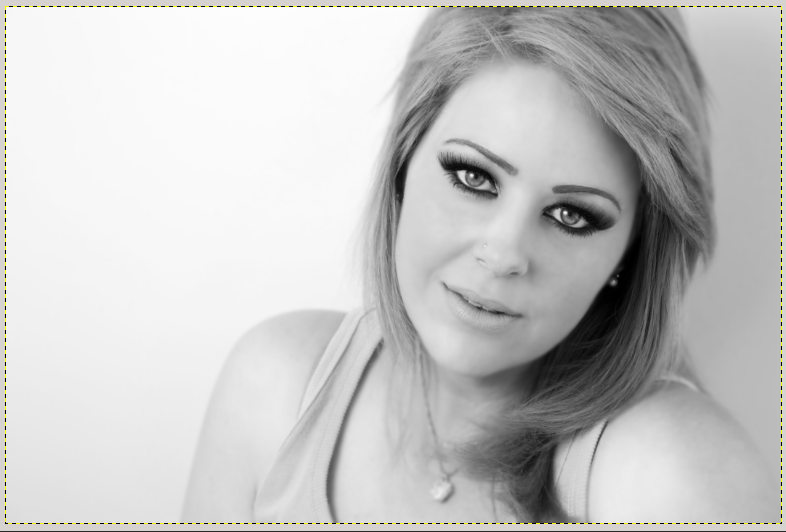
Ora facciamo la stessa cosa ma con il colore nero per evidenziare le ombre ed evidenziare il contrasto:

La prima parte di questo tutorial è conclusa. Premiamo CTRL+D e vedremo che su Gimp verrà duplicato il nostro lavoro. Uniamo tutti i livelli del disegno (vi faccio duplicare il disegno in modo tale che se vorrete modificare qualcosa della prima parte potrete sempre ritornare indietro facilmente).
Una volta che tutti i livelli sono uniti duplichiamo il livello
Come abbiamo fatto ad inizio tutorial facciamo Filtri—>Sfocatura—>Gaussiana con 25px come raggio di sfocatura.
Tasto destro sul livello—> Aggiungi maschera di livello
Andiamo ad eliminare la sfocatura in corrispondenza delle zone più dettagliate. Per quanto riguarda i capelli andiamo a mostrare solamente la ciocca frontale di capelli.
L’effetto finale sarà questo:

22 thoughts on “Effetto focus bianco e nero”
brain ammo . 18 Dicembre 2014 at 0:38
Thanks for finally talking about > Effetto focus bianco e nero
| Il sito dell’OpenDesign < Loved it!
Eyederm X facts . 18 Dicembre 2014 at 13:09
Good day! I could have sworn I’ve visited this site
before but after browsing through many of the articles I realized it’s new to me.
Nonetheless, I’m certainly delighted I found it and I’ll be bookmarking it and checking
back regularly!
svelme . 19 Dicembre 2014 at 1:38
Thanks for sharing your thoughts on skin type. Regards
skincentric . 19 Dicembre 2014 at 2:15
Superb post however I was wondering if you could write a
litte more on this subject? I’d be very grateful if you could
elaborate a little bit further. Appreciate it!
Asganafer . 19 Dicembre 2014 at 16:31
What did not you understand? 🙂
ตุ๊กตาหมี . 19 Dicembre 2014 at 5:01
You need to take part in a contest for one of the most
useful sites on the net. I will highly recommend this website!
Asganafer . 19 Dicembre 2014 at 16:32
Thanks 🙂
www.Youtube.Com . 19 Dicembre 2014 at 5:04
It’s going to be finish of mine day, except before finish I am
reading this fantastic post to increase my know-how.
Here is my site … http://www.Youtube.Com
Paleo Diet . 19 Dicembre 2014 at 5:07
Admiring the commitment you put into your site and in depth information you provide.
It’s awesome to come across a blog every once in a while that
isn’t the same unwanted rehashed information. Fantastic read!
I’ve saved your site and I’m adding your RSS feeds to
my Google account.
Asganafer . 19 Dicembre 2014 at 16:33
Fantastic! 🙂
SEO Sydney . 19 Dicembre 2014 at 5:08
Hi there, just became aware of your blog through Google, and
found that it is truly informative. I am going to watch out
for brussels. I’ll appreciate if you continue this in future.
Many people will be benefited from your writing.
Cheers!
Cheap Michael Kors Bags . 19 Dicembre 2014 at 5:20
Many thanks very helpful. Will share site with my pals.
more from : Cheap Michael Kors Bags
male enhancement . 19 Dicembre 2014 at 6:30
What’s up to all, it’s really a pleasant for me to go to see this site, it contains valuable Information.
Dermangelie facts . 19 Dicembre 2014 at 12:54
excellent post, very informative. I’m wondering why the other experts
of this sector don’t realize this. You must proceed your writing.
I am confident, you have a huge readers’ base already!
Asganafer . 19 Dicembre 2014 at 16:39
Thanks! 🙂
Ketona Slm . 19 Dicembre 2014 at 19:08
Hey There. I found your blog using msn. This is an extremely well written article.
I will be sure to bookmark it and come back to read more of your useful information. Thanks for the post.
I’ll certainly return.
Ugg España . 19 Dicembre 2014 at 20:42
Thanks , I have just been searching for info approximately
this topic for ages and yours is the greatest I’ve found out so far.
Ale Ferox . 19 Dicembre 2014 at 23:40
I every time used to read post in news papers but now as I am a user of internet thus
from now I am using net for articles or reviews, thanks to web.
Nu Cambo . 20 Dicembre 2014 at 5:16
This is a great tip especially to those fresh to the blogosphere.
Short but very precise information… Many thanks for sharing this one.
A must read post!
Rage DNA facts . 20 Dicembre 2014 at 11:22
Wow, wonderful weblog structure! How long have you ever been blogging for?
you made blogging glance easy. The overall look
of your website is fantastic, as well as the content!
Java . 15 Novembre 2015 at 0:28
Your style is very unique in comparison to other folks I have read stuff from.
Thanks for posting when you’ve got the opportunity, Guess I’ll just book
mark this site.
Dreamer9456 . 20 Giugno 2017 at 2:17
I just want to mention I am very new to blogging and site-building and seriously savored your web site. More than likely I’m going to bookmark your site . You certainly have fantastic articles. Thanks a lot for sharing your website page.
Comments are closed.