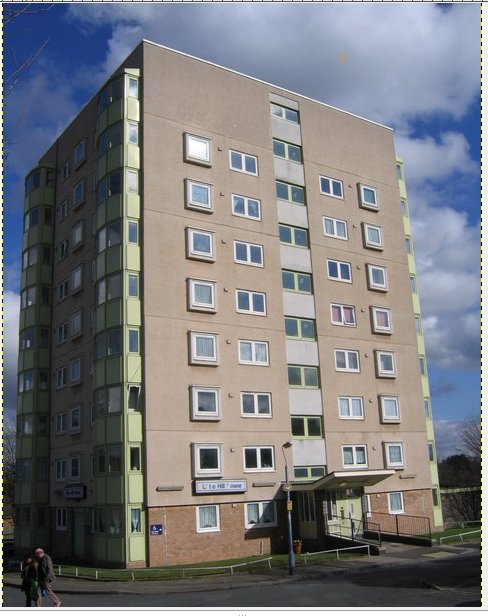
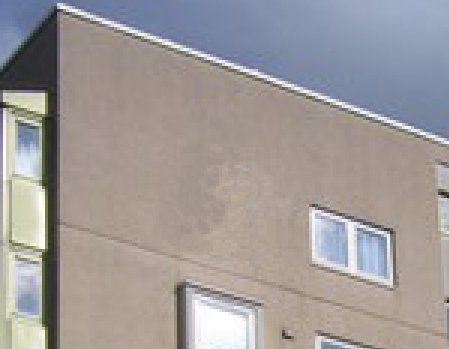
Today you will learn how to use the clone tool: it is a cylindrical brush, that replaces information for one part of a picture with information from another part. Open this image to see an example:
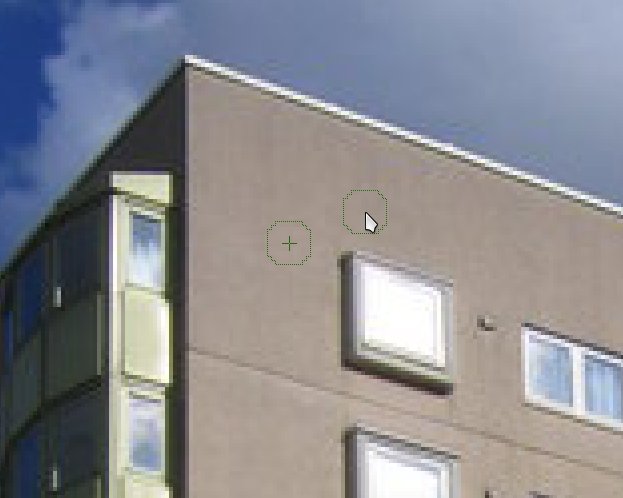
As an example, you can use the clone tool to delete the windows of the last floor. First select the clone tool, then position the curson on a point in the image that will become the pattern of the tool. Once you have chosen the point, keep “ctrl” pressed, and click with the left button of the mouse. In this way the point is blocked and you can start working.
You have different possibilities:
- if you keep the button pressed while you color the image, the point chosen will move together with the cursor (and it will return to the starting point when you release the button);
- if you keep “shift” pressed while you move the cursor, you will see a line, along which the image is reproduced;
- if you want to color using always the same point, only left – click and release.
You can adjust the size of the brush in the menu on the left.
I suggest to start modifying the image with the clone tool using a small brush, then you can choose a bigger one to pass by there again.
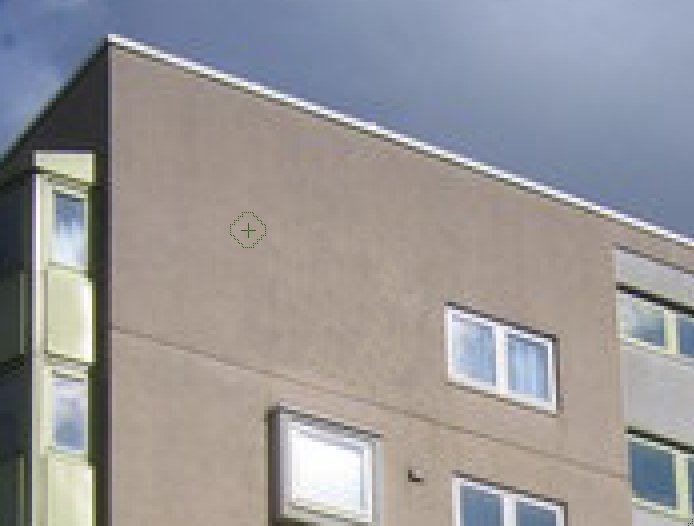
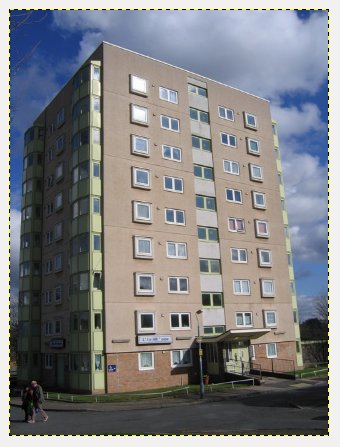
At the end, the block of flats has no window on the eighth floor: