Hi guys,
today I’ll show you how to realize an emblematic image about a man in the face of a big world!
Before starting, you must get these materials:
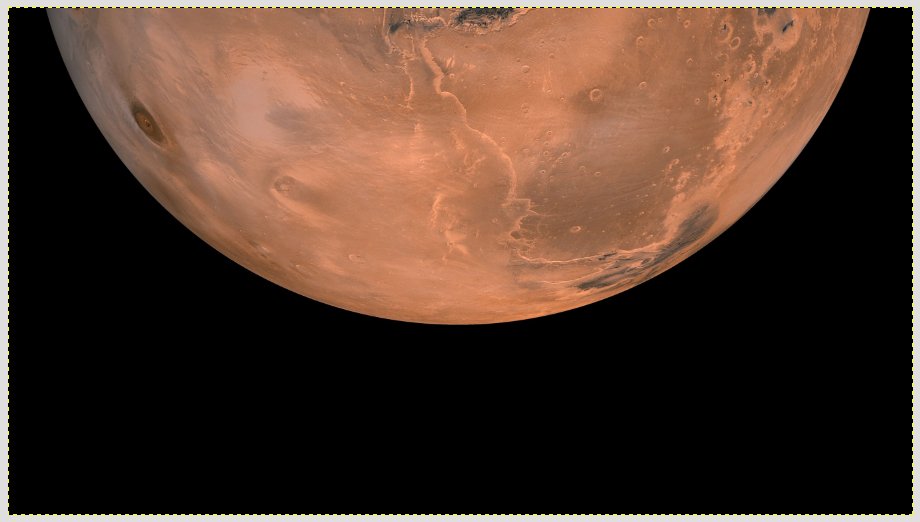
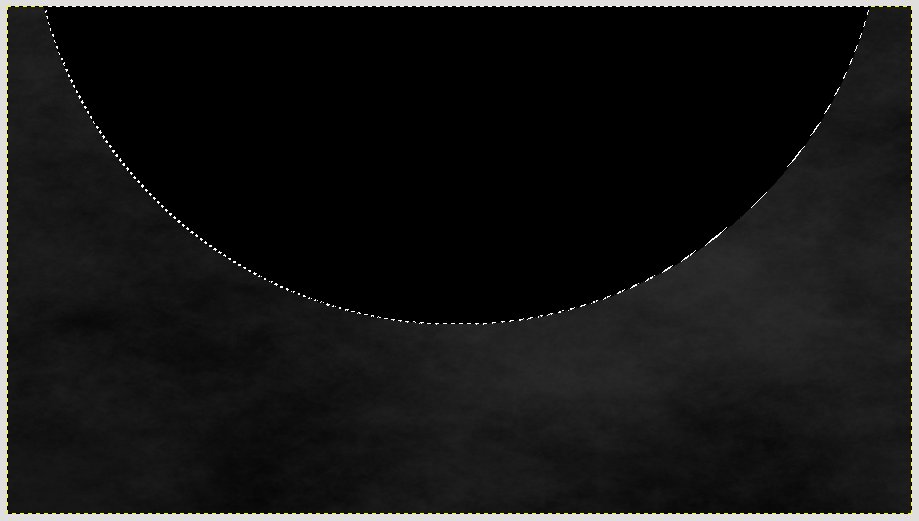
Now you are ready to start drawing! Create a new image ( 2716 x 1524 ) and fill the background with black color. After that, click on File–> Open as Layer and open the planet image just downloaded.
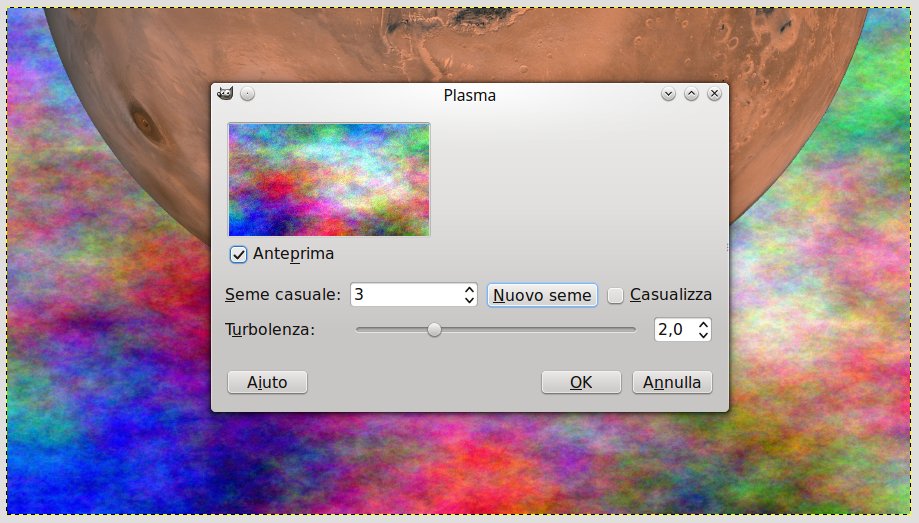
Make a smokey effect between the background and the planet, creating a new layer between these ones, then click on Filter–> Render–> Clouds–> Plasma as in the image below:
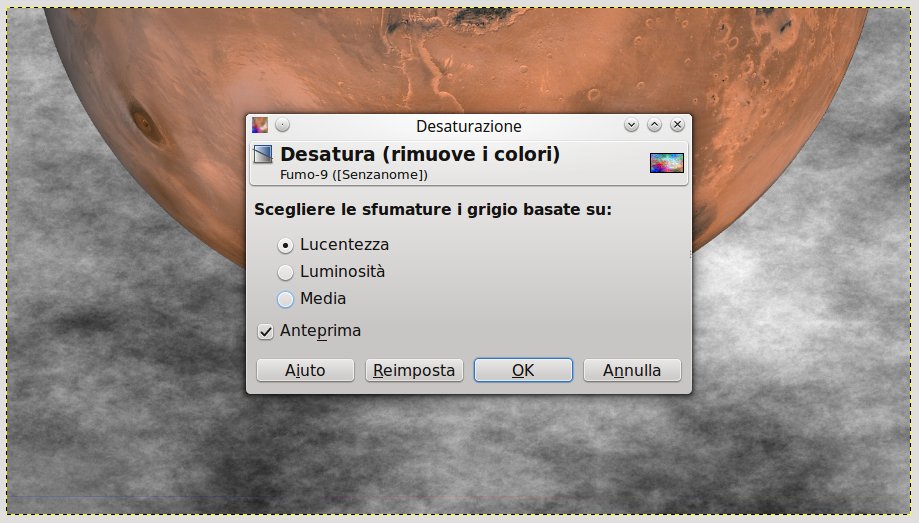
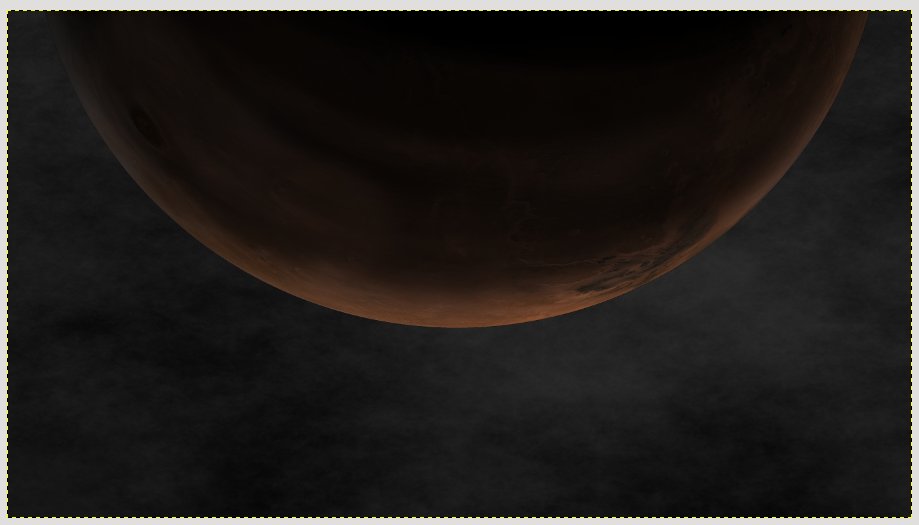
These colors are cool but they don’t fit very well with our tutorial, so proceed with desaturation in menu Color.
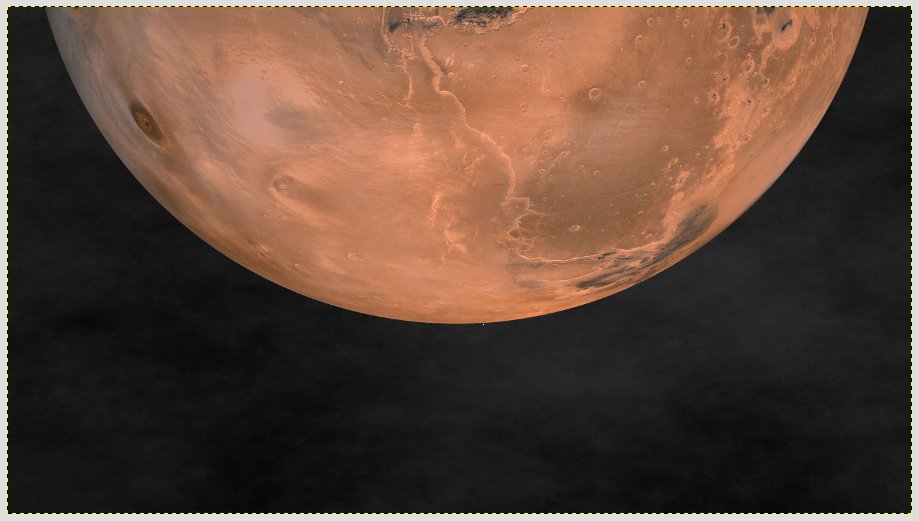
Select smoke layer and change mode from Normal to Sum and set opacity to 60. This will be the result:
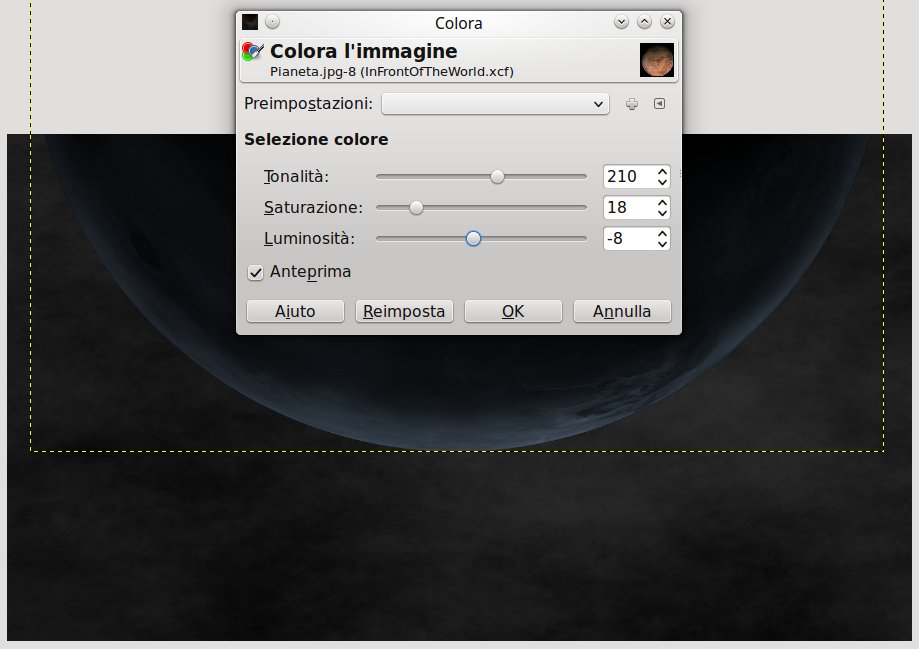
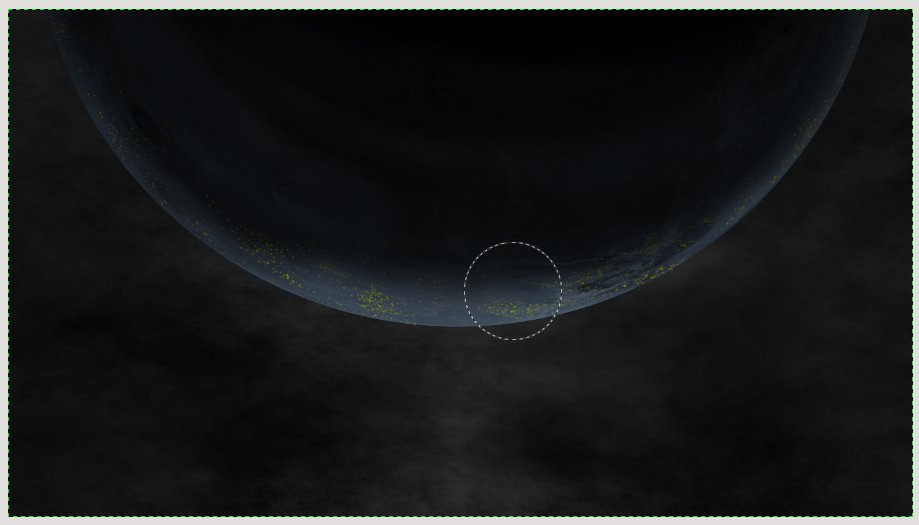
At this point you should make the planet darker, so right – click on the planet layer –> Alpha to selection: be sure that the whole planet is selected. Create a new layer over the planet’s one and blacken all the space with Bucket Fill Tool in order to get this:
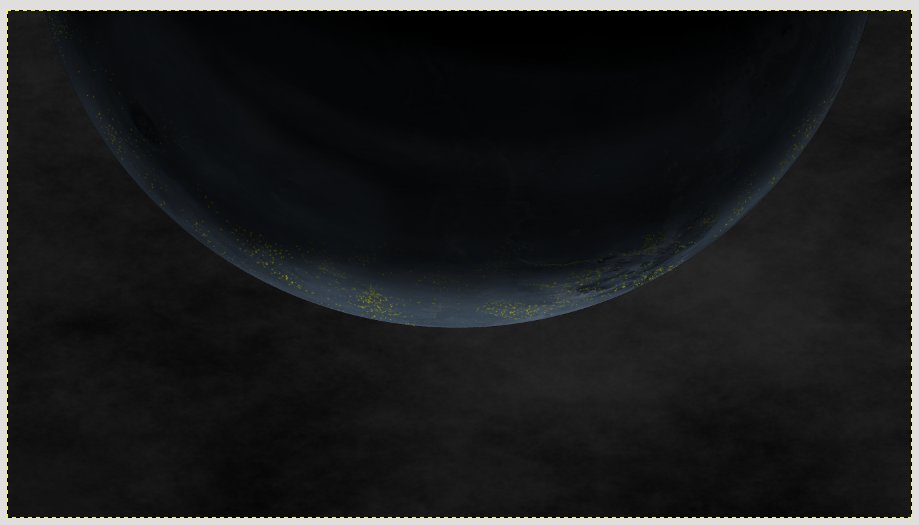
Add a new layer mask ( Right click –> Add Layer Mask –> Blank Full Transparency), take Brush Tool ( white color, opacity 20) and start “scattering” contours. The shade must be stronger in the center.
This color is not the best choice for a planet, so let’s turn it to blue (because it’s my favourite color!). Select the planet’s layer and click on Color–> Colorize.
This planet just need lights! Create a new layer over the planet, take the Brush Tool ( yellow color, brush dimensions 3px ) and start making lots of small dots principally along the lines of the planet ( on Earth lights are condensed along the coast ).
It’s time to elaborate the background, add a layer mask on the plasma layer ( we created it in a previous step to make smoke effect ), take Brush Tool ( color black, opacity 20 ) and try to hide the smoke on the sides of the artwork, in order to concentrate it especially in the middle. This point is important to focus on the man, but we will worry about him later.
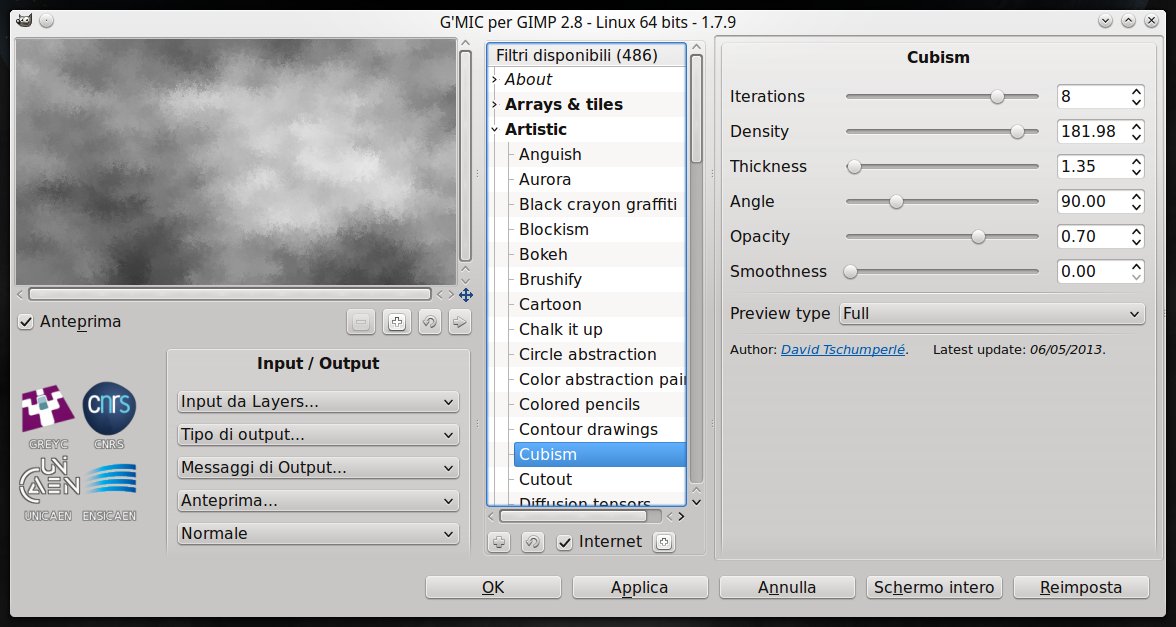
Letting smoke layer active, open G’MIC ( a Gimp plugin) and search for Artistic –> Cubism, then set the options below:
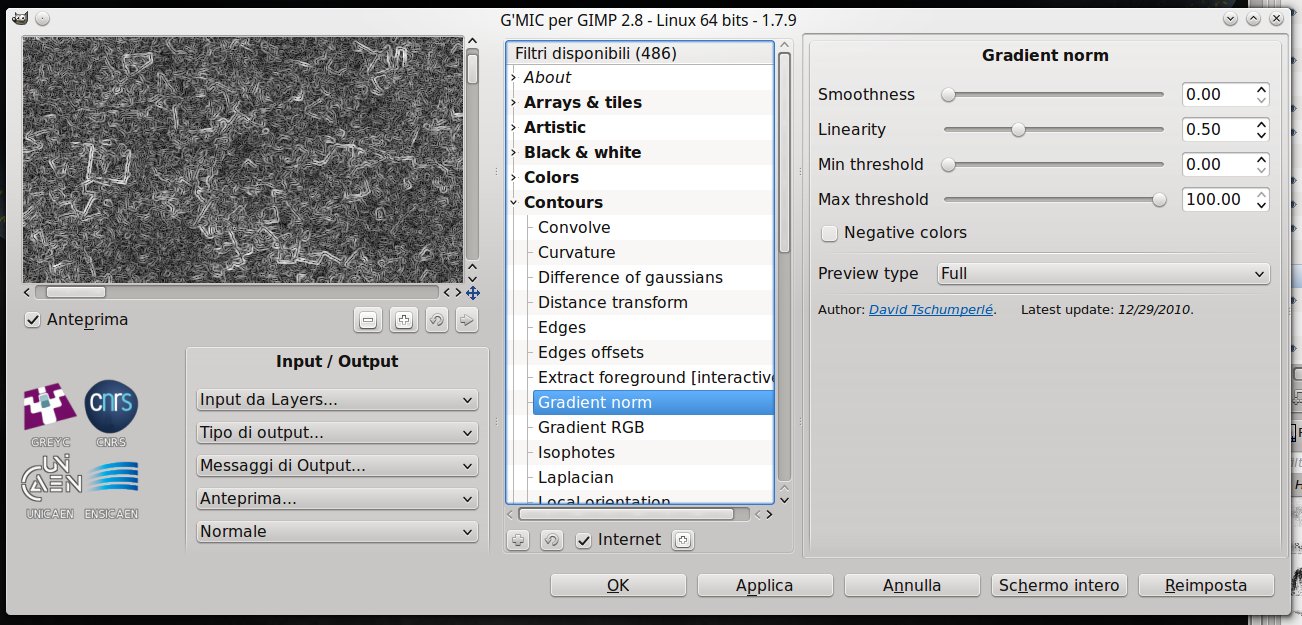
After that, always on the same layer click on G’MIC–> Contours–> Gradient Norm and configure these options:
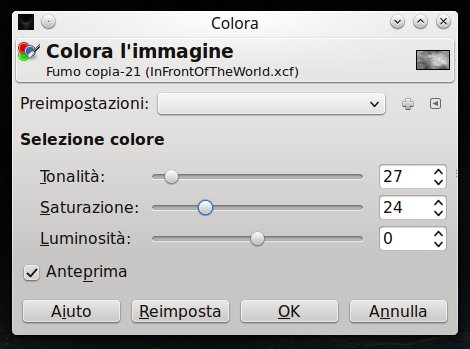
At this point duplicate smoke layer, then change layer mode from Sum to Difference and set opacity to 90. Now you must give the smoke a red color tone, go to Color–> Colorize.
To complete your work, click on File–> Open as layer and import the man image downloaded in the first step, right – click and select Alpha to Selection ( in this way we can select the contours of our friend).
Take Brush Tool and color all the contour of the man with white color, then resize the layer until the man is very small and move it to the center – bottom of the image.
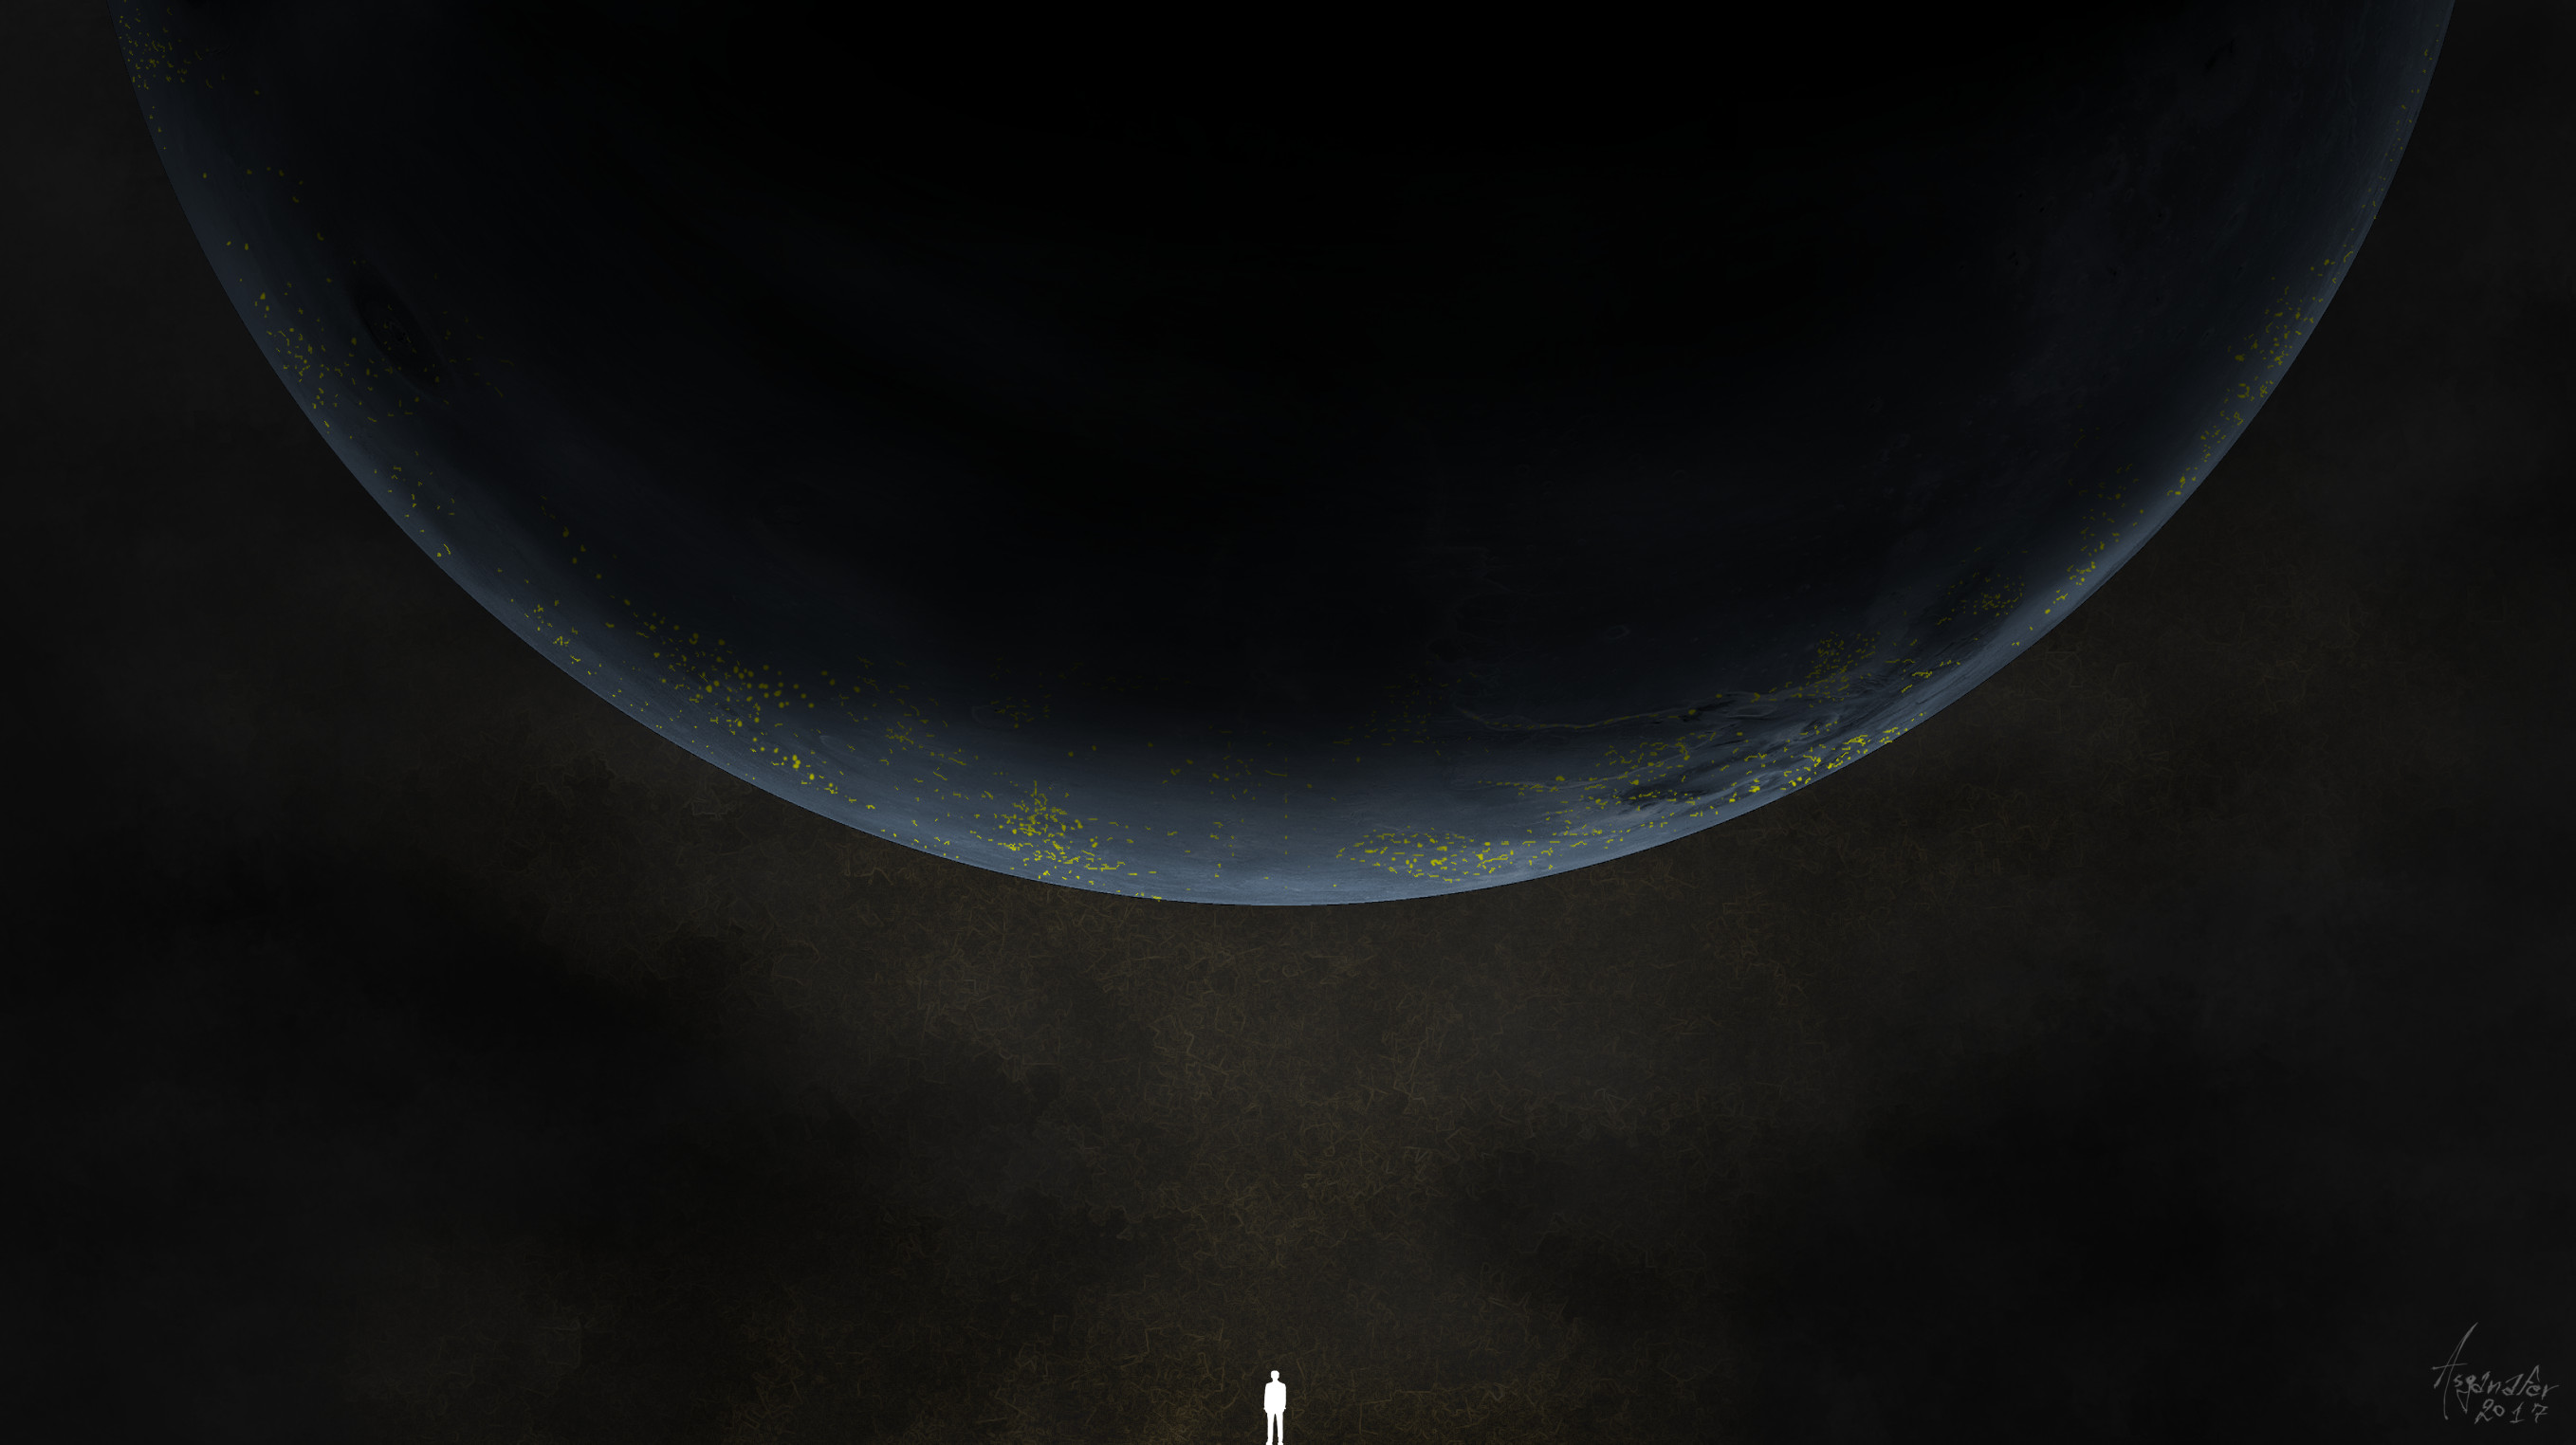
This is the final outcome! What do you think?
