Hi everyone! Here is a new photo manipulation tutorial for you!
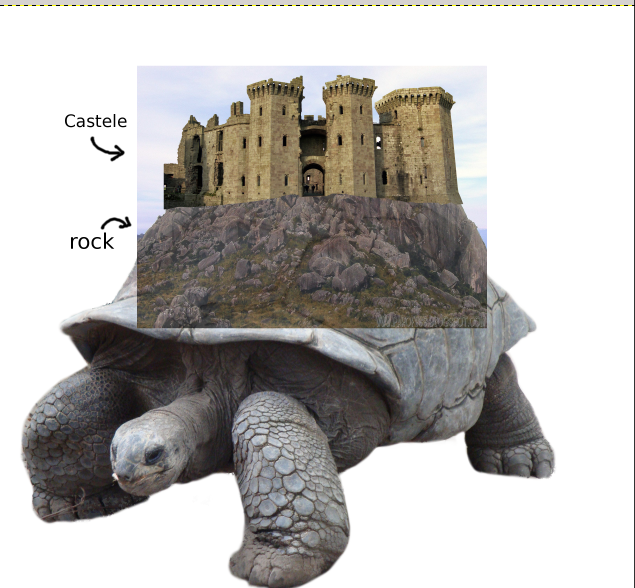
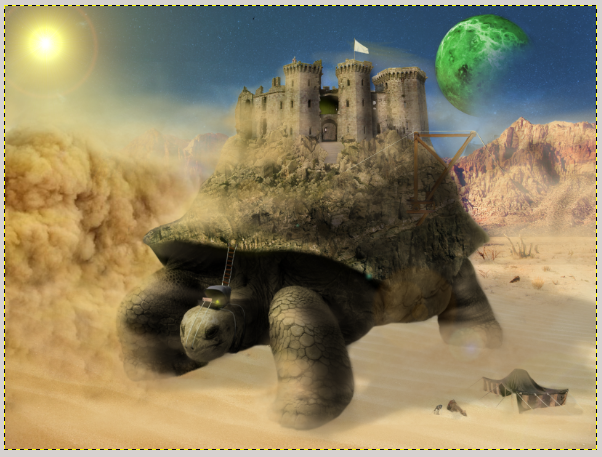
Today I’ll show you the first part of this tutorial about a giant tortoise in the desert, which is going to go through an imminent sand storm.
Before starting, you will need the following materials:
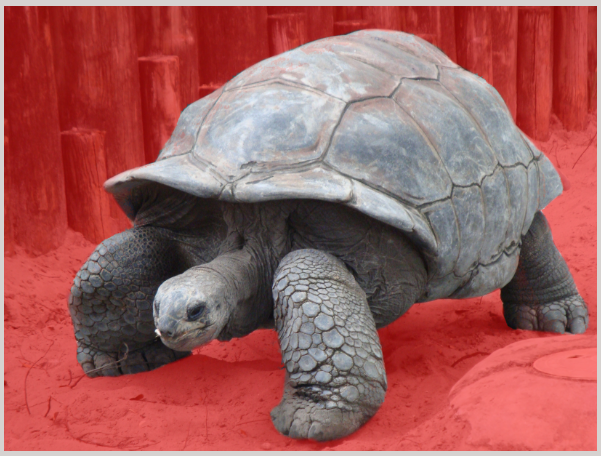
- Tortoise
- Mountain 1
- Mountain 2
- Desert
- Castle
- Sky
- Carriage
- Camel
- Soldier
- Planet
- Storm
- Tent
- Flag
- Crane
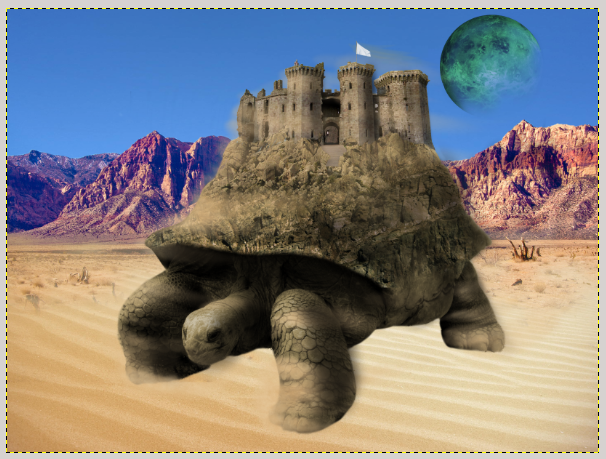
Now that you have all the necessary, you can open the tortoise image and click on commute quick mask at the bottom left. Then remove the red part of the tortoise with eraser tool.
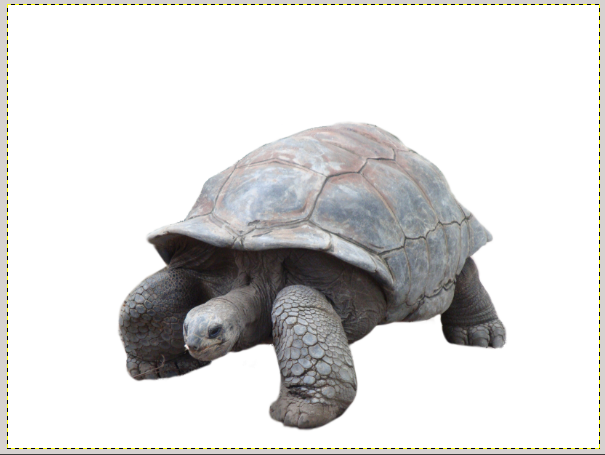
Click again on the image and it will appear a selection. Right – click on the tortoise layer and add a layer mask (initialized to the selection).
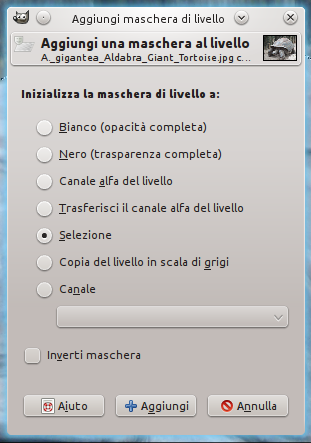
Adjust the layer mask, be sure that the image is blocked out properly.
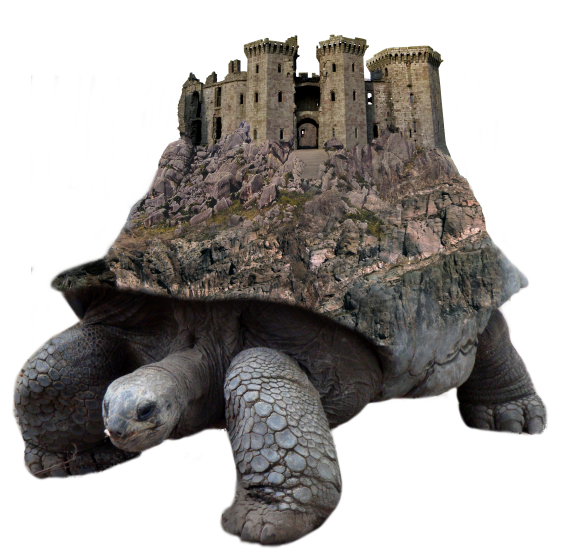
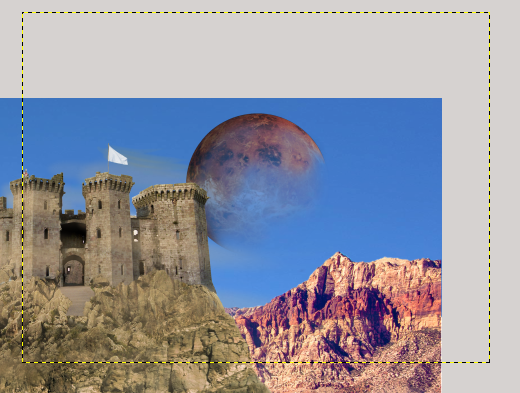
File—>Open as layer and open the picture of the castle (in the image below it has already been blocked out). Resize it with resize tool.
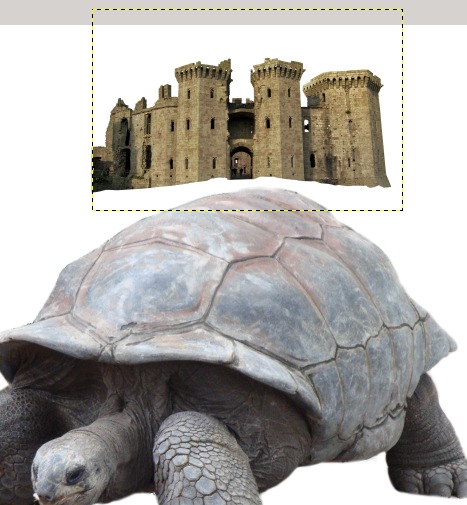
File—> Open as layer and open the rock image. Resize this image too, so that the dimensions of the castle fit with the mountain ones.
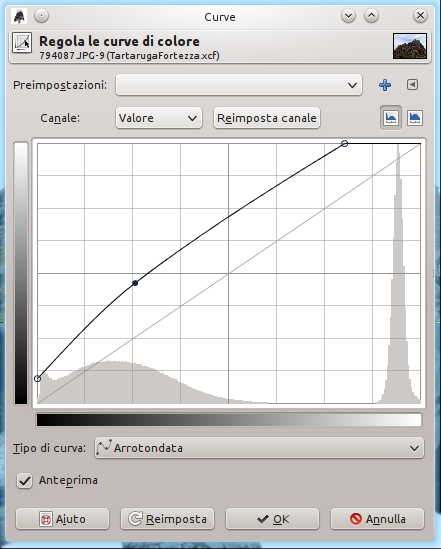
Regulate the colors of the mountain. As you can see, it is very dark, so click on Colors—> Curve and modify the line in this way: tones will be brighter and there will be a contrast.
Right – click on the mountain layer and add a layer mask. 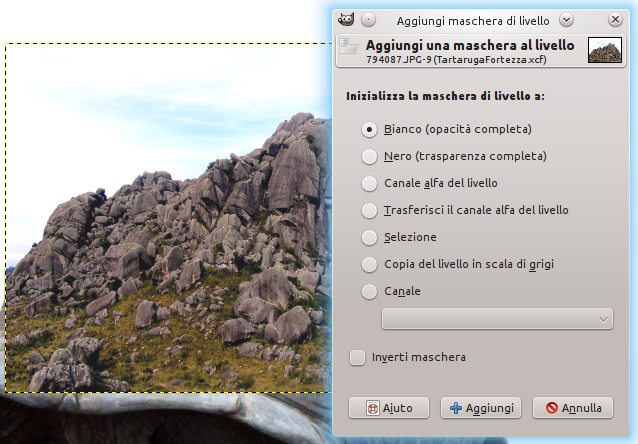
Delete everythig apart from rock, as in the image below:

File—> Open as layers and open also the second image of a mountain. Repeat the same process you did for the previous image (resize, adjust colors and delete extra parts following the borders of the tortoise shell).

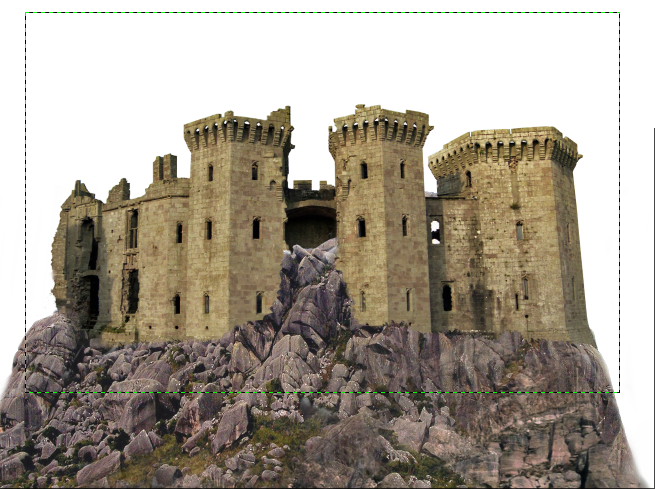
Now it’s time for the castle! Make the layer visible and adapt the castle basement to rock of the mountain with the help of the layer mask created before.
You have to regulate the colors, click on Colors—> Curve and set options like in the image below.
As you can see, there are numerous lines: each line refers to a different channel (choose the cannel from Value on the menu).
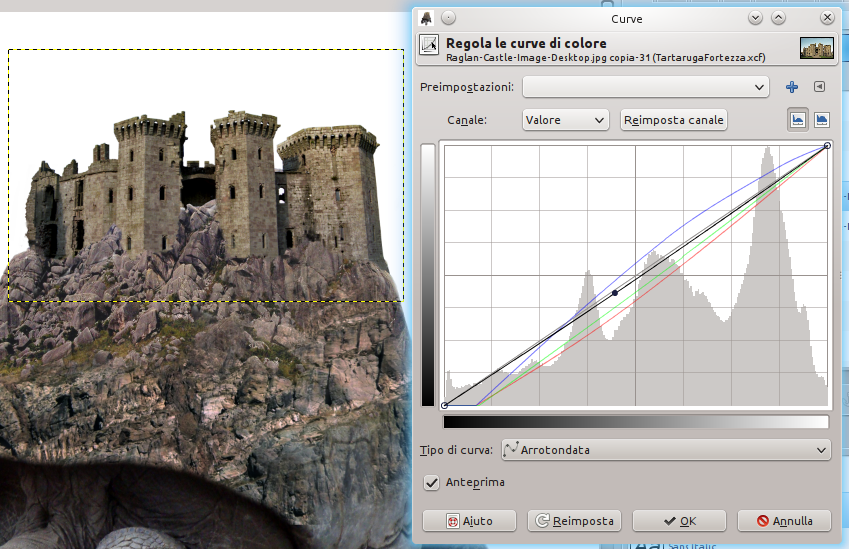
Make the last adjustments until you get a satisfying result.
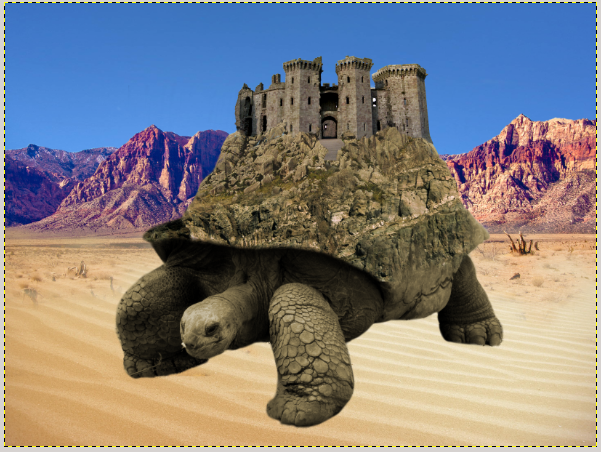
Now we will put the tortoise in the desert! Open the desert image and delete all parts above the horizon using a layer mask.
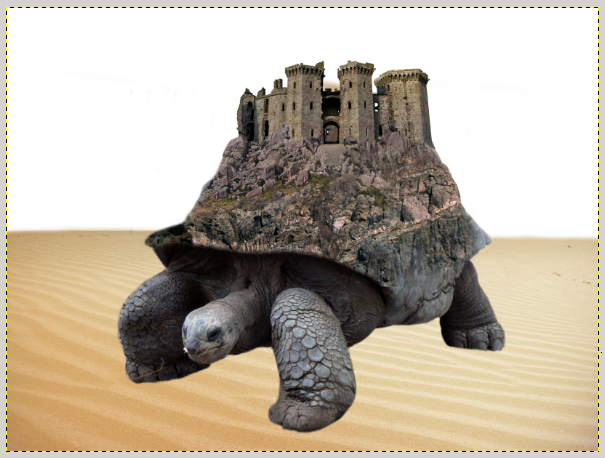
Open also the mountains image, and, with a layer mask, eliminate everything apart from the mountains. In this step you have to pay attention to the mix of the two images, the desert should seem to finish where mountains start.
The brush tool (on the layer mask) with opacity to 20% could be useful.
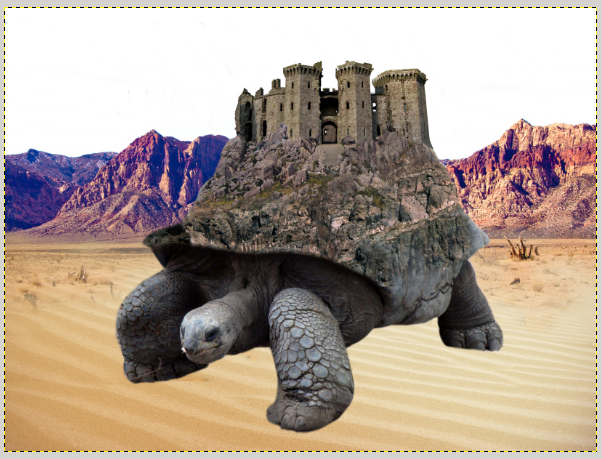
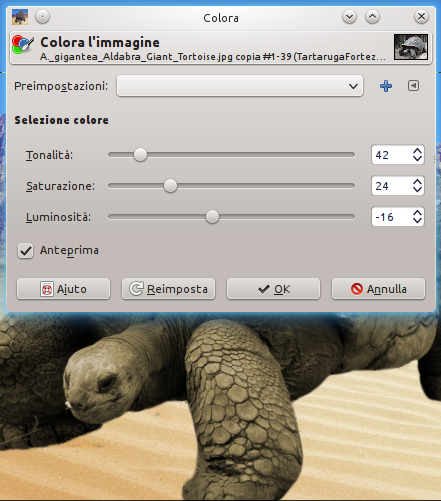
Many animals camouflage themselves, so their colors are very similar to the ambient ones. To help this poor tortoise surviving dangerous situations, click on Colors—> Color and configure the settings below:
Open the sky image to complete the landscape.
Follow this steps to color the mountains: use color #dcba32 (on a new layer) for the whole area occupied by mountains, and change layer mode from Normal to Color.
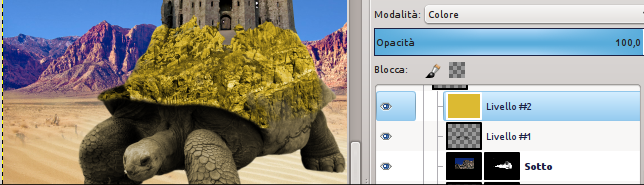
Modify opacity from 100 to 27 in order to give a more desert color to the mountains.
Use the brush tool, set opacity to 30 and paint from right to left. This procedure is important to give a windy effect for the sand storm.
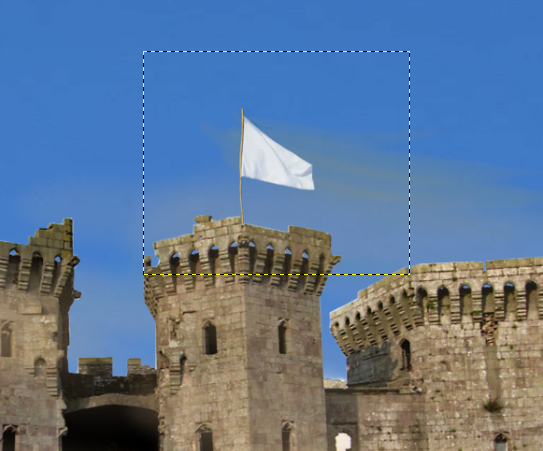
Now put a white flag, so that no one could try to conquer our territory! As for the other images, resize it and block it out with a layer mask.
File—> Open as layers and open the moon image. Right – click on the layer—> Add a layer mask and block out the image.
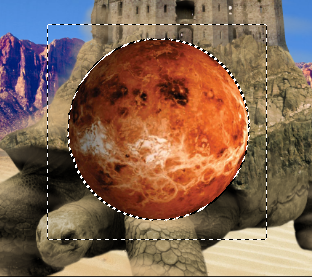
Resize the moon and position it on the background, then set opacity to the level that you like.
Click on Colors—> Color and change the moon color (this step is optional, you can skip it if you like a red moon).
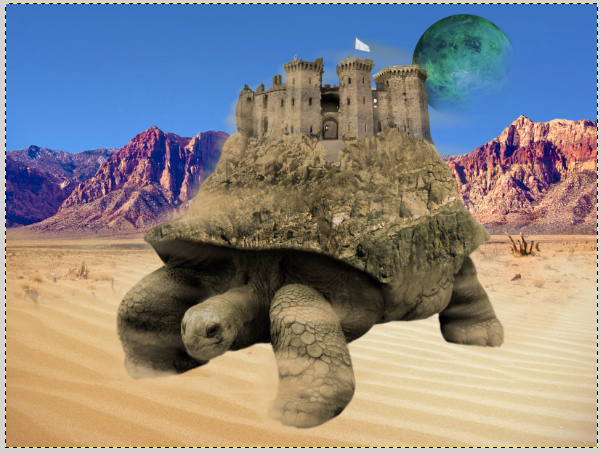
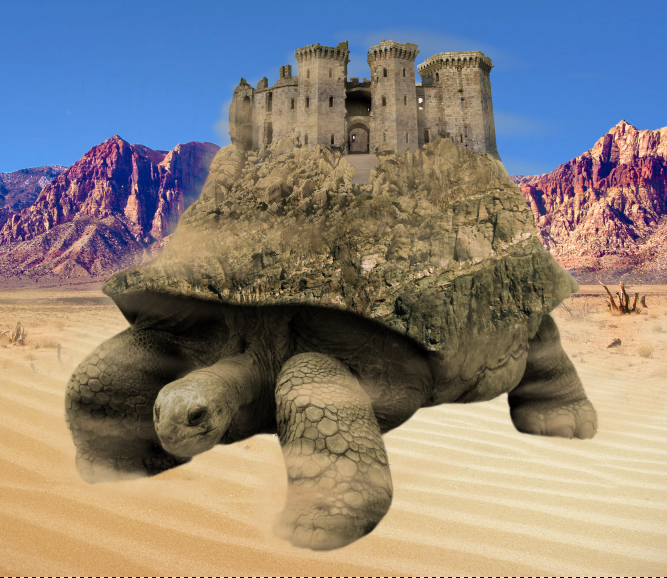
Create a new layer below the wind one. Select the brush tool with opacity to 20 and darken the shadows of the tortoise. Light must come, for every subject of the draw, from a singol direction, in this case from left. All the parts that are opposite to the light, will be dark: color them with the brush tool. In the image below, the right part of the paws, the shell and the head have been darkened.
The first part of this tutorial is finished! The next week I will publish the second part! 😉
