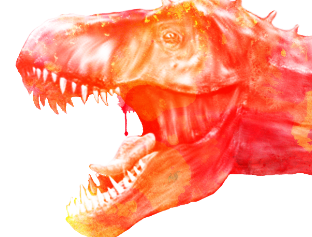
This is the second part of the watercolor effect tutorial! The last step of the first part consisted of realising the head of the T – rex.
Download the following materials:
At the end of the tutorial you will find information about a contest on watercolor effect.
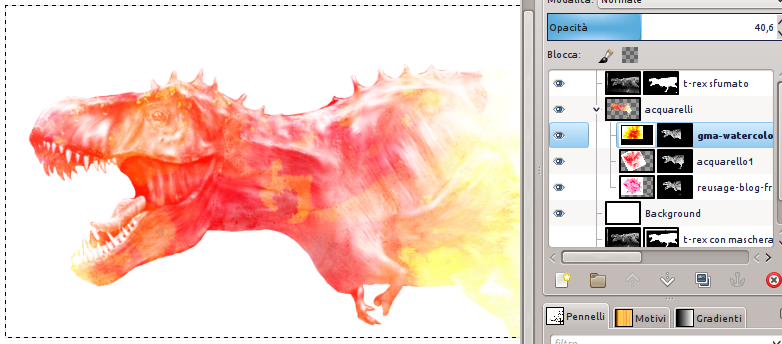
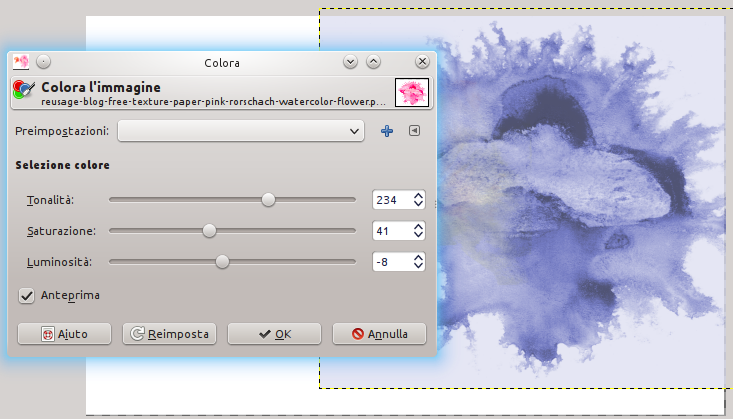
File—> Open as layers and open the watercolor image (downloaded at the beginning of the previous tutorial). Then click on Colors—>Color to change colors.
Apply the image to the body of the dinosaur repeating the same process used before. The border of the image is too much evident on the neck.
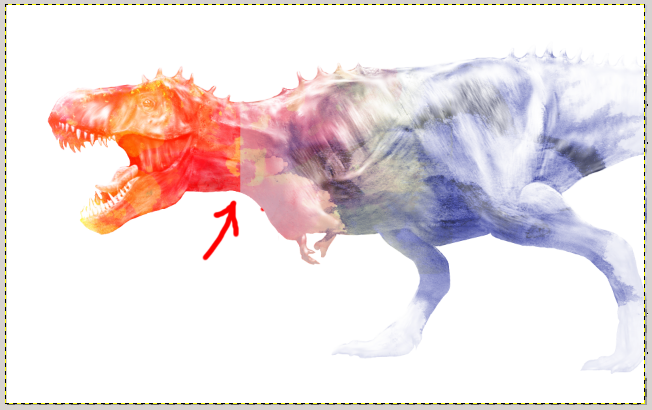
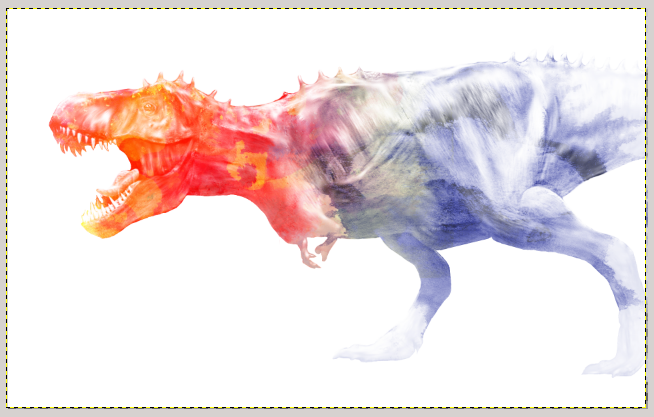
To solve this problem, click on brush tool (select the mode just downloaded), set opacity to 40 and choose black as color. Be sure to color on the layer mask, and press briefly to eliminate the white part. The result will be this:
Open another image and position it near the legs of the T – rex.
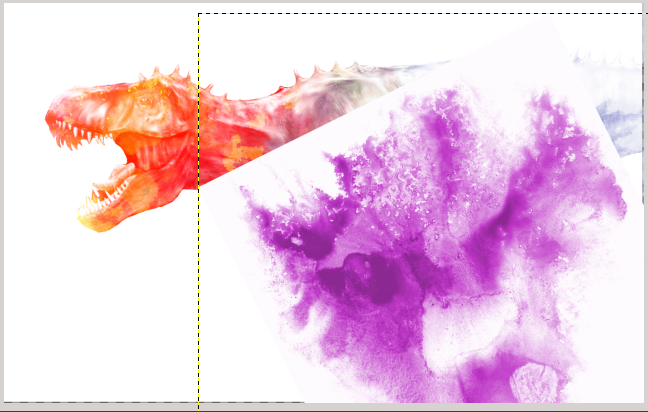
Apply the effect using different images. Adjust also some little visible areas.
Click on brush tool, and select the brushes downloaded at the beginning of this tutorial to dirty the draw on a new layer.
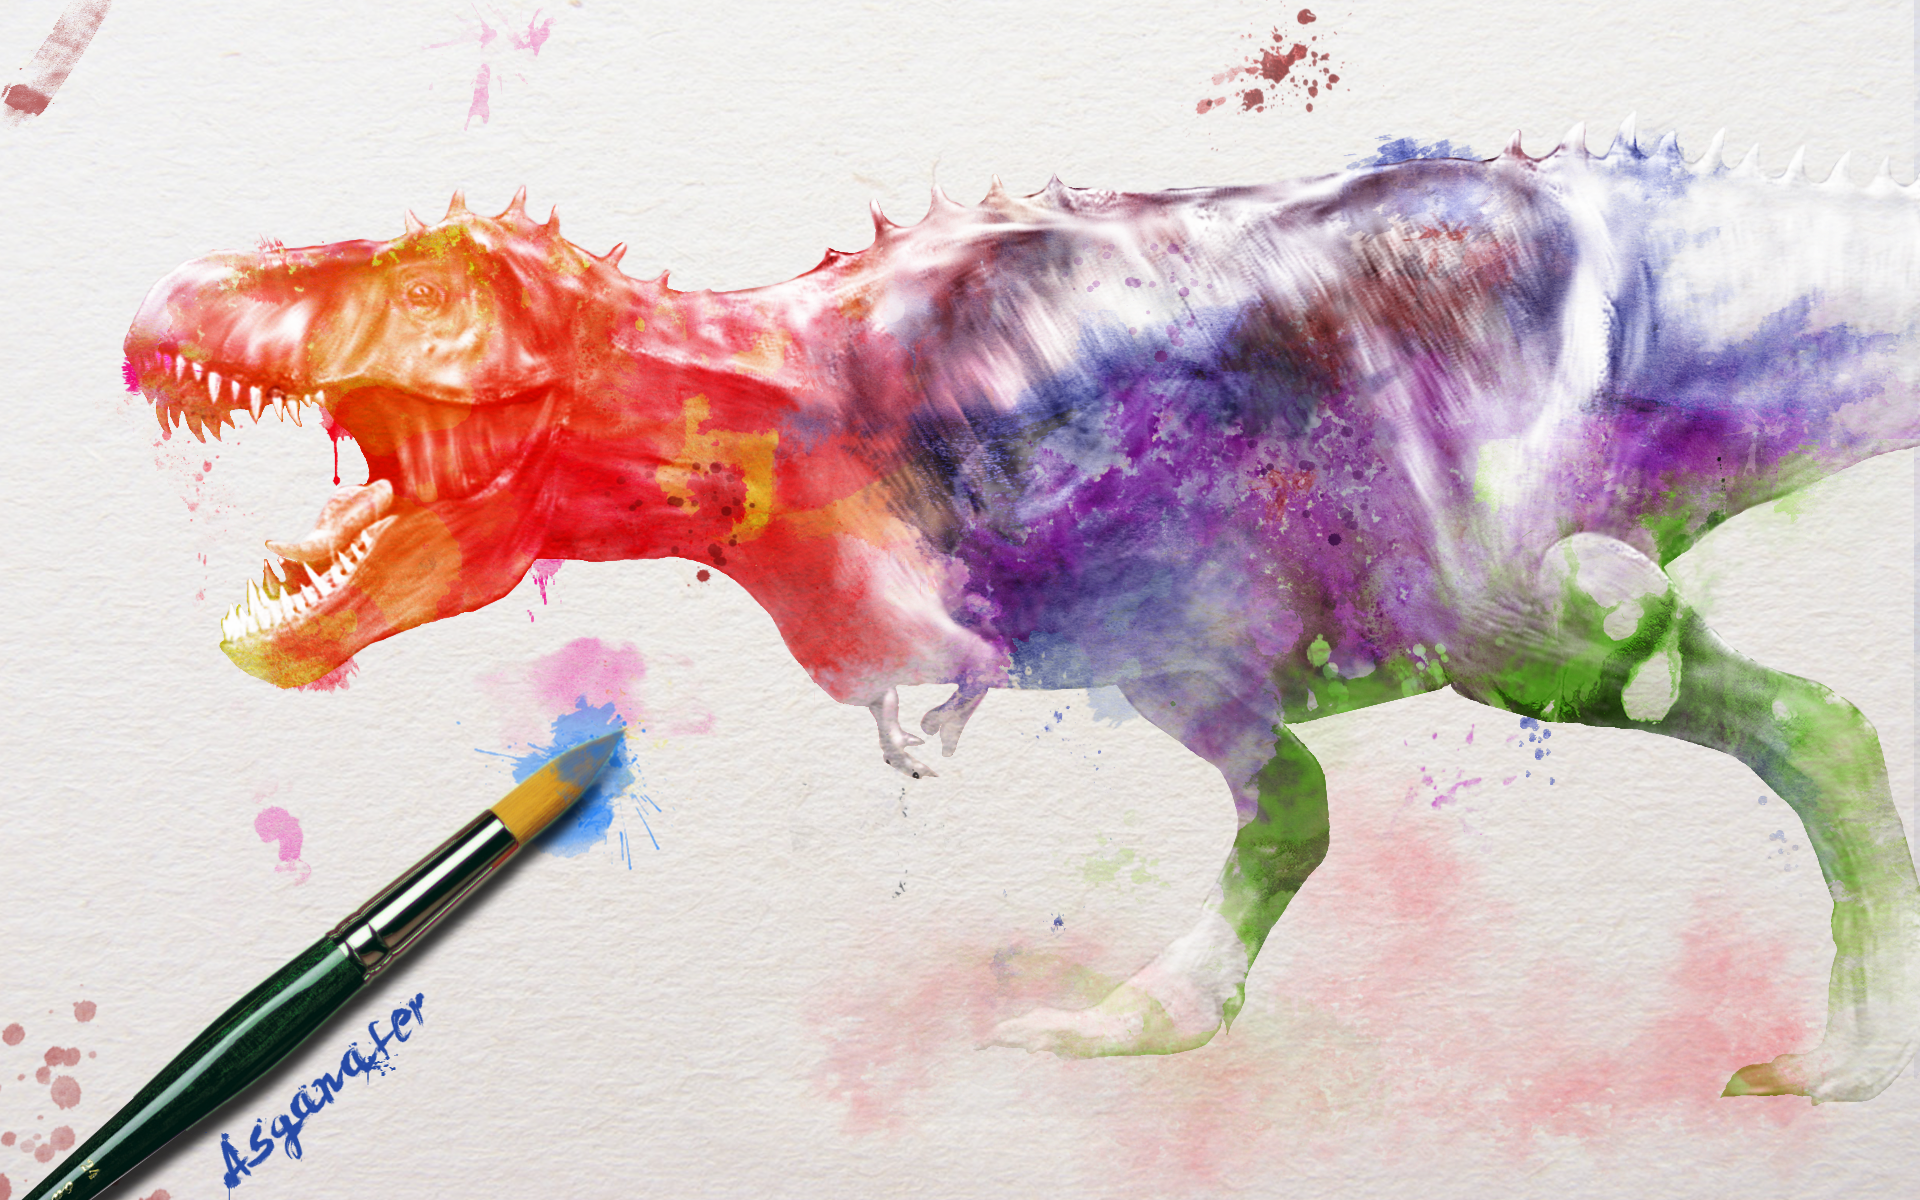
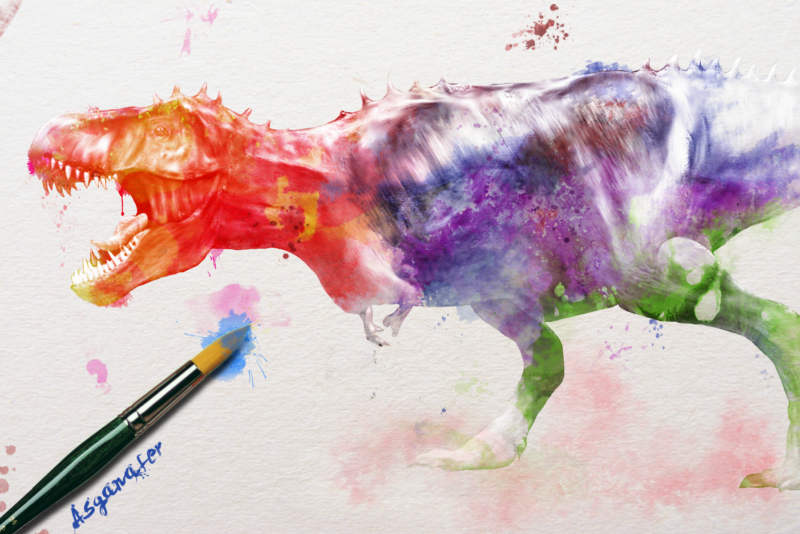
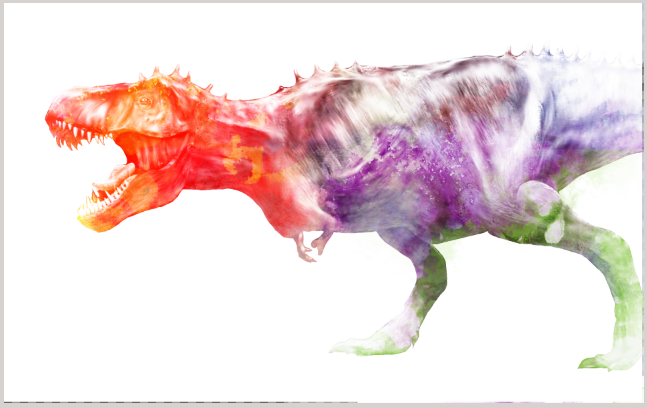
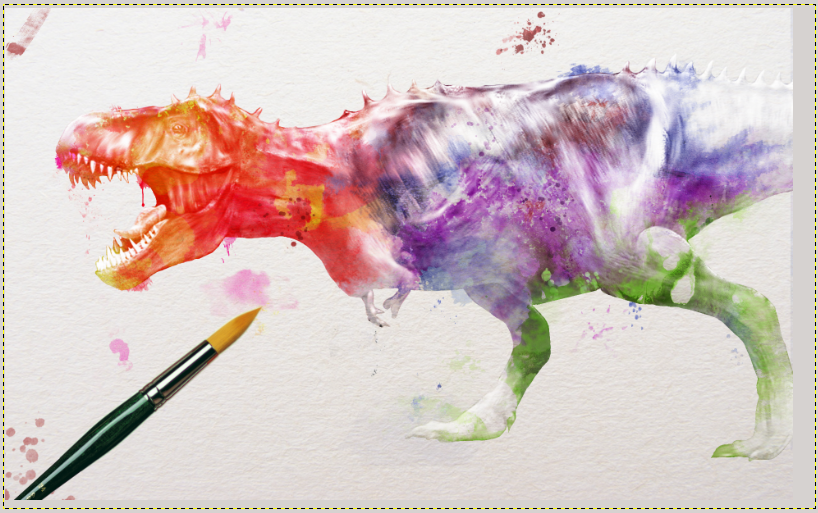
As you can see, our T-Rex has different colors:

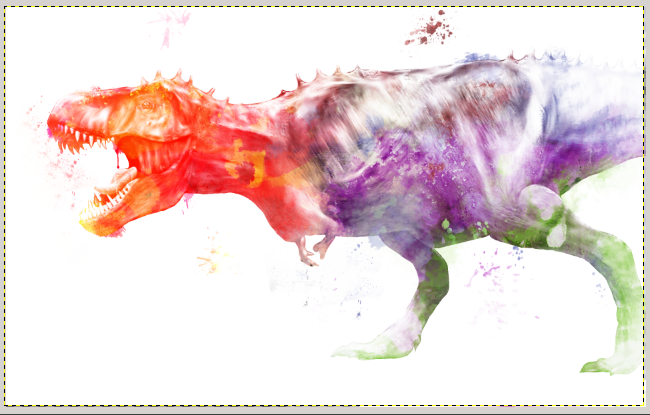
Add some other spot on the white document.
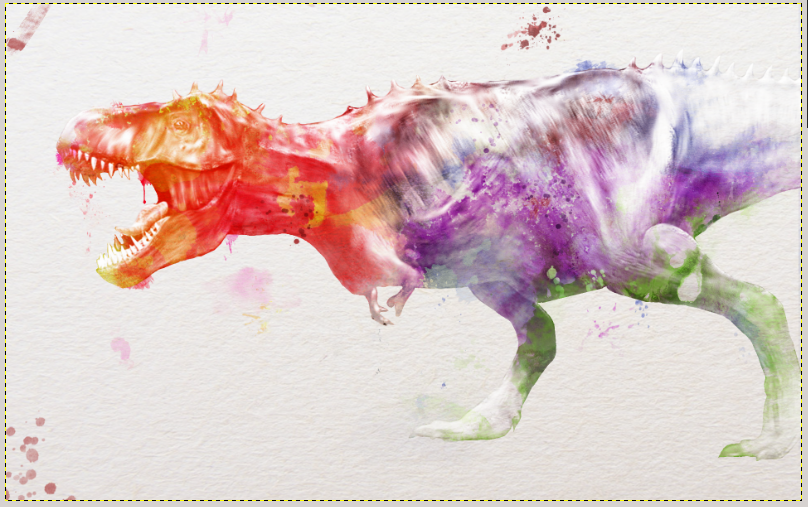
File—>Open as layers and open the paper texture. Position the layer over the watercolor ones, set layer opacity to 55% and change layer mode to “Only dark tones“.
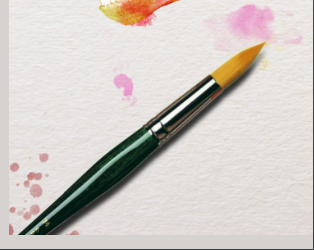
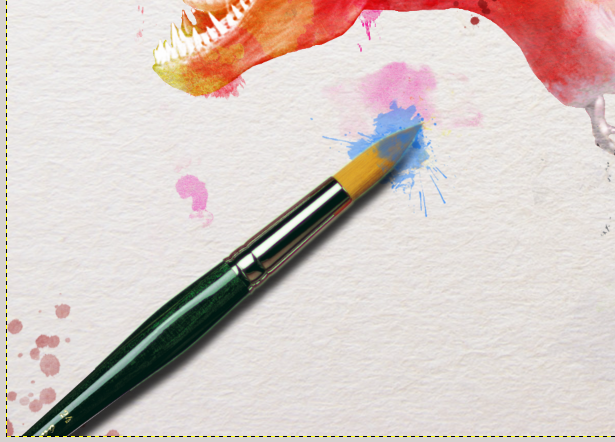
We just need a brush! Every artist has his own brushes, so choose the one you prefer for your artwork! Open the brush image and position it on the document.
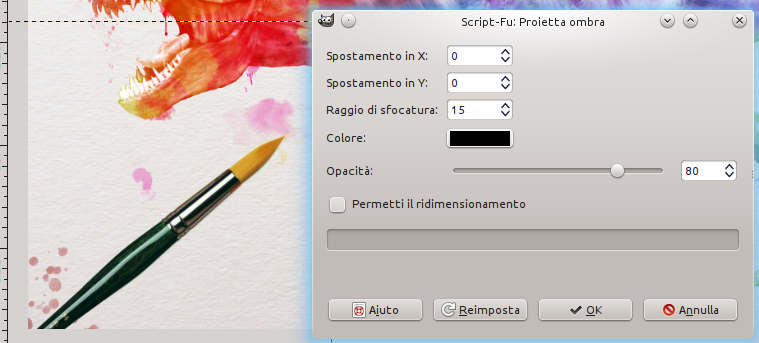
Filters—>Light and Shadow—> Throw Shadow and configure the settings below:
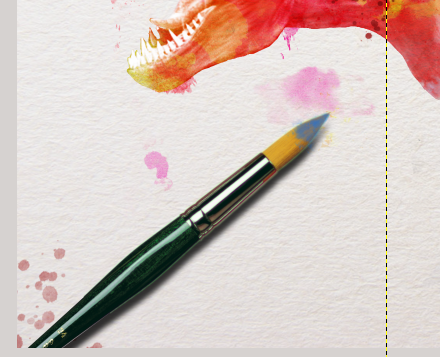
Create a layer mask and bleach the point of the brush, as in the image below:
Create a new layer and dirty the point.
Add also some spot near the brush.
As last step add your signature, and your artwork is finished!