Welcome to the second part of The Waling Dead tutorial!
This was the last step of the first part:
File—> Open as lasyers and open the exploded building image downloaded in the first part of this tutorial, position it over the base layer (the building one).

Right – click —> Add layer mask in order to delete the extra part, only the inside of the apartment must be visible.
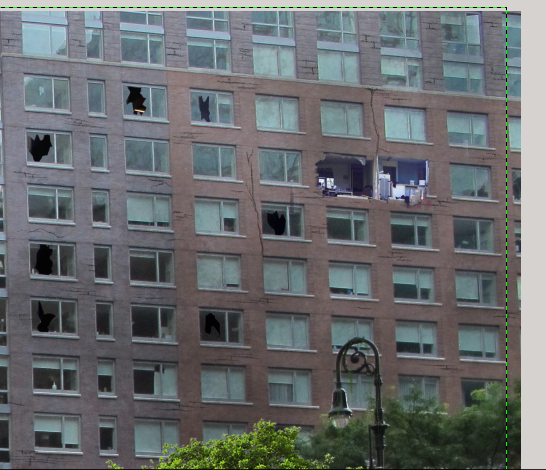
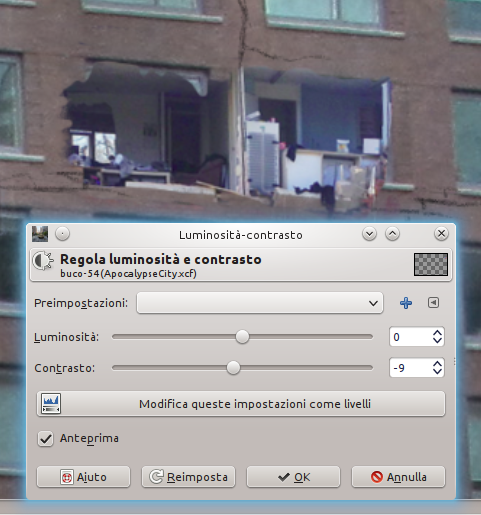
At this point you have to adjust the image colors to adapt them to the building ones. Click on Colors—> Luminosity and contrast. This step is essential to make the image more realistic.
Now position the soldier on the ground image (download it from the first part) leaning against the tank, with the head in close proximity to the blood spot. Resize the image with resize tool (if you have chosen another image, bloxk it out with a layer mask).
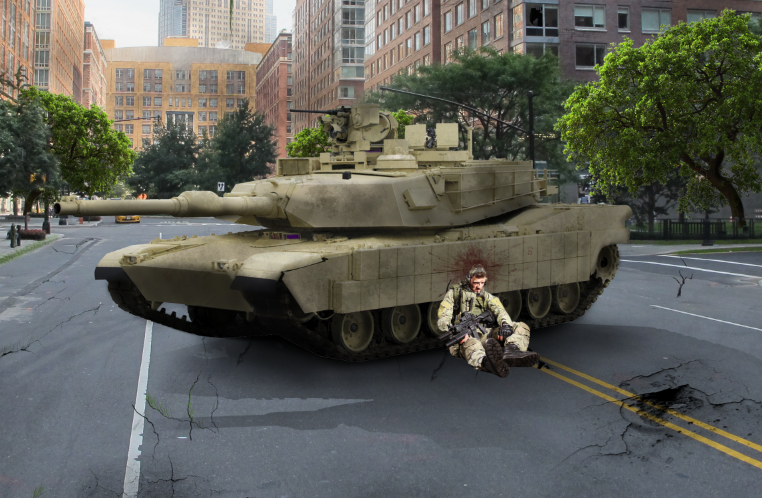
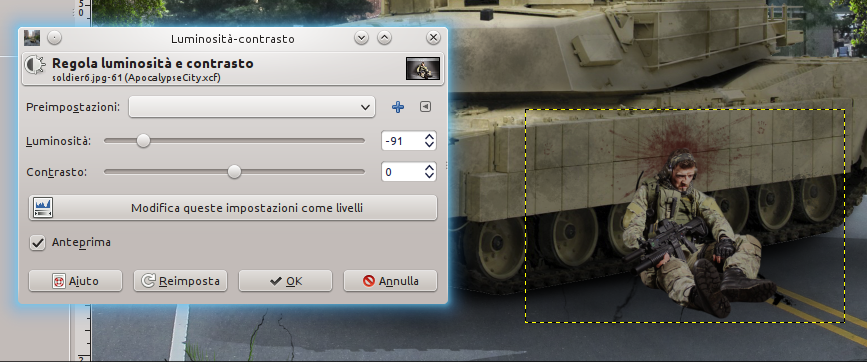
Regulate the colors as you did for the expoded building. In this case the soldier is too illuminated, try to remove luminosity in order to adapt it to the tank level.
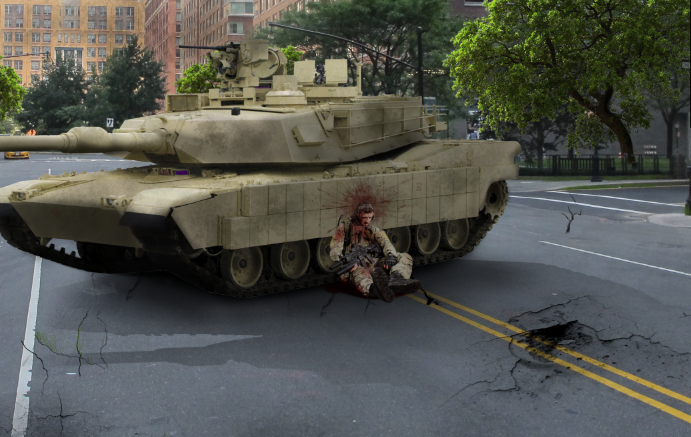
Create a new layer and position it over the soldier image, then dirty the soldier with blood using brush tool (color #5f0202, opacity = 20%). Create a layer under the previous one to draw shaodows.
Open the other soldier image (the alive one) on the left of the tank. Resize the image with resize tool, then click on Colors—> Luminosity and contrast to adjust colors.
Duplicate the soldier layer, right – click—> Alpha to selection and color all the selection in black. Select perspective tool to adjust shadow inclination on the asphalt.
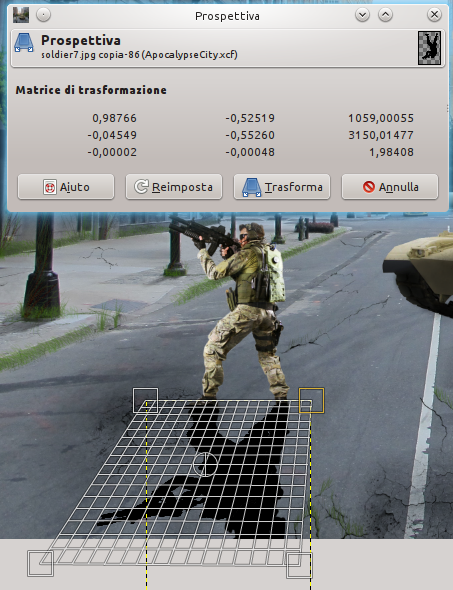
Regulate shadow opacity until it is equal to the tank one.
Create a new layer over al the others, click on Filters—> Light and shadow—> Supernova, and select the yellow color: #fdff34.
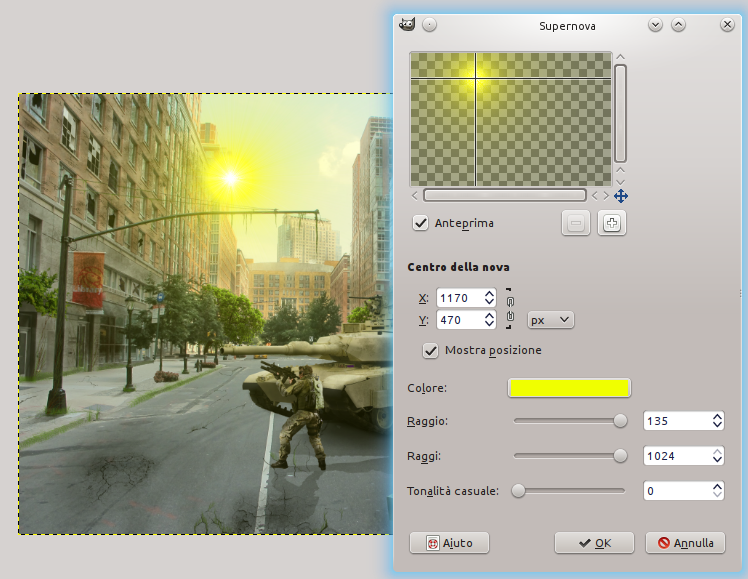
Right – click—> Add a layer mask to hide the Sun part that remains behind the building.
Add the reflection of the Sun clicking on Filters—> Light and shadow—> Lens reflection.
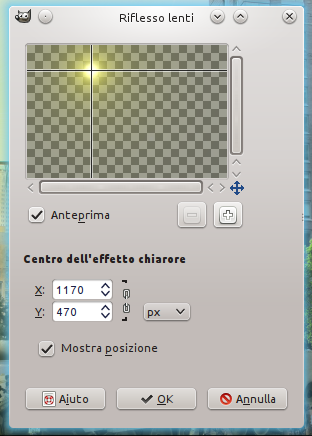
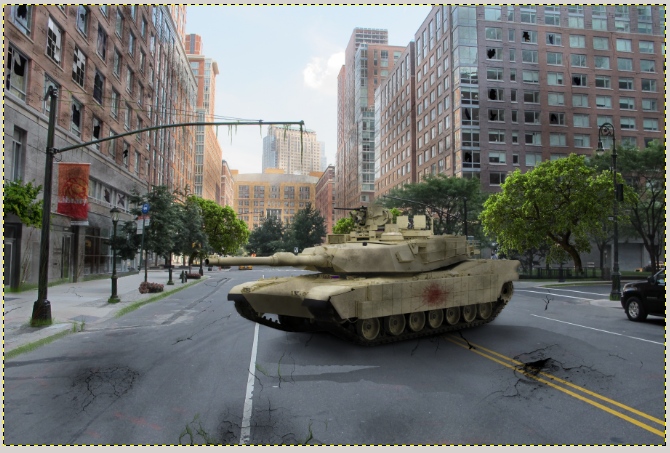
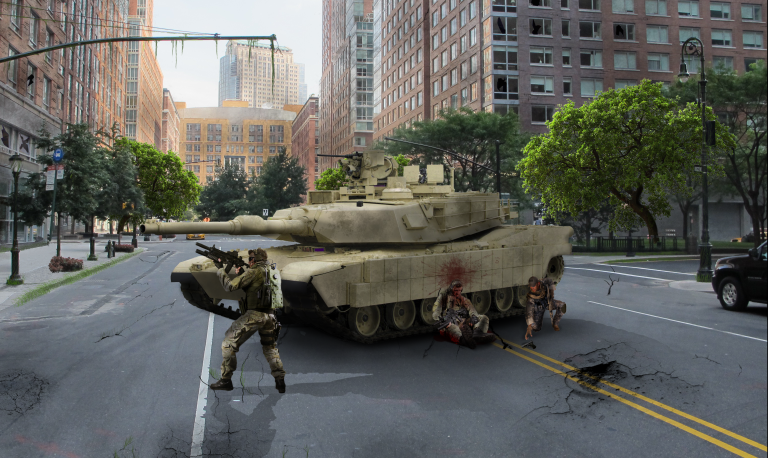
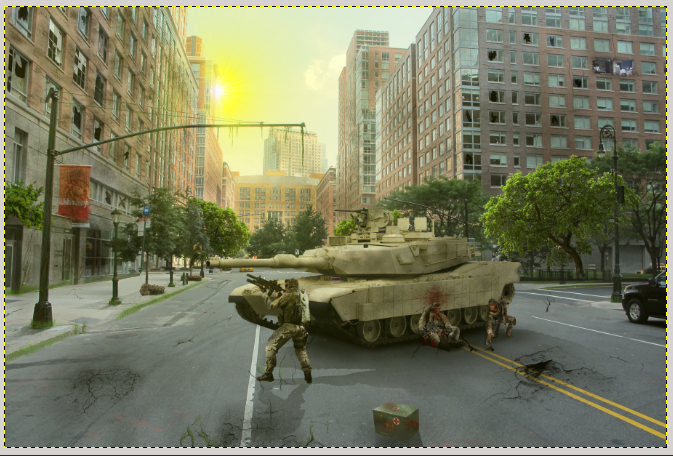
Set opacity to 35. This is the result so far:

Add a writing in The Walking Dead style, you can find the font tha tha beginning of the first tutorial.
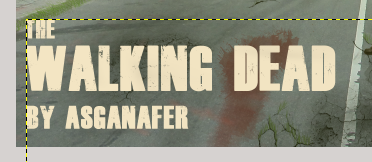
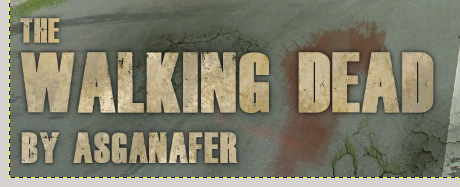
Right – click —> Alpha to selection on the writing, then create a new layer over the previous one and select brush tool with grunge mode. As regards colors, you can choose 4 or 5 beige/sand color tones, and blot inside the selection to get an effect similar to the image below:
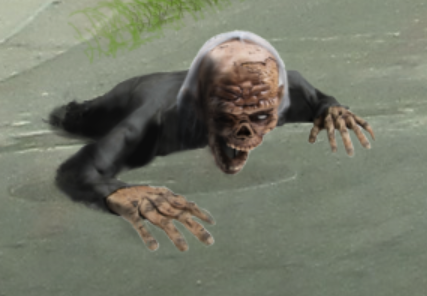
You just need the charahters: zombies! You can find the link for the zombies I used at the beginning of the tutorial. Repeat the process you used to add the soldiers to the image.
Let’s see the first one together! File—> open as layers and block out the zombie image with a layer mask.
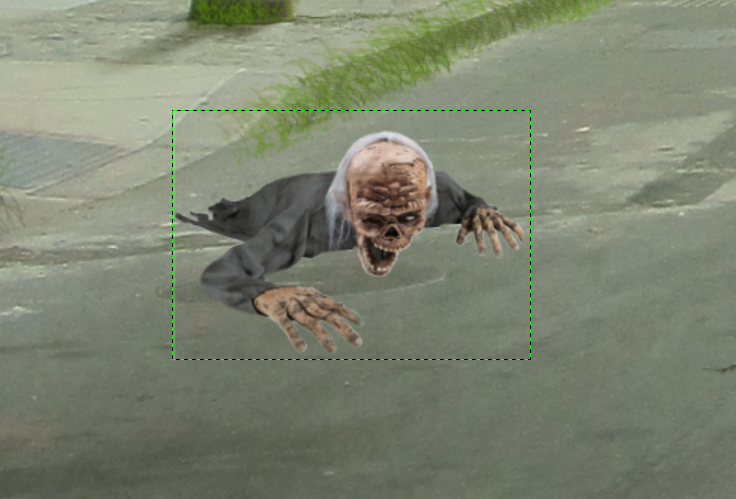
Add a new layer to define shadows, select brush tool with opacity = 20 and draw the shadows of the zombie. You can see the result in the second image below, the first one is useful to know where to draw shadow).
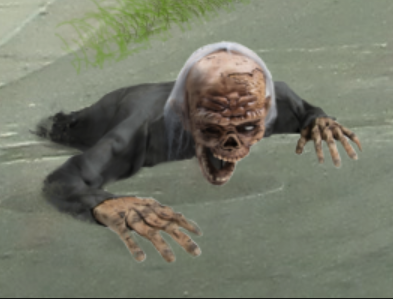
Create a new layer and draw lights with brush tool, color: #e8d39f.
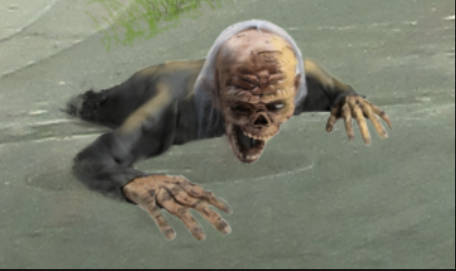
The last step for this charahter consists of drawing a blood rivulet using brush tool with color #6b250c.
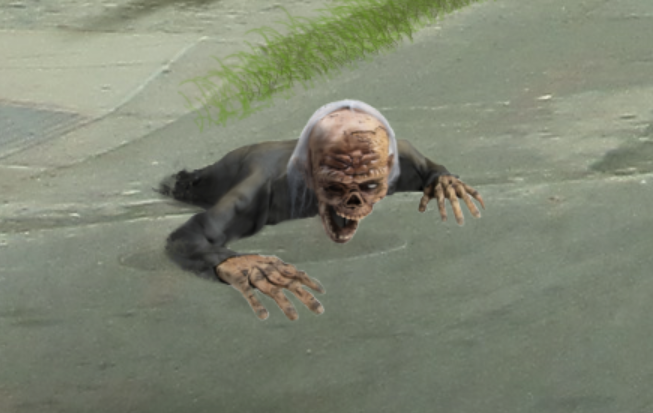
You just need to emphasize the colors of your artwork! Right – click —> New from visible on the upper layer: an image will be cretaed, at which you have to apply a G’mic filter (check the Linux or Windows installation guide).
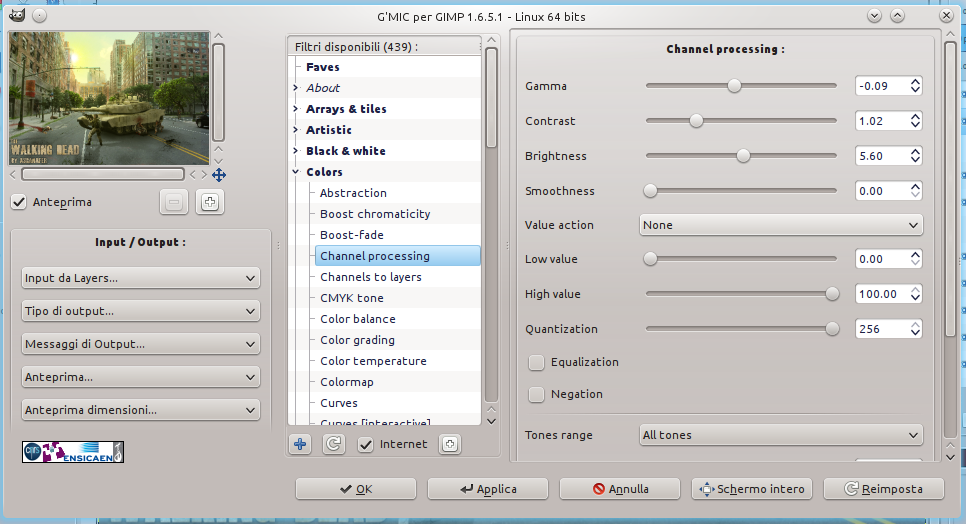
Click on G’mic—> Colors—> Channel Processing and configure the options below:
You can add some little details, like boxes in the foreground, or the fire made by grunge brushes.
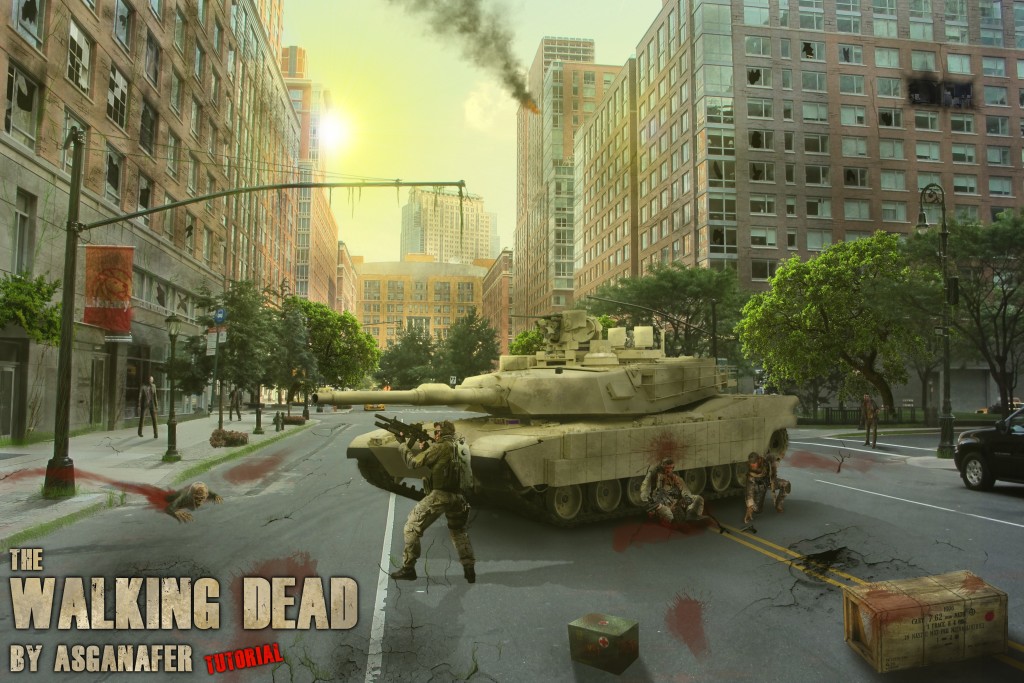
This is the final result! What about What do you think of it? 😉