Hi everybody! Last week I posted the first part of this tutorial!
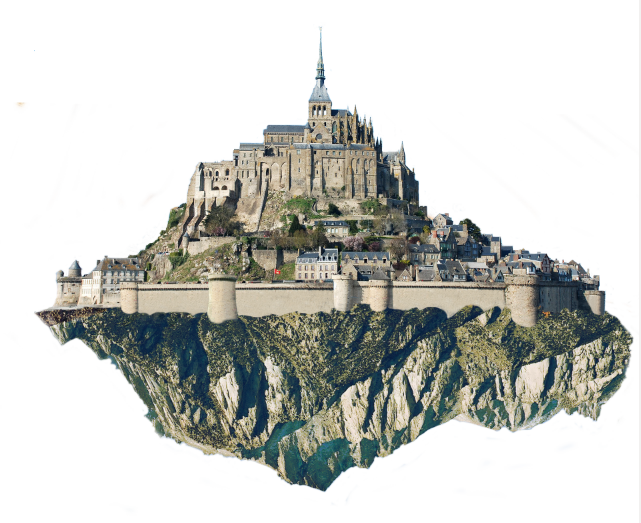
This was the last step of the first part:
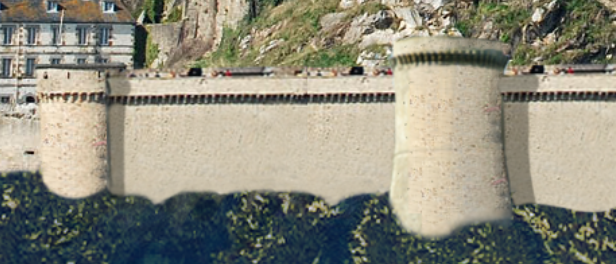
Focus on the last tower you created, in this step we will make shadows! Select burn tool to create the shadow that comes from the tower.
Now add a new element to the castel: File—> Open as layer and open up the image of another building. Resize it and create a layer mask.
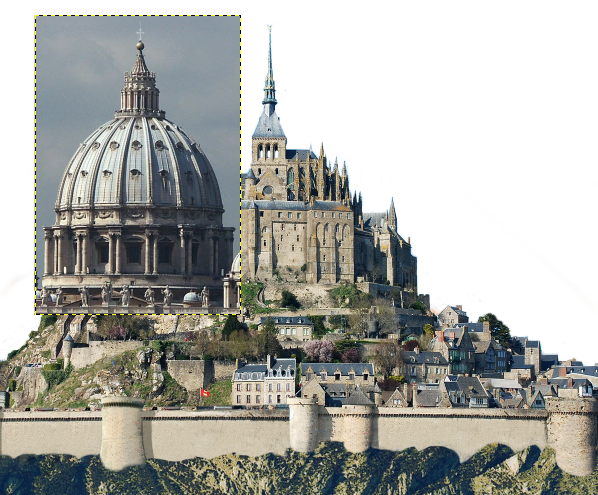
Block put the dome image using the brush and the layer mask and move it to the background. You will obtain an image like this:
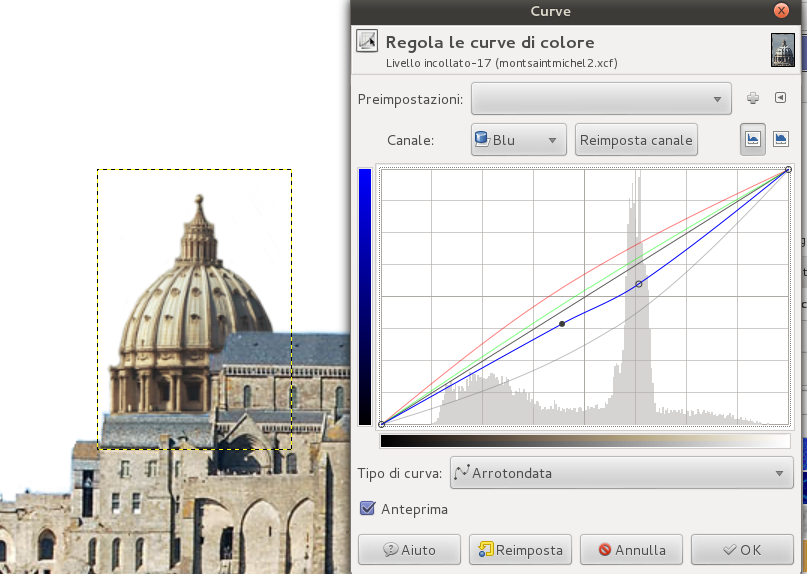
Act on the layer curves to fix the dome. There are many lines: each line refers to a channel (red, green, blue, alfa and general channel), choose the cannels from the menu and try to modify each cannel to get a color similar to the rest of the image.
This will be the most difficult step. Open as layer a wood or forest image, I chose a mountain covered with trees. Select clone tool and, pressing alt, right – click to position the origin on the trees. Then choose a ragged brush (a brush with an irregular line, not the classic round line).
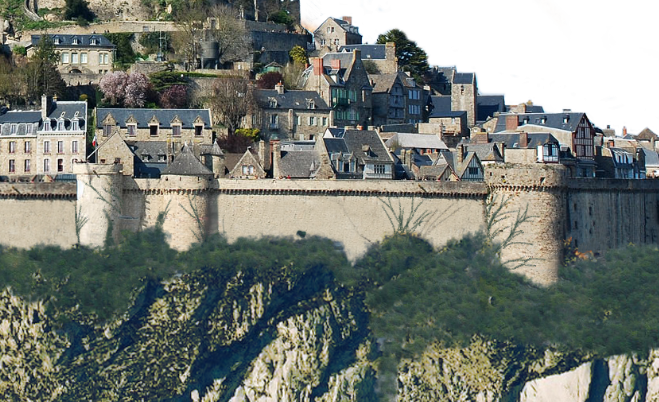
Then create a new layer, over all the others, and start to color: the brush will clone the part of the mountain full of trees on the new layer! In this way you will create some vegetation at the foot of the walls, the result will be similar to the image below:
This is an ancient castle, and ivy started covering the walls throughout thw years. Select clone tool and position the origin on the mountain trees to draw creepers on the wall.
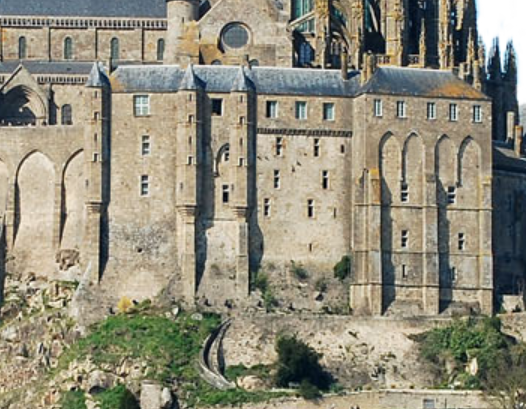
Now we will modify the castle facade! If you look at the facade, you can see three towers, ma in the original image there is only one, so select the tower with freehand selection tool, copy and paste it, then put it in the right position. In the image below, the orginal tower is the one in the center.
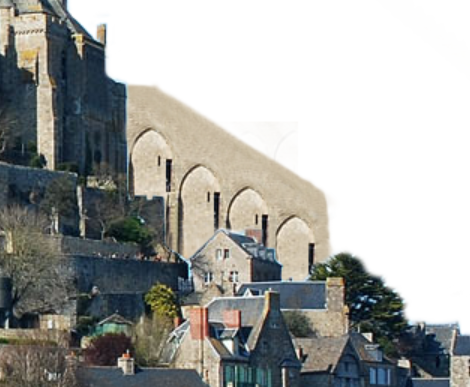
Every castle needs a lookout tower: select the semi – arch on the left (in the image above) with freehand selection tool, paste it on a new layer three time and cover possible empty spaces with clone tool. You should get the result below:
Create a balustrade by copying a balustrade portion at the top right of the castle.

Position the balustrade at the top of the image, then copy one of the tower.
Remember to draw shadows with burn tool.
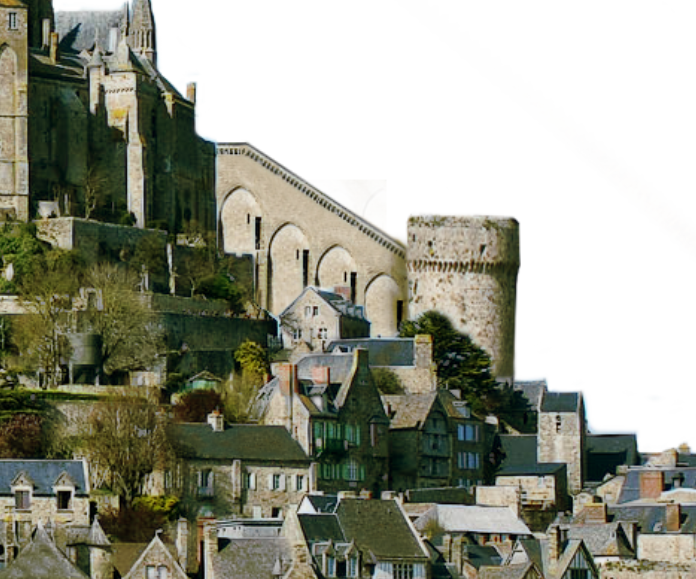
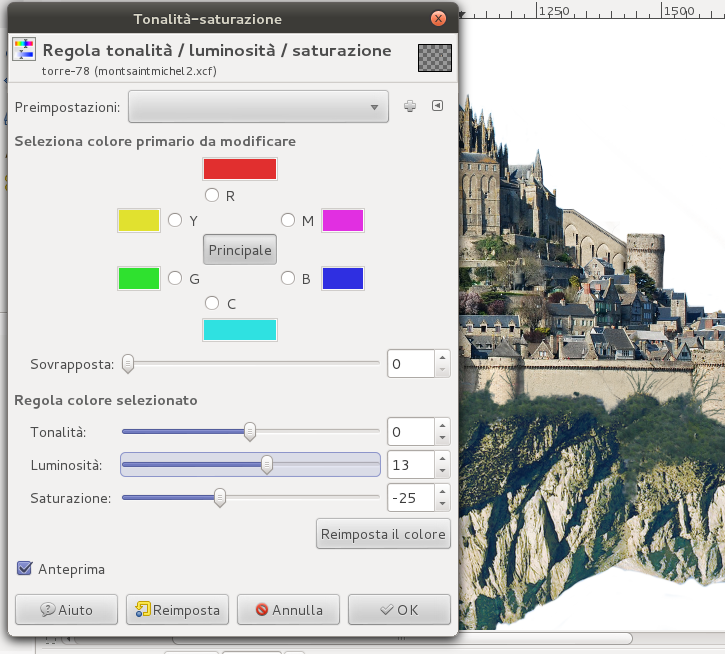
Click on Colors—> Tone-saturation and configure luminosity and saturation of the tower: because it is the highest, it will receive more light and it will have a different color from the others.
Add some liane from the mountain (I suggest to use graphics tablet).
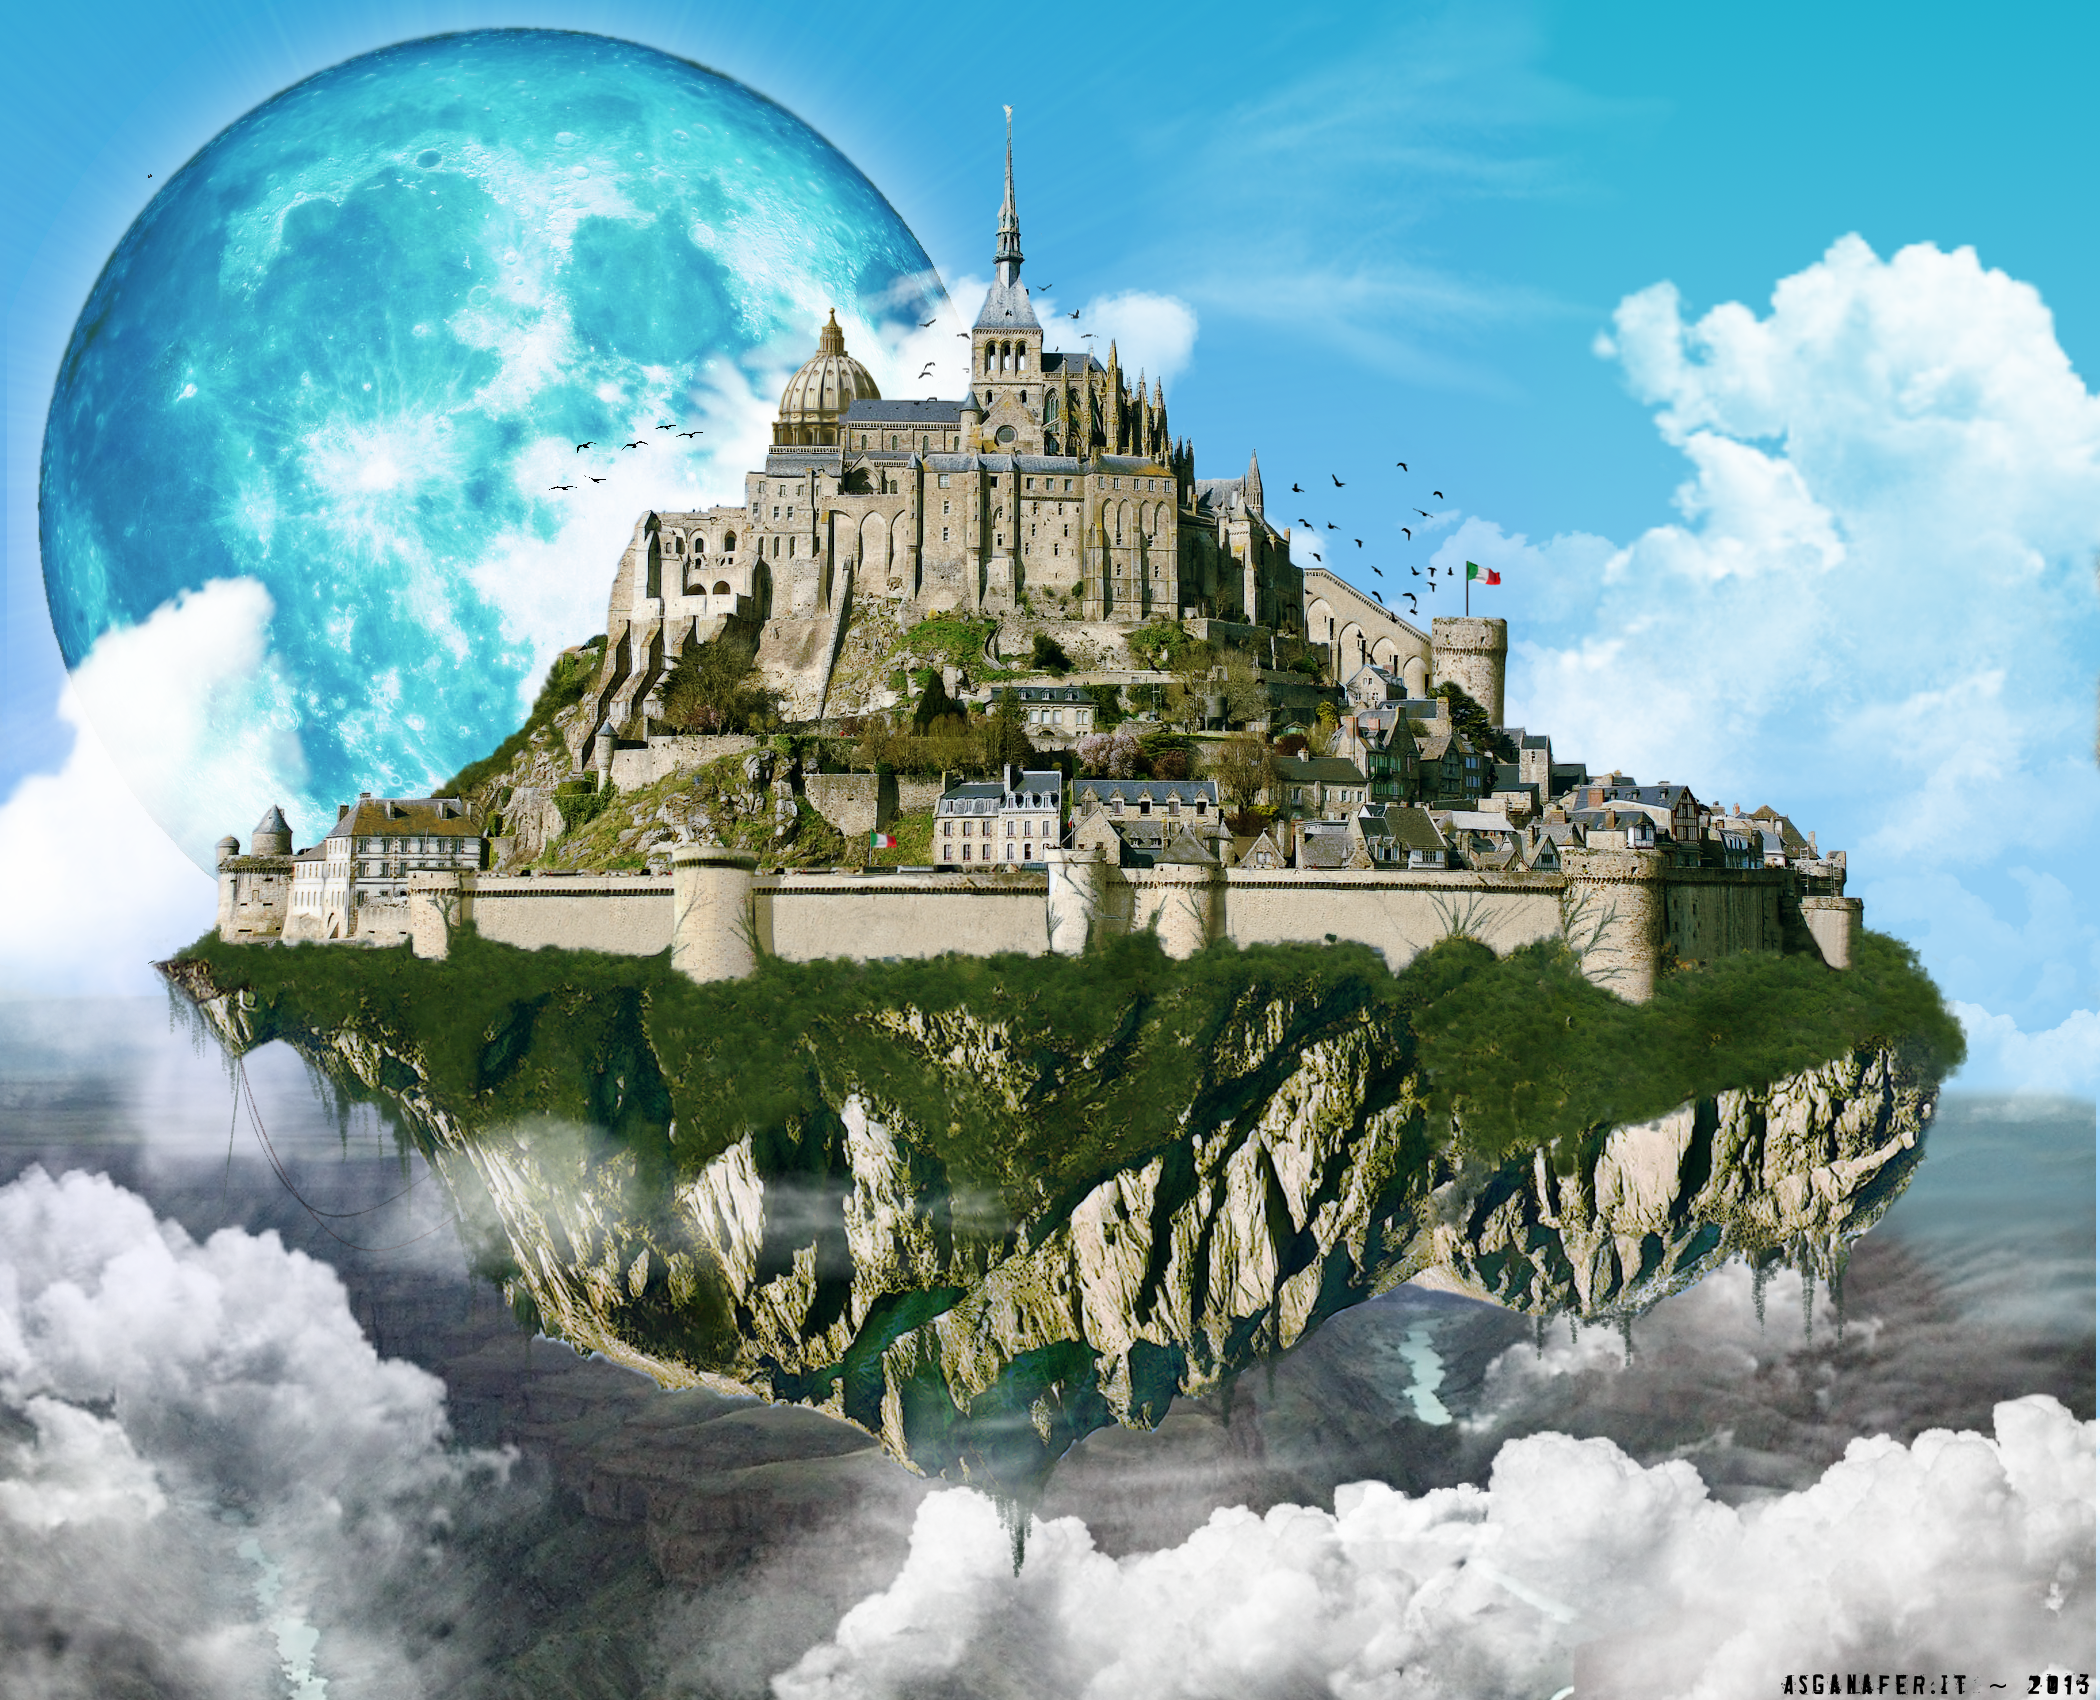
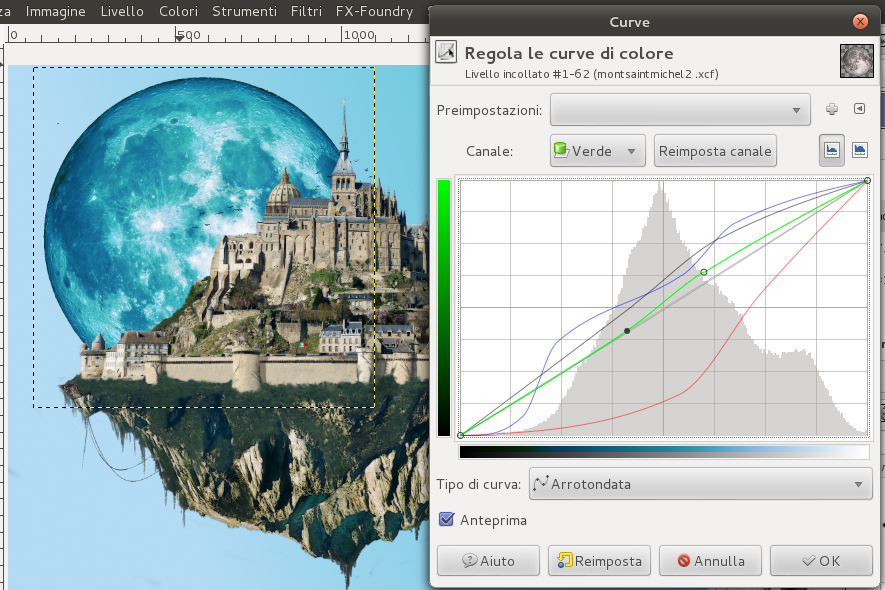
At this point you just need to draw the sky! Select gradient tool, with linear mode and color from #31b5d3 at the top to #95cff3 at the bottom. Open as layer a moon image and position it behind the castle, then change its color with curves tool.
Select white color and brush tool (active brush mode: clouds), create a new layer between the sky and the castle and draw a lot of clouds in the sky. Then create a new layer over the castle and draw some clouds in the lower part.
Finally I added some details to make the image more spactacular, such as some birds (use the brushes that you can find at the beginning of the tutorial), two Italian flags and I made the moon brighter with a bright ring and some rays (to create them click on filters—> light and shadow—> Supernova).
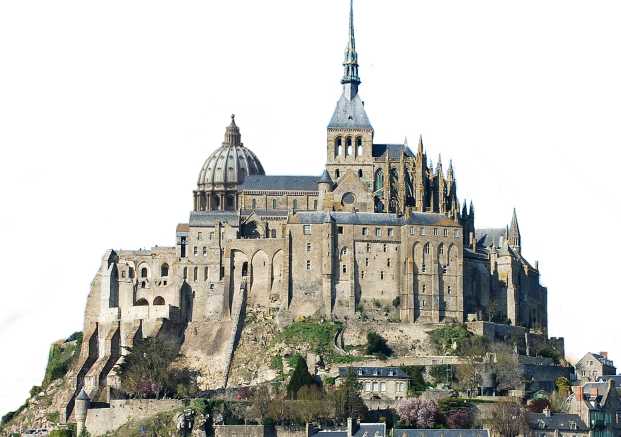
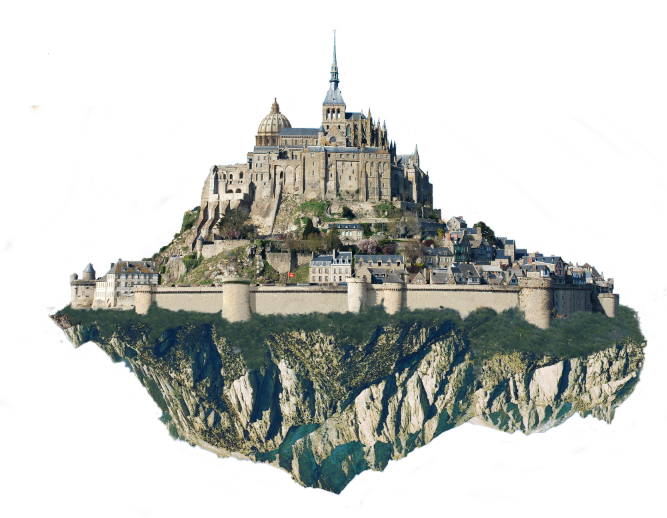
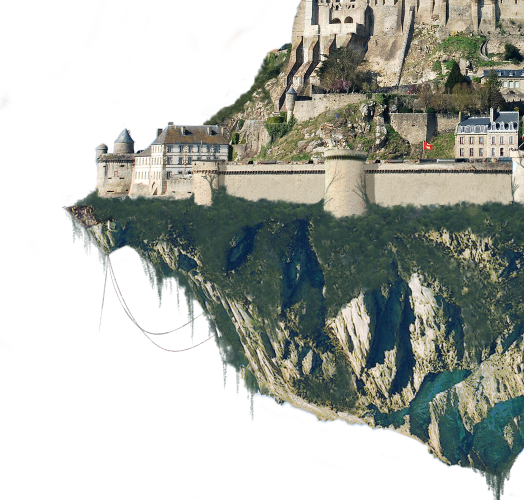
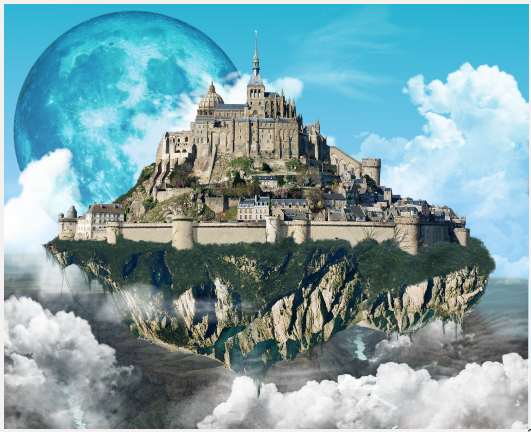
This will be the final outcome: