Hi everyone! Today’s photo manipulation tutorial is about an ancient tomb of a warrior found on a mountaintop.
Before starting, download these materials:
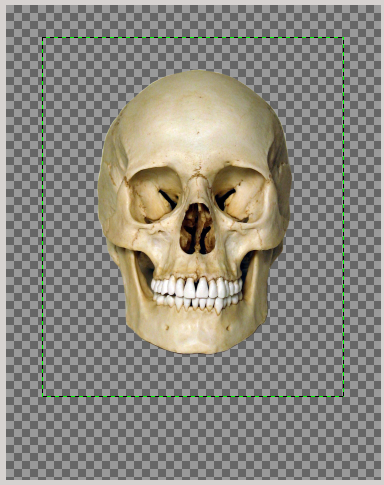
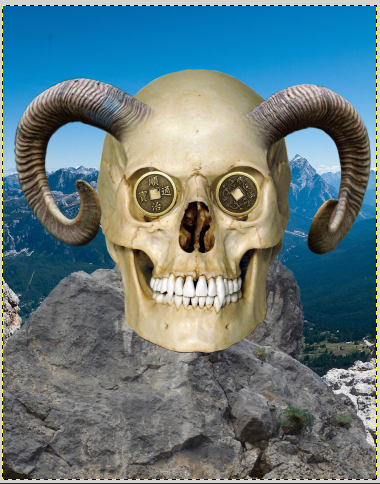
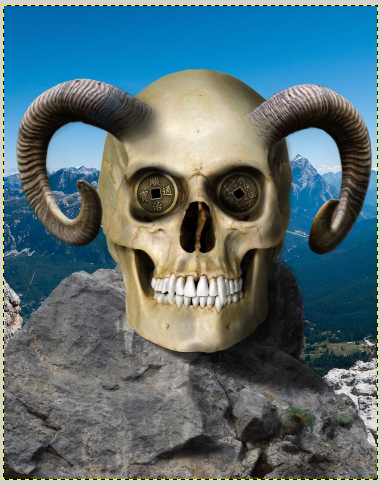
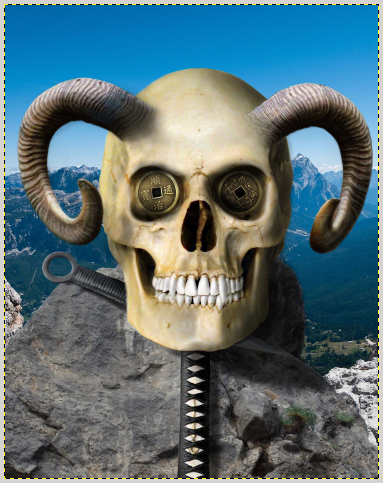
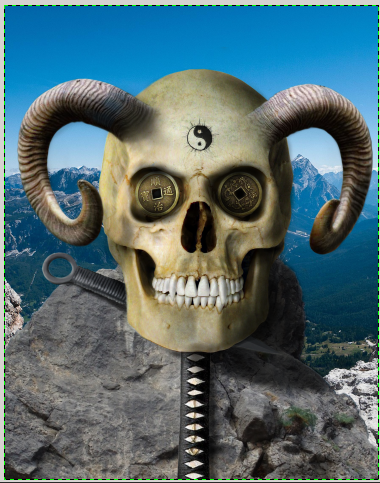
Now we are ready to start! Open the skull image, right – click to add a layer mask: block out the image as you can see below:
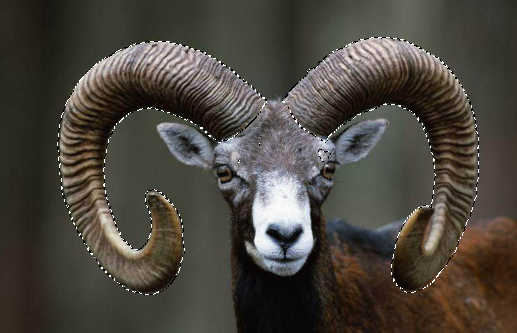
File—>Open as layer and open the horns image. Click at the bottom left of the image (on the red square) to activate the quick mask mode.

Through this option, select the horns.
Use the scale tool to reduce the horns dimensions in order to adapt them to the skull size.
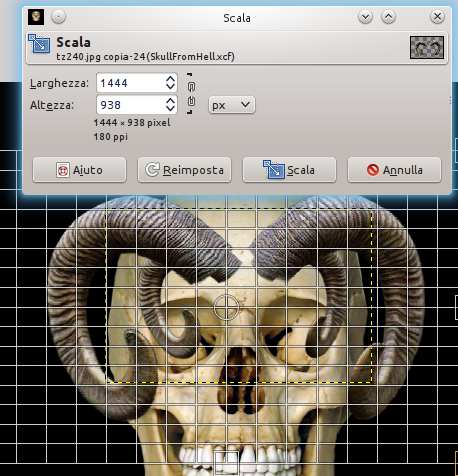
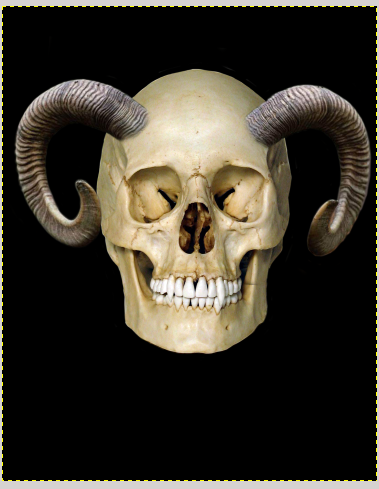
This will be the outcome:
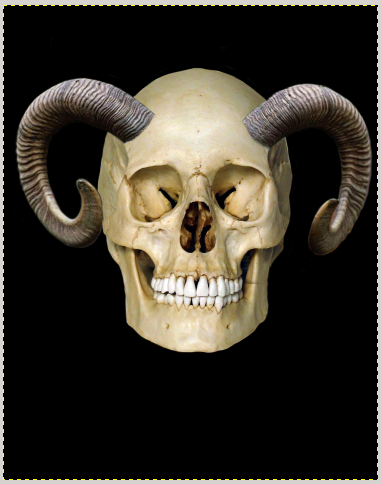
Add a layer mask to the horns image and soften lightly the initial part in order to create the junction between the horns and the skull. Select brush tool with opacity = 30 and operate on the layer mask to soften the area.

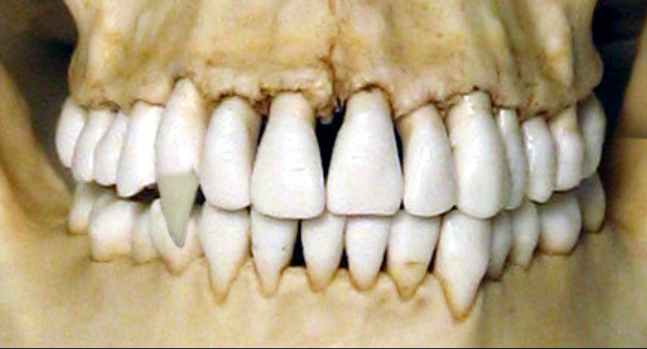
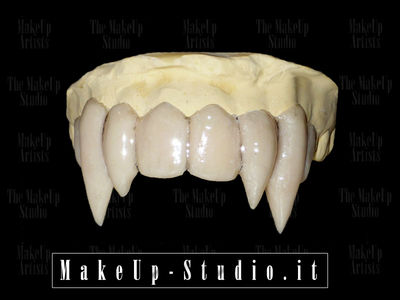
Now open the vampire teeth image downloaded at the beginning of this tutorial, add a layer mask and delete everything apart the final part of the tooth, that you will have to position like in the image below:
Click on Colors—> Curves and regulate the color of the vampire tooth to make it equal to the skull ones.
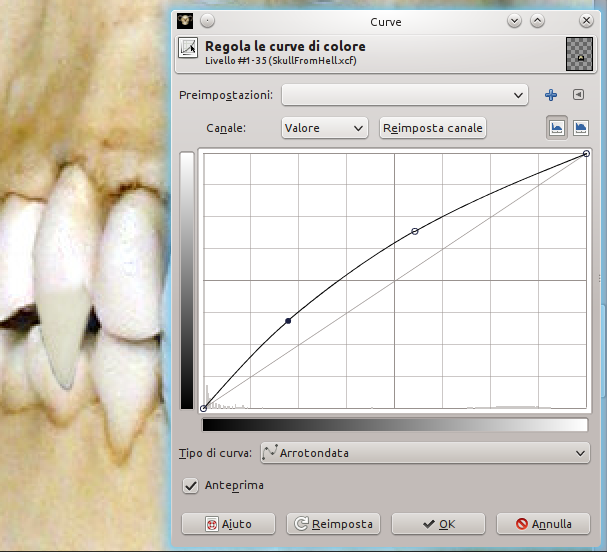
To correct the last small details you can use clone tool with the skull teeth as source. The image below will be the result:

Open the vampire teeth image again and repeat the process for the other canine.
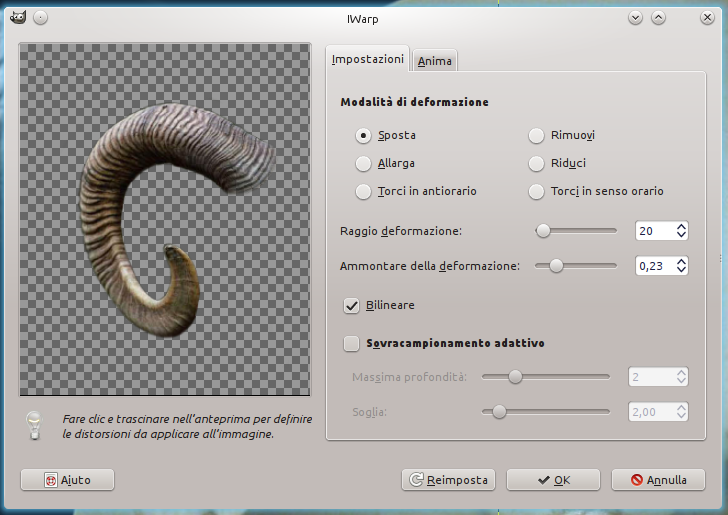
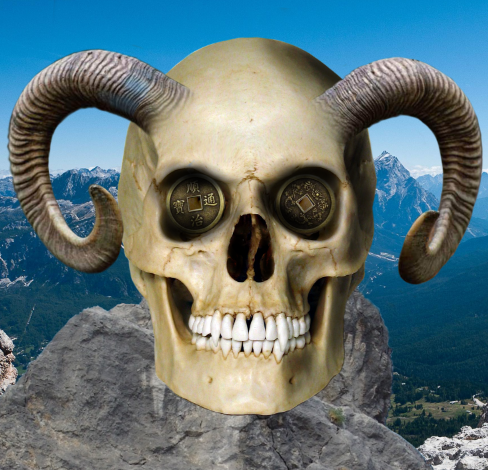
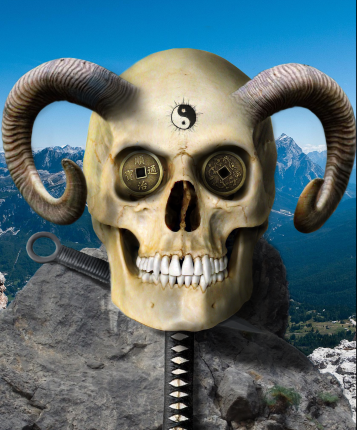
At this point we will use IWarp tool (Filters—> Distorsion—> IWarping). This tool allows us to modify the image through some deformation methods. Selezioniamo move mode, range = 20 (the size of the brush) and deformation = 0,30. Once you have set these parameters, move the upper part of the eyes hollows in order to give an angry expression to the skull.
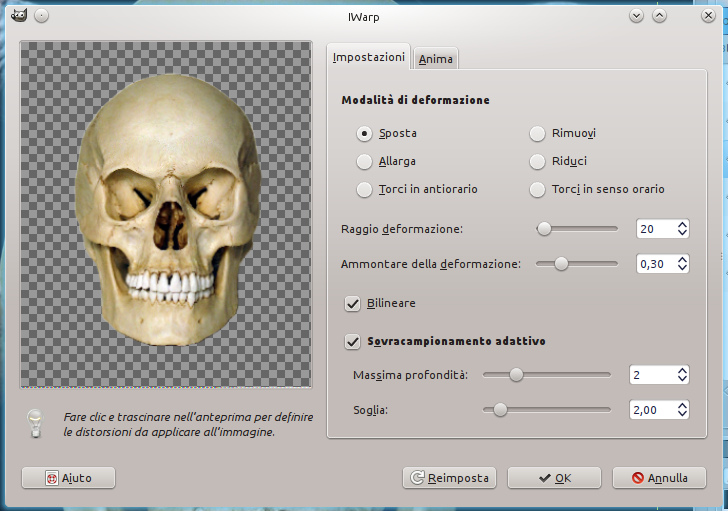
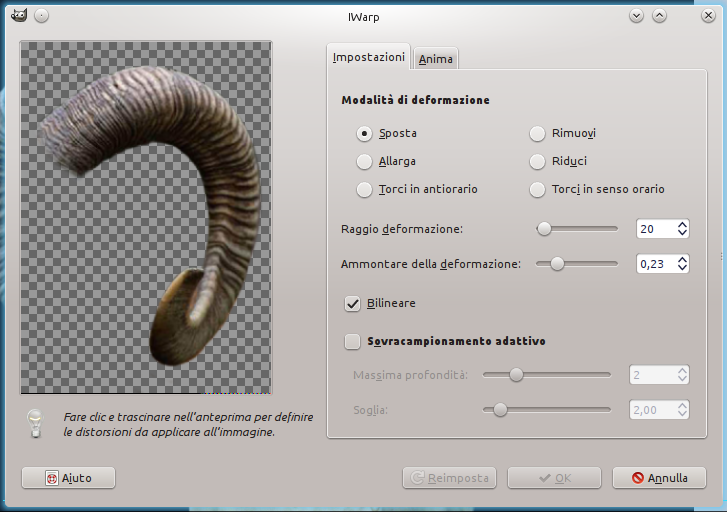
Use the same tool to enlarge the base of the horns:
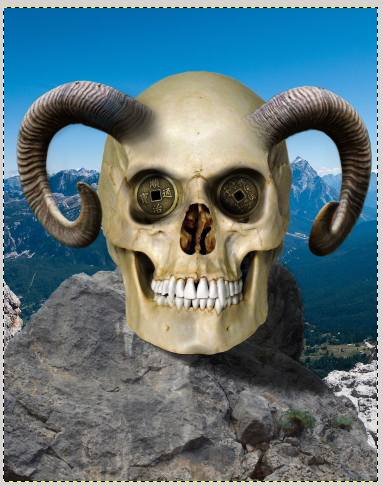
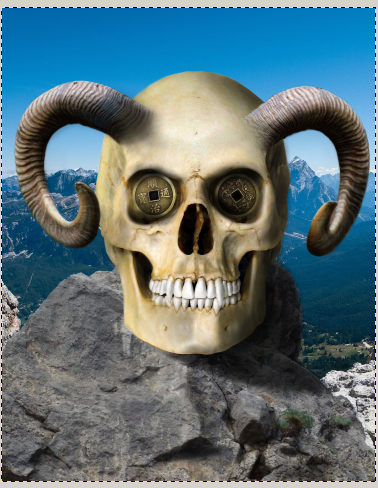
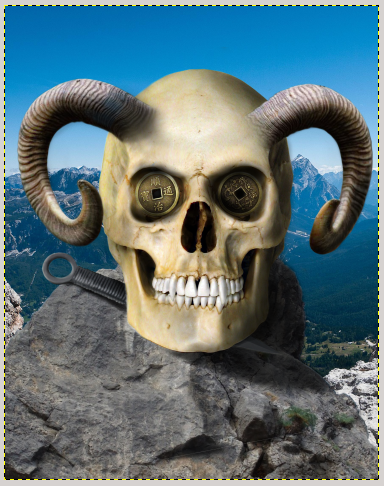
In ancient times, people put two coins on the deceased eyes to pay the journey toward the afterlife. Our image has an oriental aspect, so add two ancient chinese coins (you can find the link at the beginning of the tutorial).
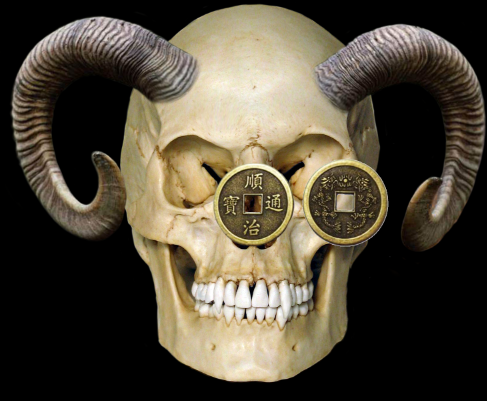
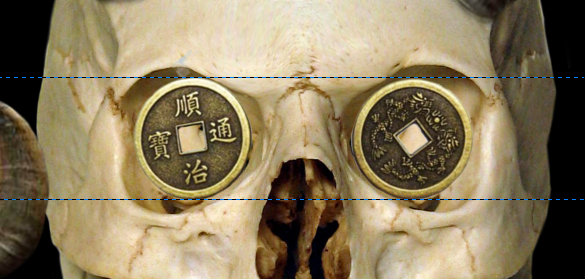
Position the coins on the eyes hollows (I used the blue lines to align the two coins, you can press CTRL + SHIFT + T to show or hide them). If necessary use the scale tool, to resize the coins.
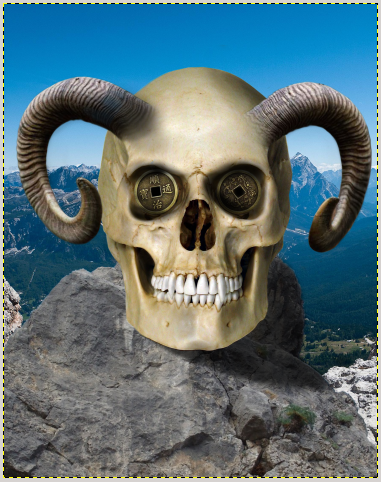
Open the rock image downloaded at the neginning of the tutorial and position it like in the image below:

Right – click—> Add a layer mask and block out the rock. Then open the background image and position it under the rock layer.
Our image is a clear photomontage, it is flat and the light direction is not univocal. You have two alternatives:
1) Create a new layer over each element (horns, skull, rock, coins) and draw specific shadows, this is the best method but it requires more time.
2) Create only one layer over all the other, in which draw the general shadows of the whole image.
I chose the first method. Select the brush tool (black color, opacity = 45%) and color in order that all the shadows are in the right part of the image.
If the shadows are too dark, modify the layer opacity. Here you can see two different shadows: one for the eyes and one for the rest of the skull.
Add shadows also to the details of the skull, the horns and the rocks.
Now create lights with white color and layer mode on value.
Add some other details to the image: open the kunai image downloaded at the beginning of the tutorial and position it on the rock, as if it leans against the rock.
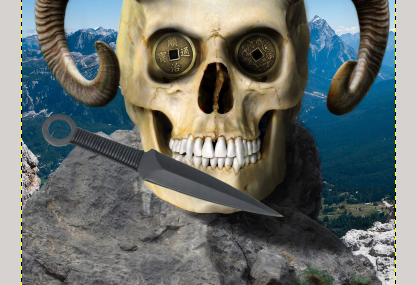
Position the layer under the skull one.
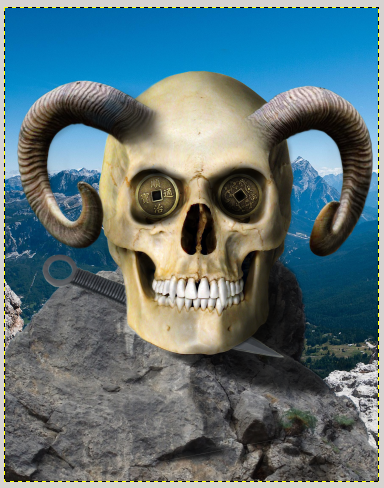
Add the specific shadows of the object, as in the image below:
Now open the katana image, and position it vertically.
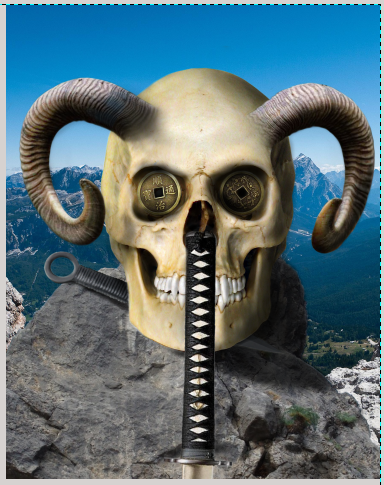
Add a layer mask and delete the underlying part.
Then add the shadows to the katana in this way:
Create the lights, as you did previously for the skull.
Open the Tao image and position it on the skull forehead.
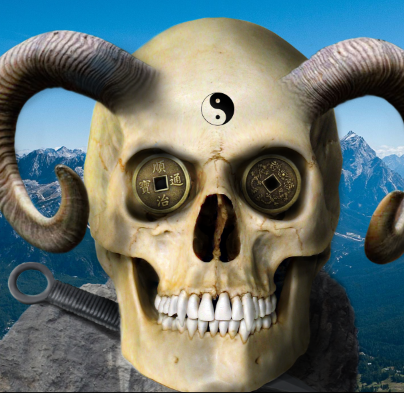
Ruin the contours of the Tao with brush tool (size 3px), as if the symbol was made from a bullet shot.
At this point, ruin the skull in order to give a timeworn effect.
Adjust the grounge image with the skull size and change layer mode from “Normal” to “Multiplier“.

Right – click—> Add a layer mask: delimit the image to the skull contours.
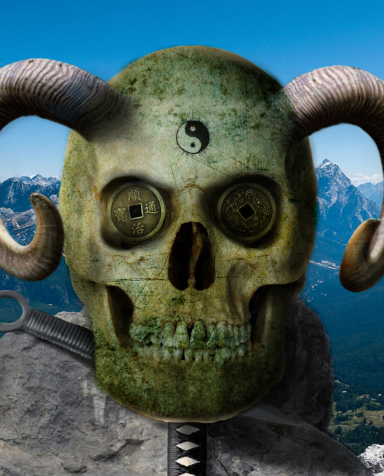
Modify opacity from 100 to 30.
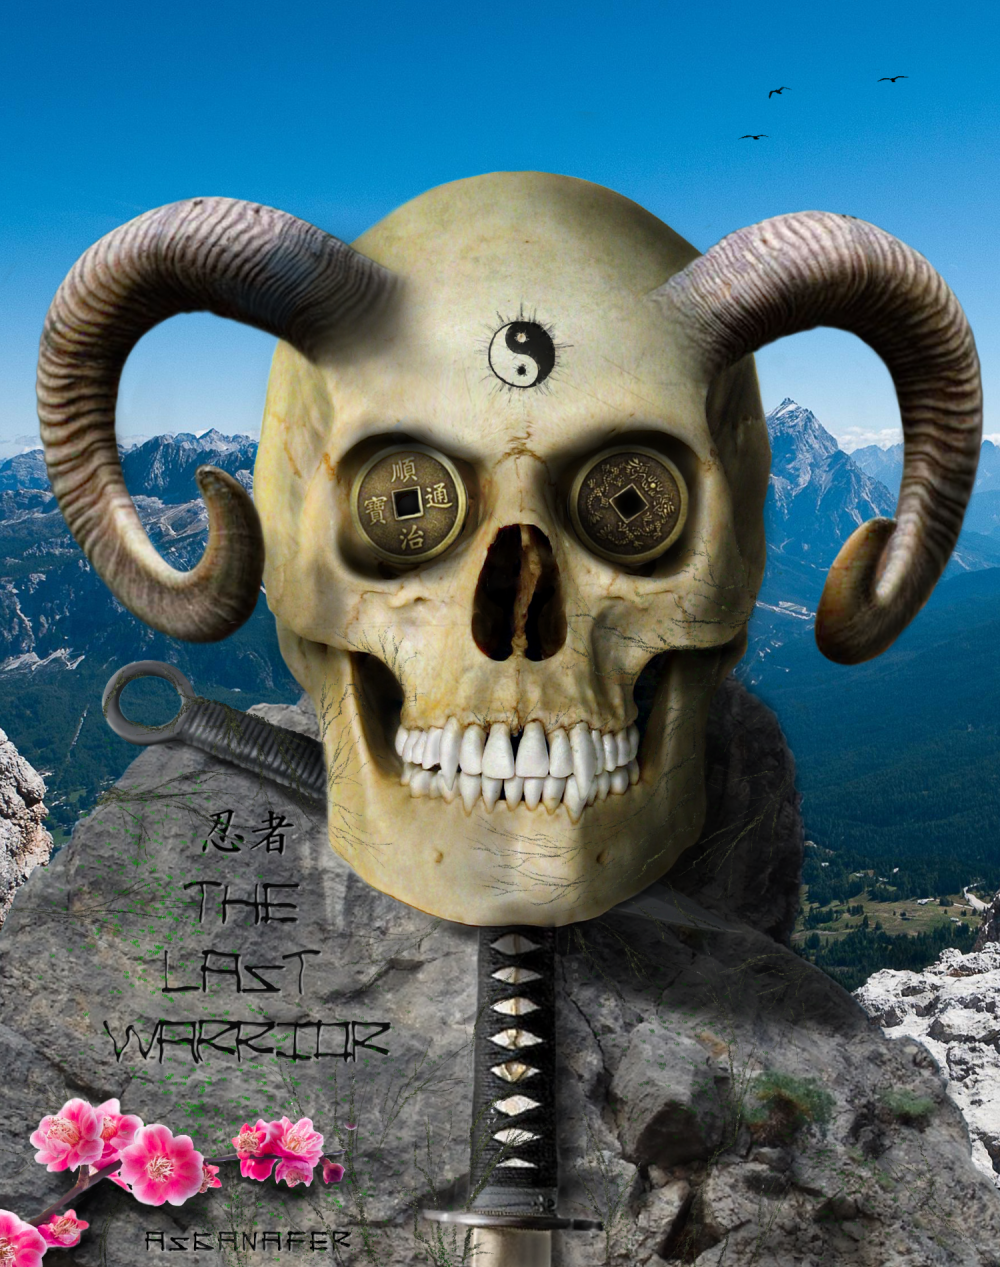
At this point you can add some other details. I did these final touches:
– I addedsome climbing plant (you can create them using clone tool with the source on a wood image);
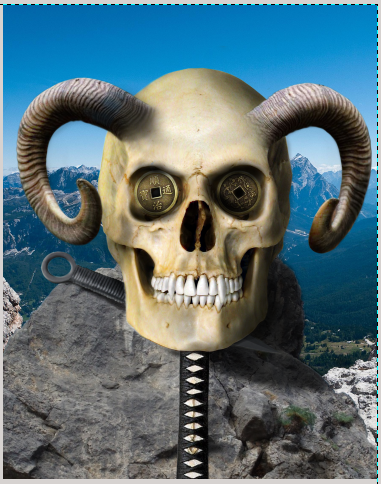
– I positioned the katana a little above in order to make the blade visible;
– I added some flowers;
– I created an epigraph (write it with text tool, and make the shadows clicking on Script-Fu—>Layer Effect—> Bevel and Emboss).
– I added some little birds at the top right.
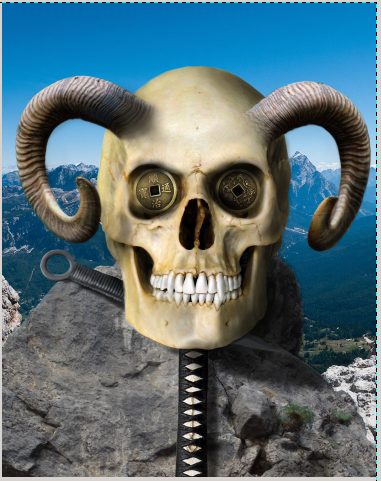
This is the final result! What do you think?