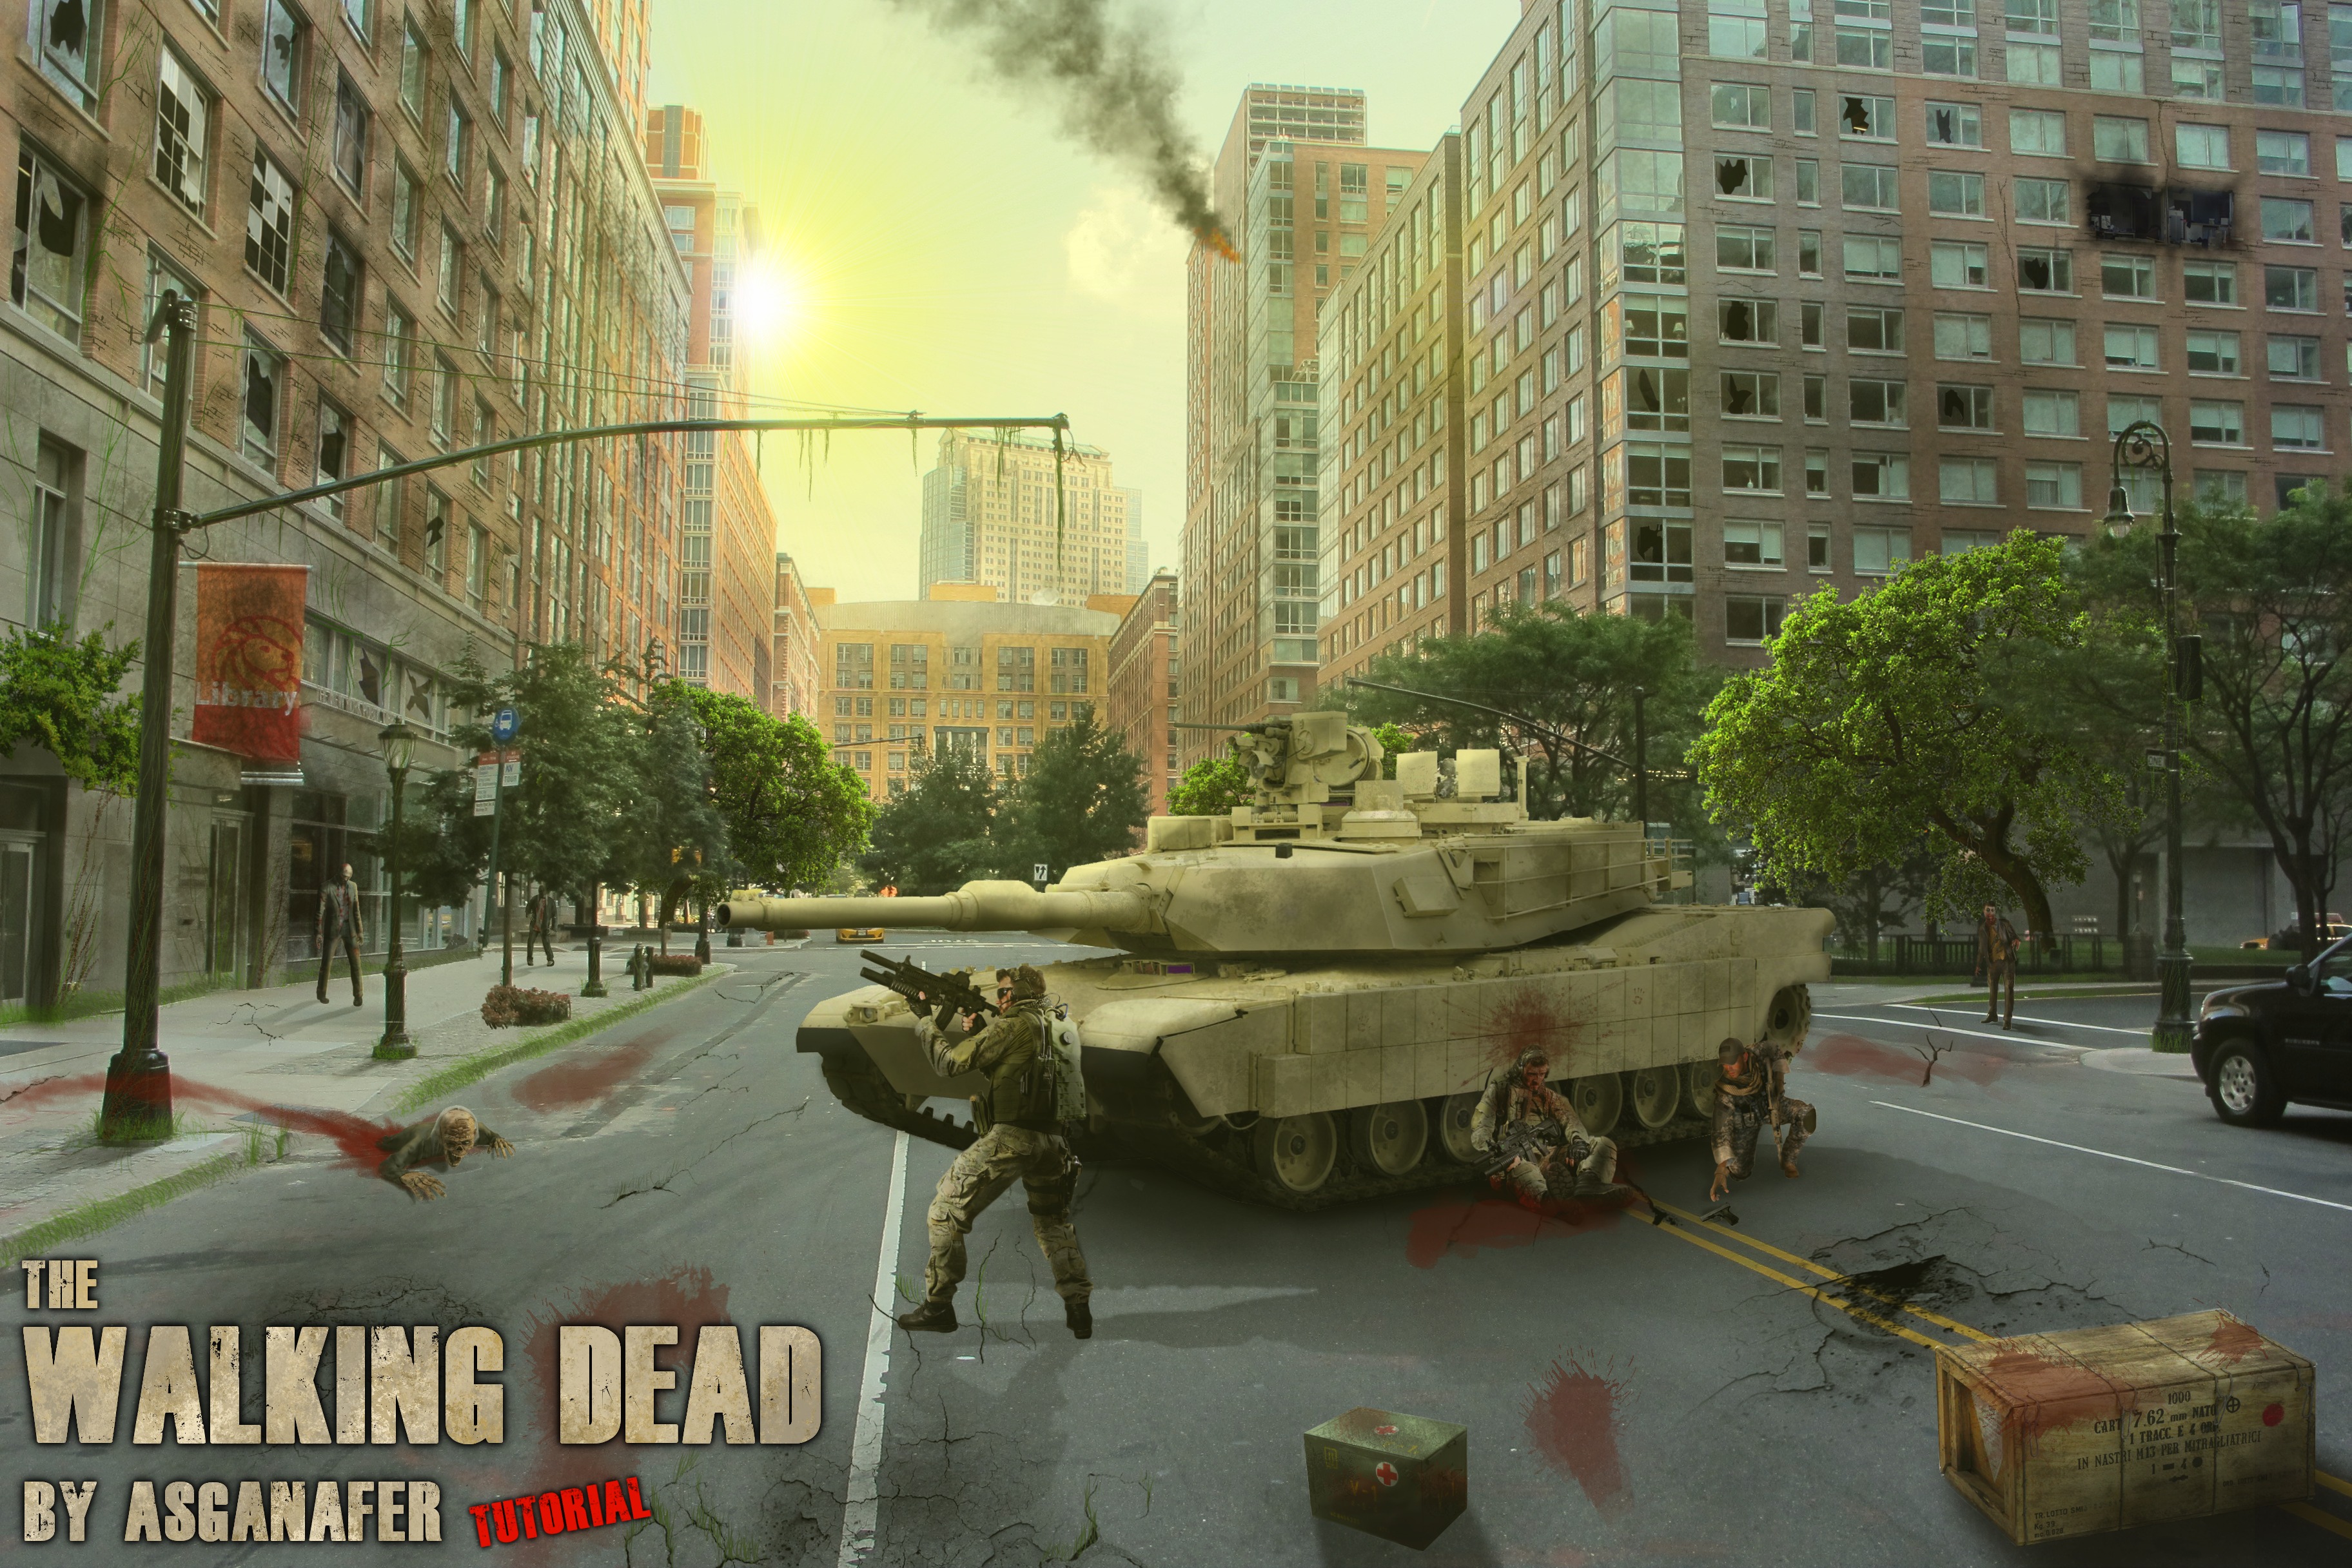
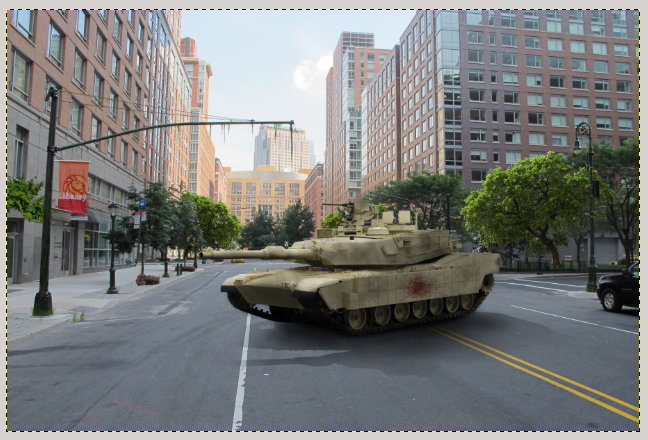
Hy everybody! Do you like ” The Walking Dead”? I love it, so I created a gorgeous TV series inspired scene!
I have decided to split this tutorial in two parts, so let’s start with the first one:
Download the following materials:
- City
- Tank
- Tree
- Vegetation
- Broken windows 1
- Broken windows 2
- Zombie 1
- Zombie 2
- Zombie 3
- Zombie 4
- Soldier on the ground
- Soldier 1
- Soldier 2
- Medical Box
- Munition box
- Font Walking Dead
- Crack brushes
- Grunge brushes
- Exploded builing
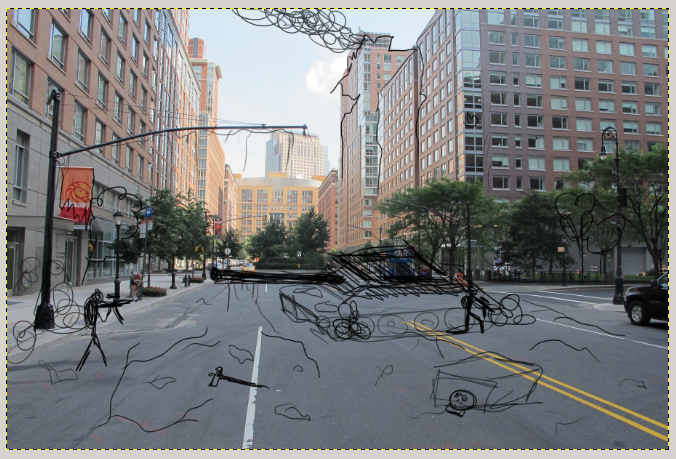
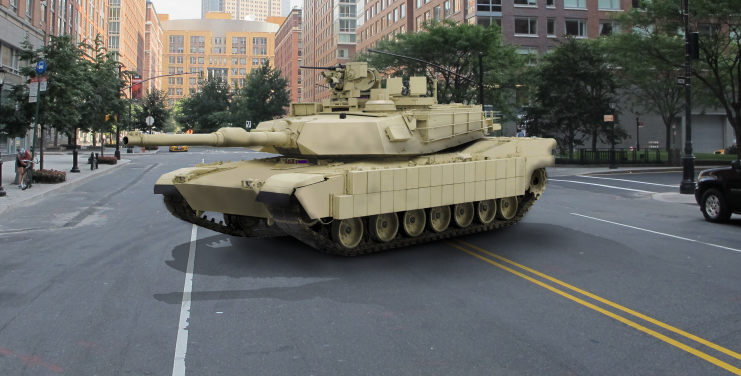
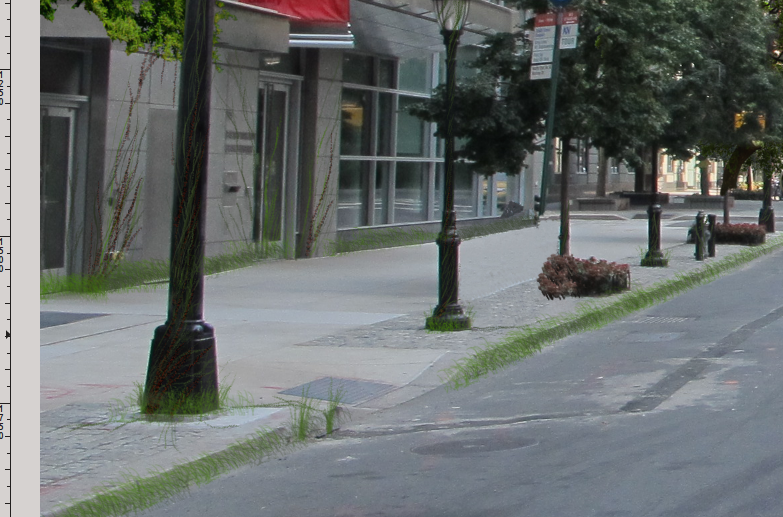
Open the city image and make a sketch to plan how you want to proceed.
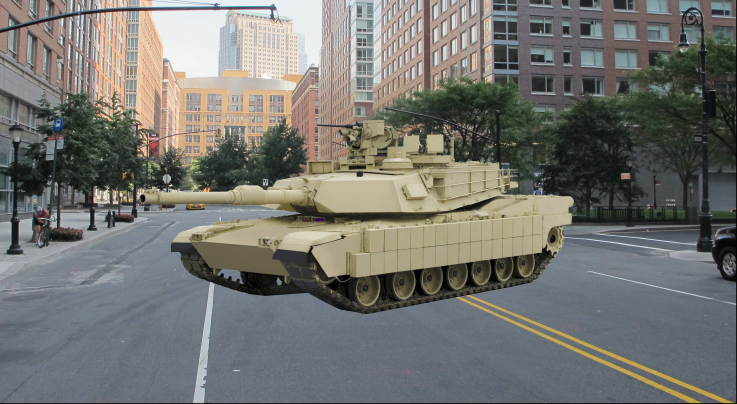
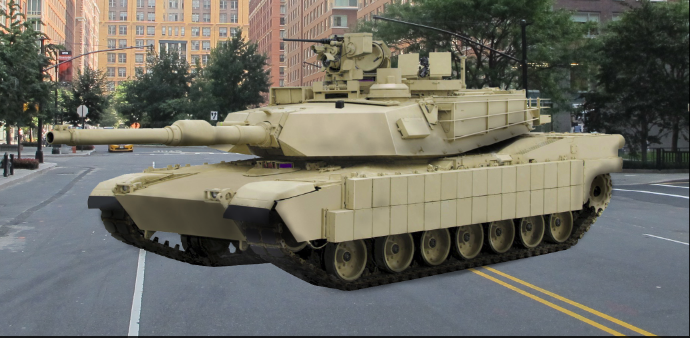
Now we can start! File—> Open as layers and open the tank image. The image I chose is already blocked out, in case yours isn’t, add a layer mask to delete the background.
Select the brush tool, set opacity to 30 and draw the shadows of the tank on the caterpillars and frontal part.
At this point, right – click on the tank layer, click on Duplicate layer and color with black color.
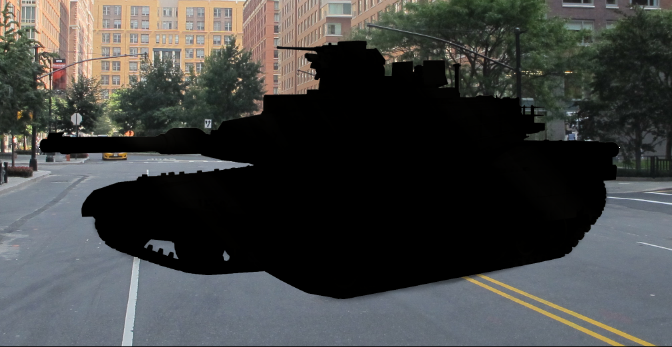
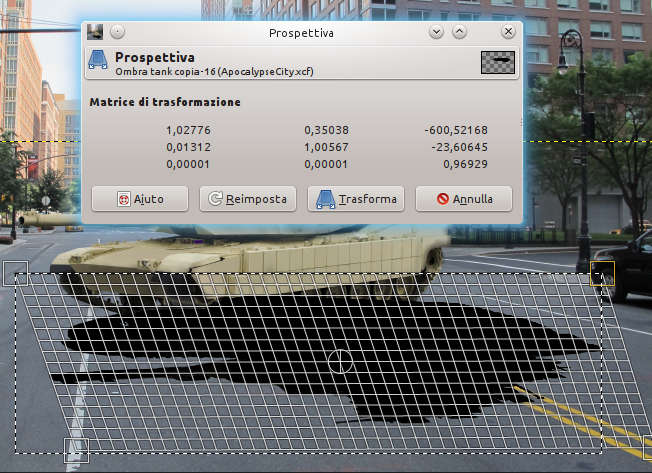
This step consists of distorting the image to create the tank shadow. You must decide right now where to put the Sun, because lights and shadows dimensions and grade depends on its position. I decided to position the Sun at the top left, select reflect tool to reflect horizontally the image. Then distort it with perspective tool.
Right – click —> Add a layer mask and apply a gradient (from white to black) in order to soften shadow. If the shadow is too dark, you can adjust it with layer opacity.
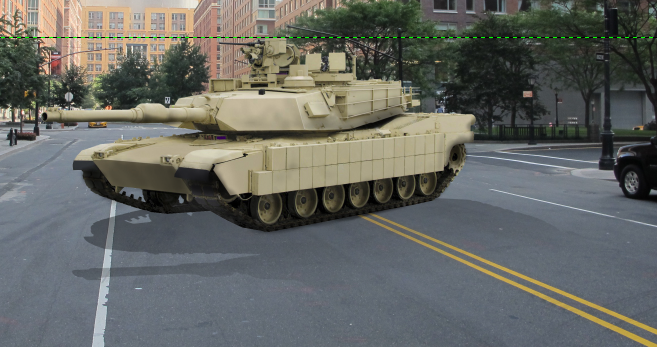
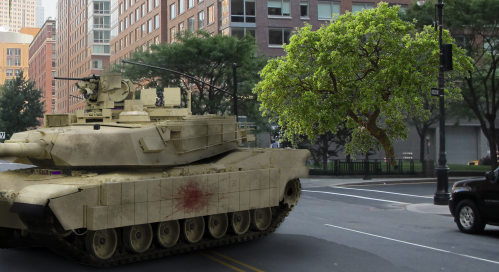
On the shadow layer mask, darken the shaded part at the base of the caterpillars by lighten the external part with brush tool (opacity = 20). You will get an image similar to this:
Now you have to soften the shaodow on the left, because it is the direction from where light comes. Do it with brush tool (opacity 30).
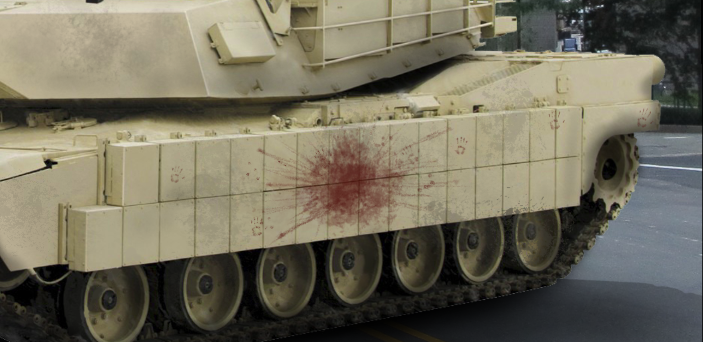
Let’s create some more details. First create a new layer over the tank one. I would like to position a soldier leaning against the tank with a blood spot. Select #4a0404 color and start to draw. I suggest to use the graphics tablet: if you own it, select “Pencil Generic” as brush dynamics; if you don’t have a graphics tablet you can use brush tool.
To draw vegetation, select brush tool with #486826 color and trace the basic lines. If you own the graphics tablet, you can continue to use pencil generic dynamics, as an alternative you can use the grunge brush downloaded at the beginning of this tutorial.
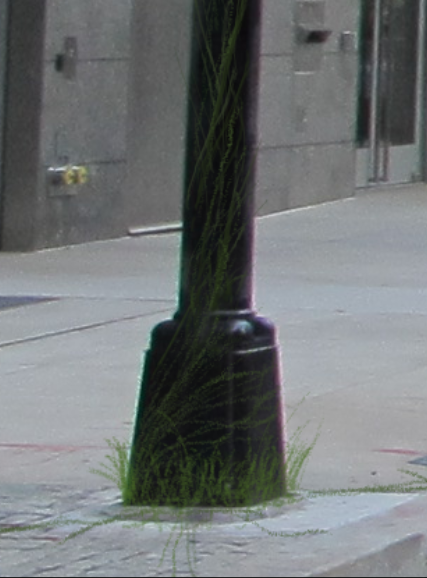
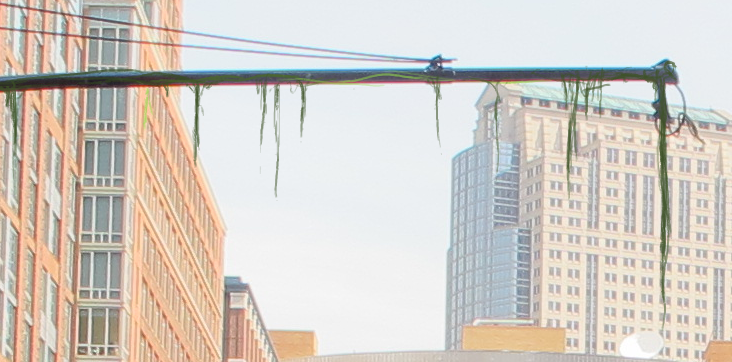
Draw other climbing plants along the whole street light.
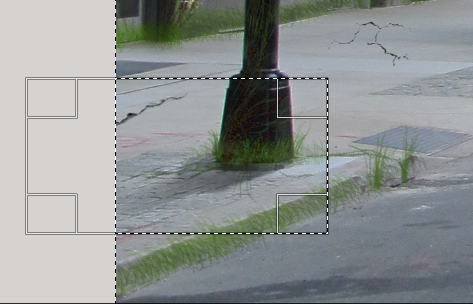
File—> Open as layer, and open the tree image downloaded before, put it between the background and the tank.
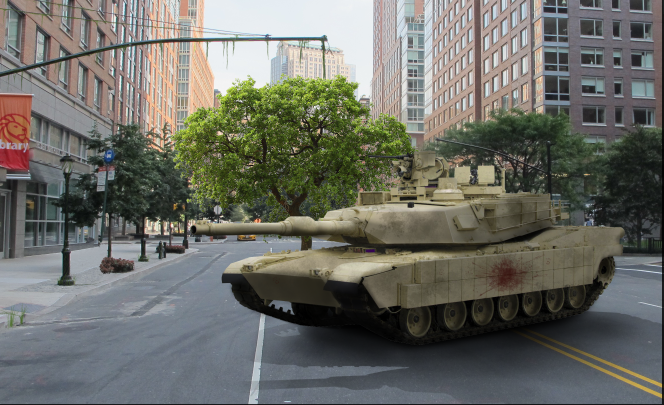
Now you can choose where to position it, I decided to position it on the right, between the other trees. I used a different tree from the background ones to give the idea it is a spontaneous tree. Then create a layer mask and erase the hidden part (for example the part with the street light).
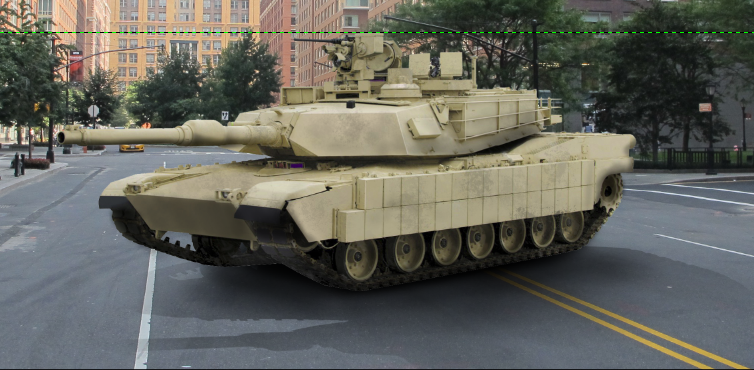
Click on Colors—> Curves to regulate the tree color in order to make it less contrasting, and darken it with layer curves. Then add some other trees on the background, and regulate their colors with curves.
Add other vegetation between the pavement and the road, and on the buildings. I used the graphics tablet, but you can use the brush too.
At the beginning of the tutorial we downloaded crack brushes, use them now to draw some cracks in the asphalt. Create a new layer, position it over the city image and set opacity to 80, then draw the shadow of the street light using the freehand selection tool to block out the image (you can do it only for the lower part).
At this point you can see an active selection, create a new layer and fill it with black color. Position the shadow with rotate tool and perspective tool and set opacity to 40, then add a layer mask to soften the farther part.
This will be te result:
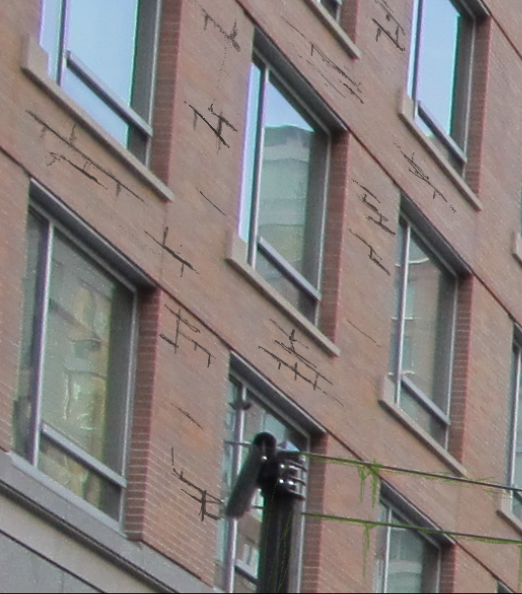
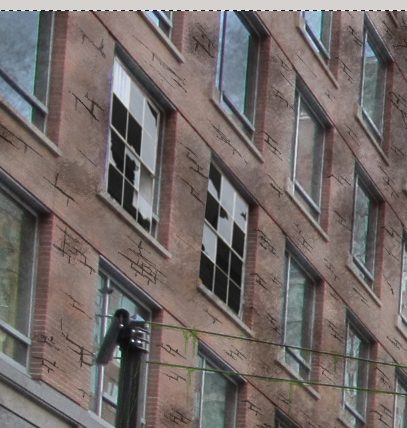
Select brush tool with #5b5332 color and start to draw some cracks between the bricks of the wall, like in the image below:
Create a new layer over all the building ones, select a grunge mode brush (downloaded at the beginning of the tutorial) with opacity = 10 and ruin the building facade in order to make it older.
File—> Open as layer and open the broken windows 1 image, block out the two windows with freehand selection tool and resize them with perspective tool to adapt them to the dimensions of the other windows. You can organise all the windows layer in a folder , position it under the grunge effect layer cretaed in the previous step.
Open as layer the broken windows 2 image and repeat the same process. First block out the window:
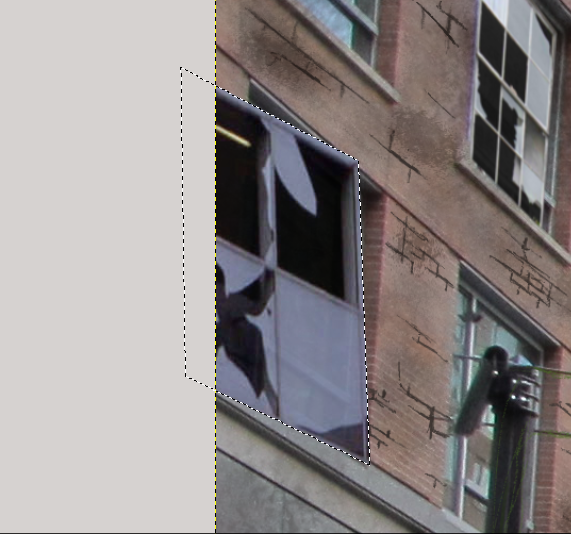
Then select perspective tool to resize the sides of the window and adapt them to the building.
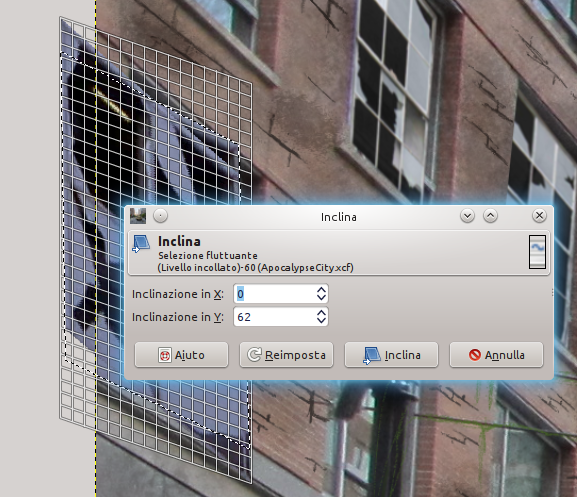
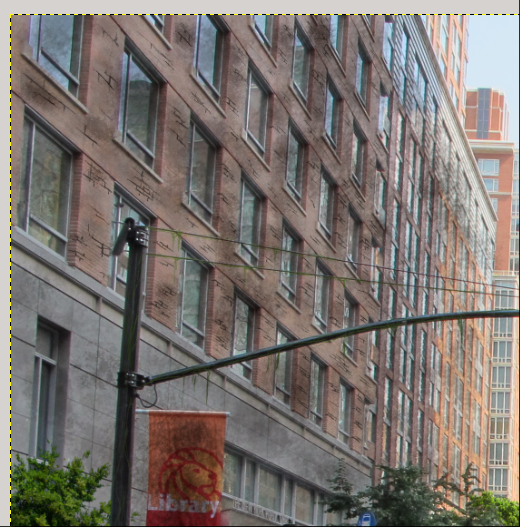
At the end you will get a result similar to the image below:
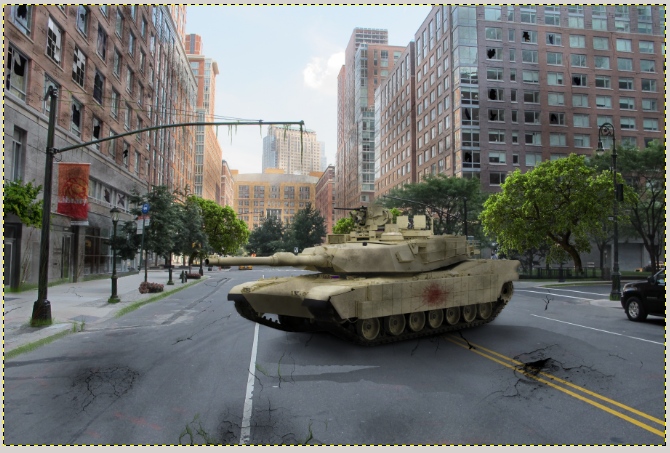
Don’t miss the second part available soon! 😉