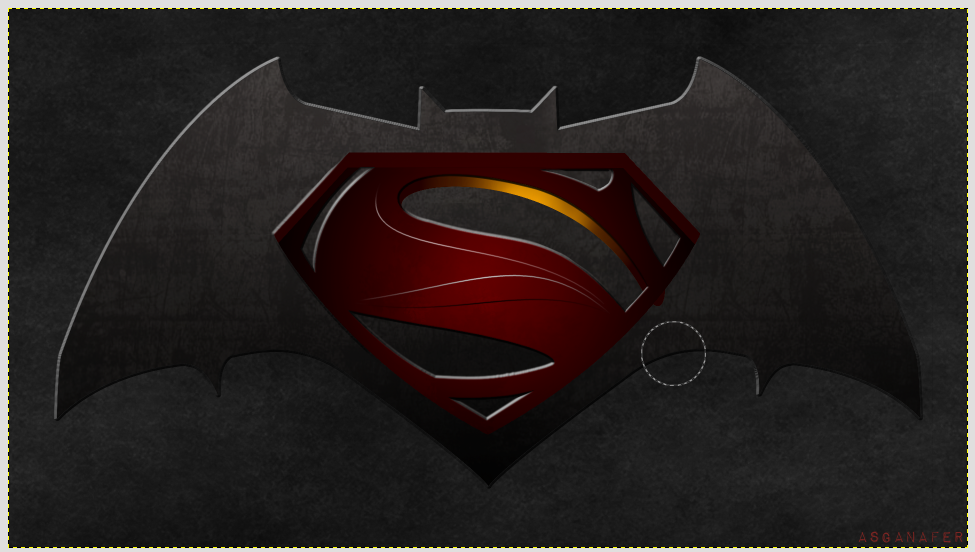
Hi everyone! Ever since I saw the recent Batman vs Superman movie I’ve decided to realize this gorgeous inspired logo!
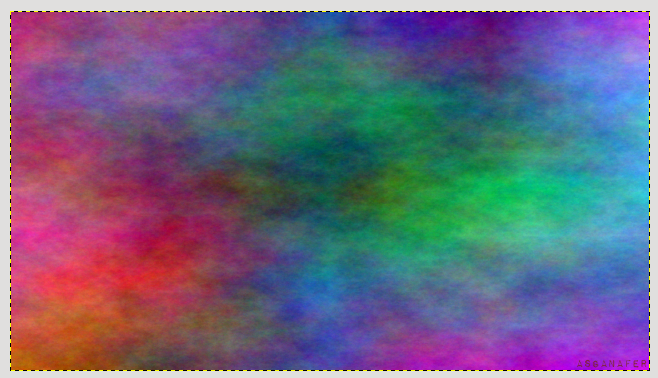
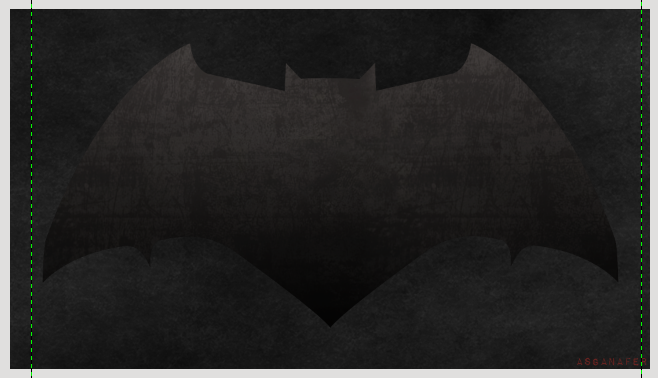
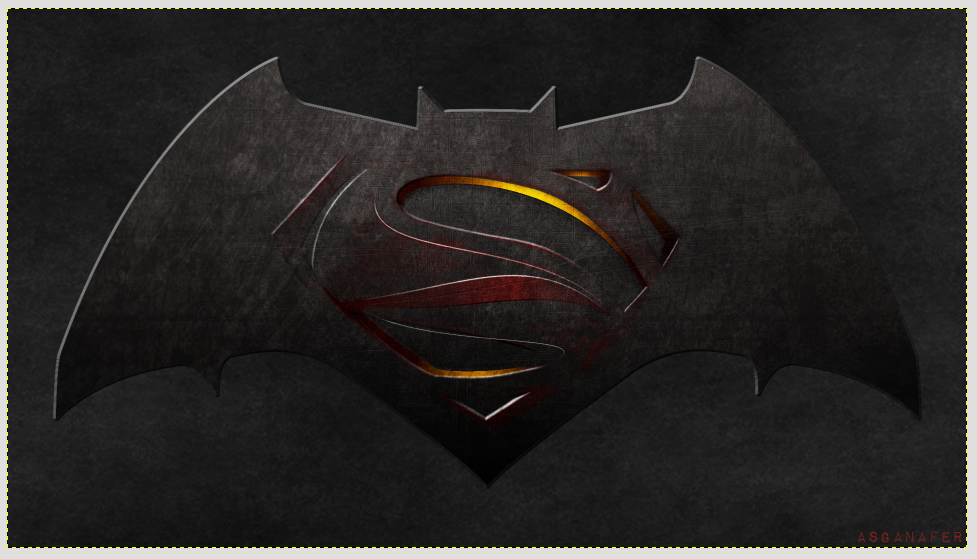
Do you remember about my Superman logo tutorial? This will be the basis to create the new logo. So the image below is the beginning of this tutorial:
![]()
Before starting, download the following materials:
- Metallic texture #1
- Metallic texture #2
- Splattern brushes
- Batman Logo template
- Font KEEP CALM and USE GIMP 😀
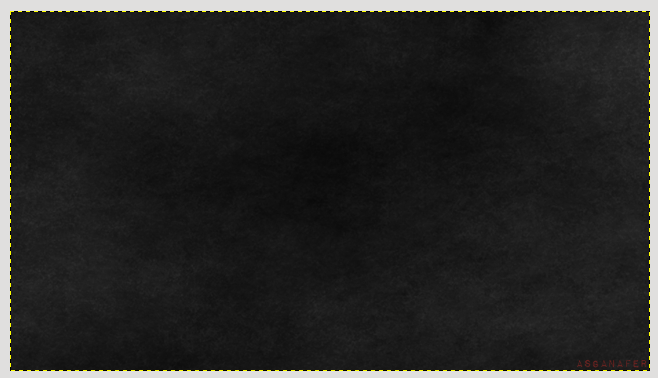
First hide the group of layers (I suggest to put all the Superman logo layers in one folder or a group of layers), then open the Metallic texture #1 image in order to use it as a part of the background changing opacity from 100 to 22.
Create a new layer over the texture one and click on Filters—> Render—> Clouds—> Plasma. A window will appear, click OK.
Colors—> Desaturation and click OK, the image will become black and white. Change layer mode from Normal to Overlaid and you will get this result:
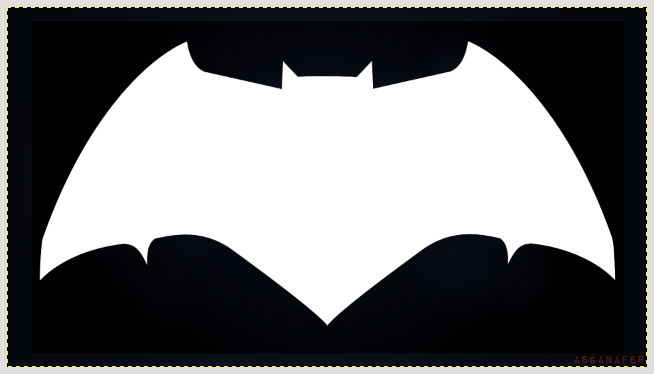
File—> Open as layer the Batman logo template (you can download it at the beginning of this tutorial). Position it in a group of layers between the background and the hidden group of layers.
On the layer just opened, right – click—> “Alpha to selection“, then apply a shade from color #050404 (at the bottom) to #353333 (at the top) with gradient tool. Open as layer the Metallic Texture #2 image downloaded at the beginning of this tutorial, right – click—> Add a layer mask making sure that Selection mode is active, and click OK.
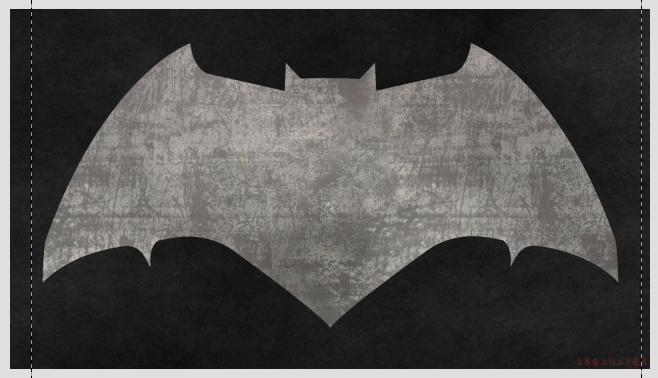
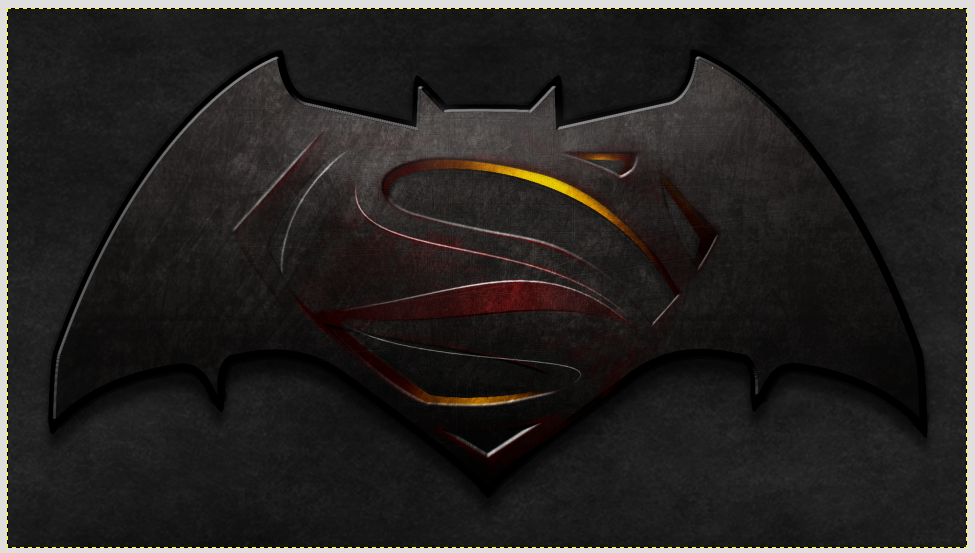
Set layer mode from Normale to Soft light in order to get this:
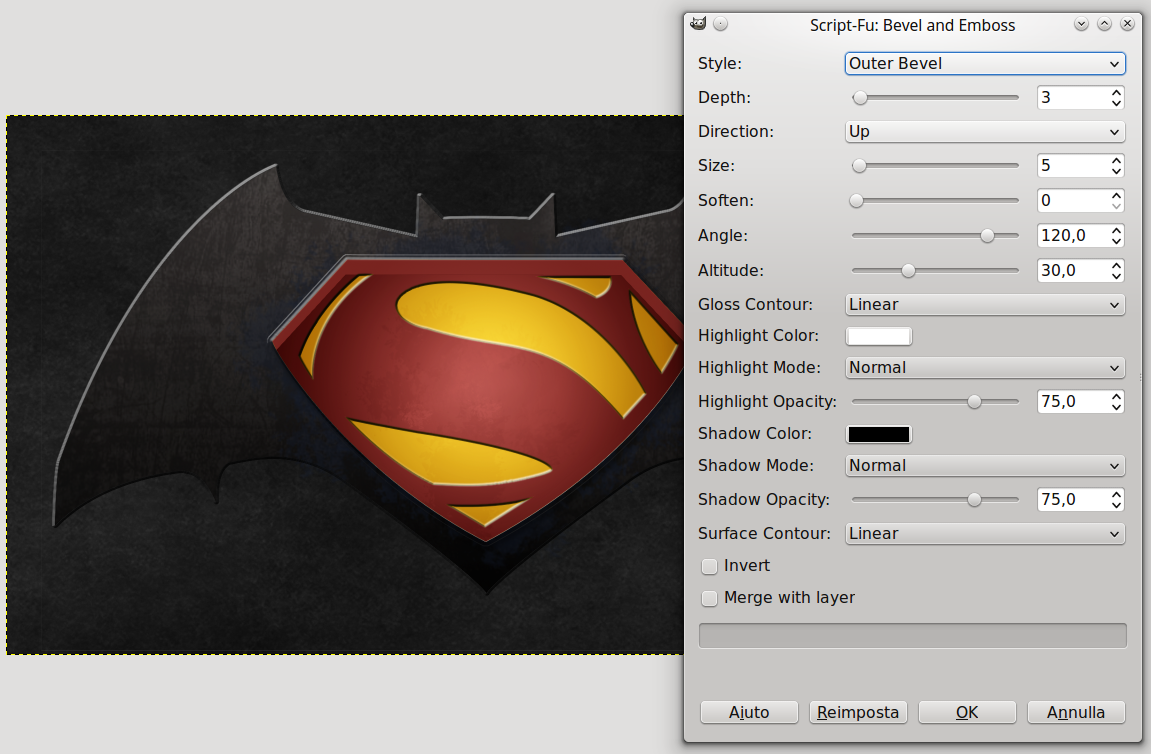
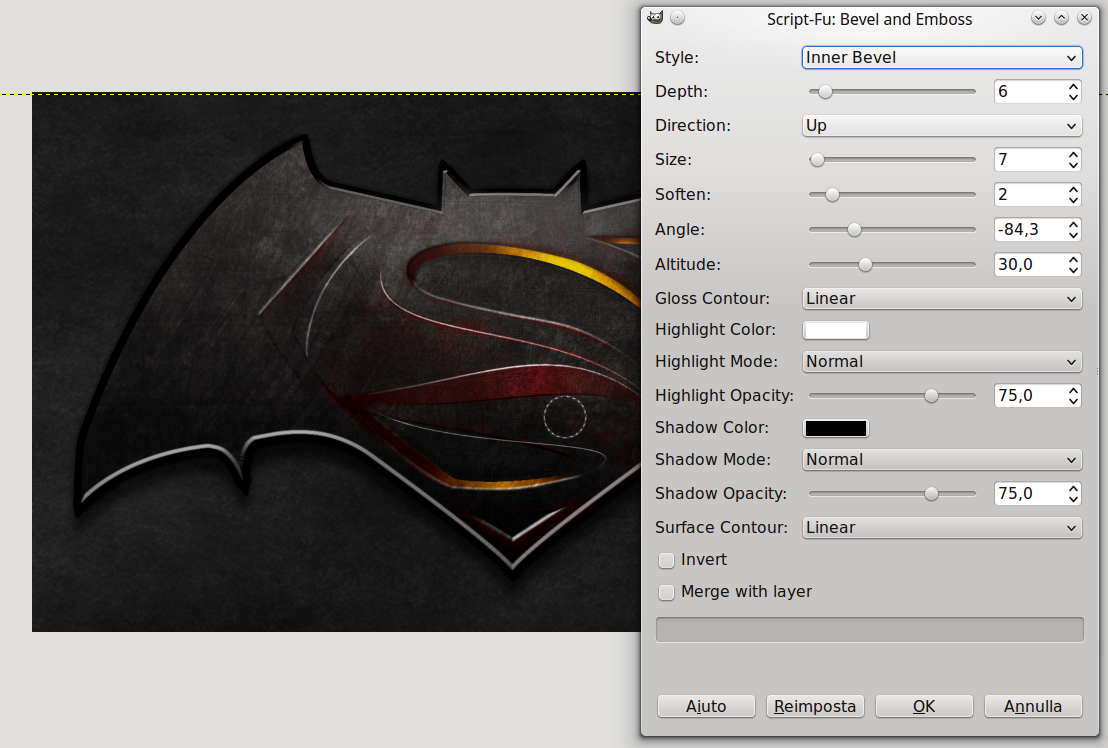
Click on Script Fu—> Layer Effect—> Bevel And Emboss and configure the options below:
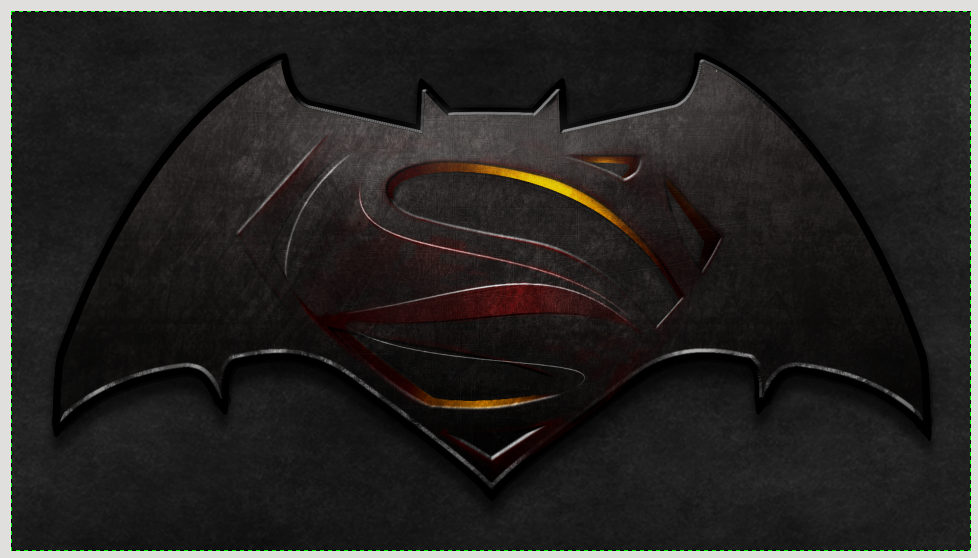
Then make the Superman logo layer visible again.
Remove the orange color layer from the logo created in the previous tutorial, in order to adapt it to the new logo. Then select path tool and trace a line in the following way:
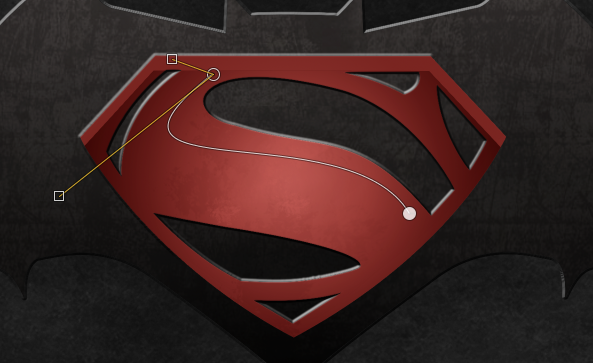
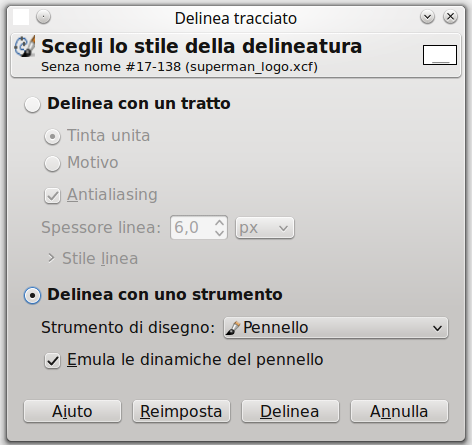
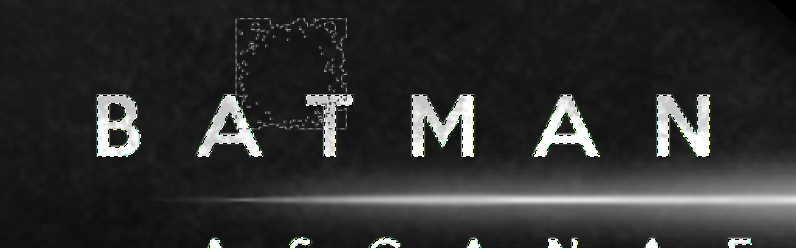
Select brush tool with size = 6px and white as primary color, and outline the path. Then click on Modify—> Path to selection as in the image below:
Repeat the same process for these two lines (draw them with two different paths).
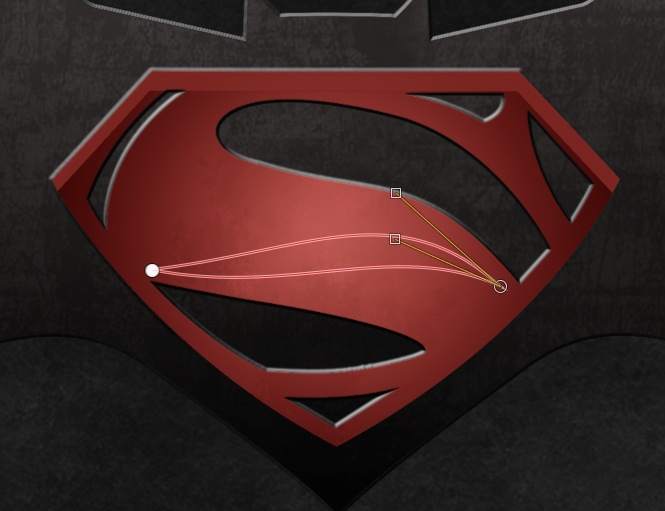
Set white as color for the upper line, and black for the lower line.
Once you have created the lines, click on alpha to selection on the red color layer and color it in #250000 (outside) and #450000 (inside) with gradient tool. The result should be this:
Now we will give a three – dimensional effect to the logo. Draw a segment with path tool in this way:
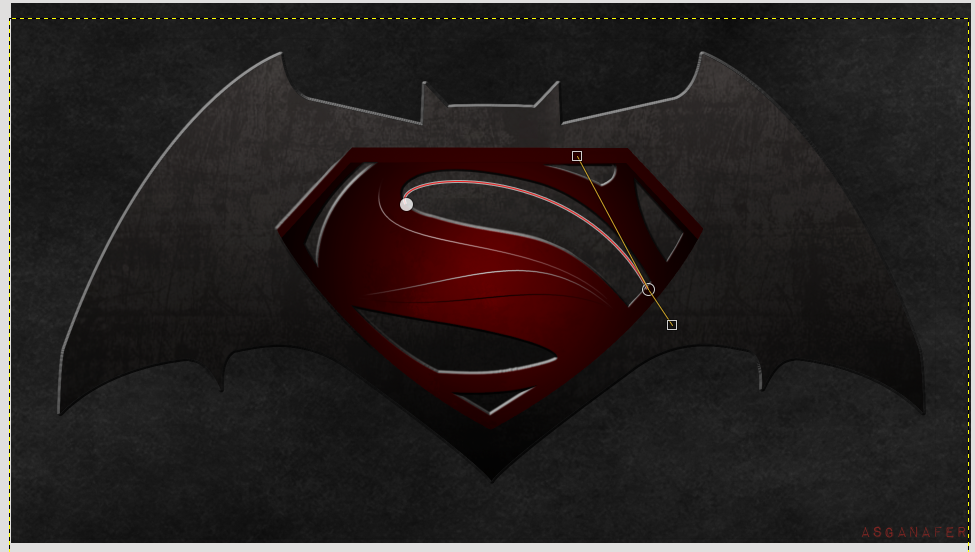
The layers of the borders will have to be put (in a folder) below Superman logo. Select color #f8a300 and click on Modify—> Sketch paths, configure the previous settings apart from “emulate dynamic brushes”, don’t check it. Fill possible gaps with brush tool.
Select Gradient tool to create a blur, right – click—> Alpha to selection and apply the shade from color #220000 (dark red) to #f8a300 (orange).
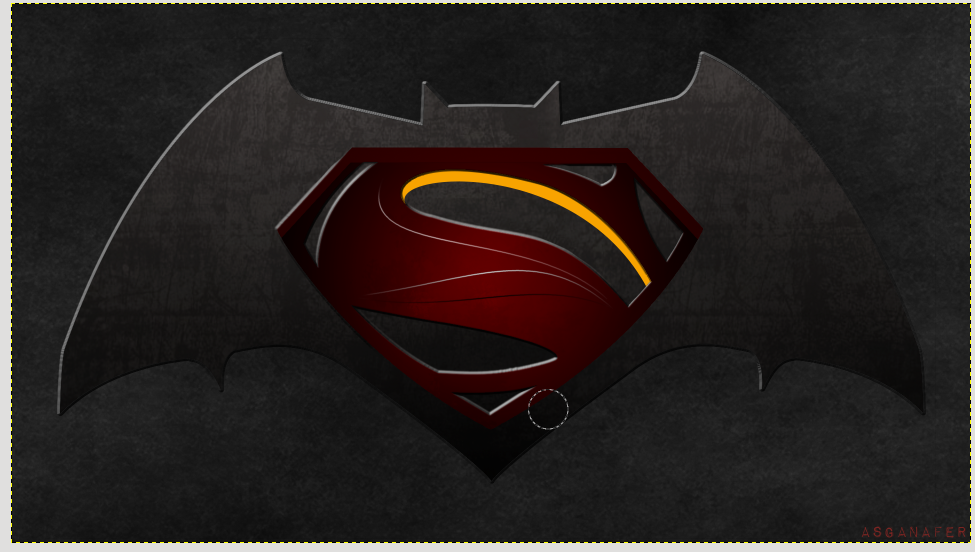
If you look at the line just created, you can see that it is a bit too static, apply a shade to adjust it: Filters–> Light and shadow–> Project shadow.
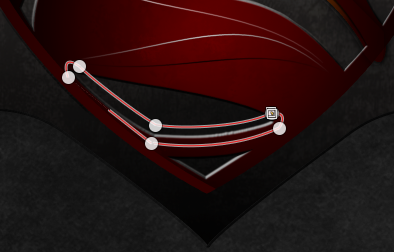
Now let’s pass to the lower side of the “S”! Create a path around the lower white border with path tool in this way:
(This layer will be positioned below the logo)
Repeat the same steps also for the splits at the top right of the logo.
Then you have to delete a bit of red from the logo, and join together the two logos. Right – click on the Superman group of layers and click on Meld layer groupFondi (first create a copy and make it not visible). At this point add a layer mask to the new layer and select brush tool with black color, block out the logo image paying attention not to erase the borders (they must be visible). For the central part, set brush opacity to 30 in order not to hide completely red color.
File–> Open as layers–> Metallic Texture #2 (download it at the beginning of this tutorial) and position this texture over the two logos, Change layer mode from Normal to Screen and opacity from 100 to 50.
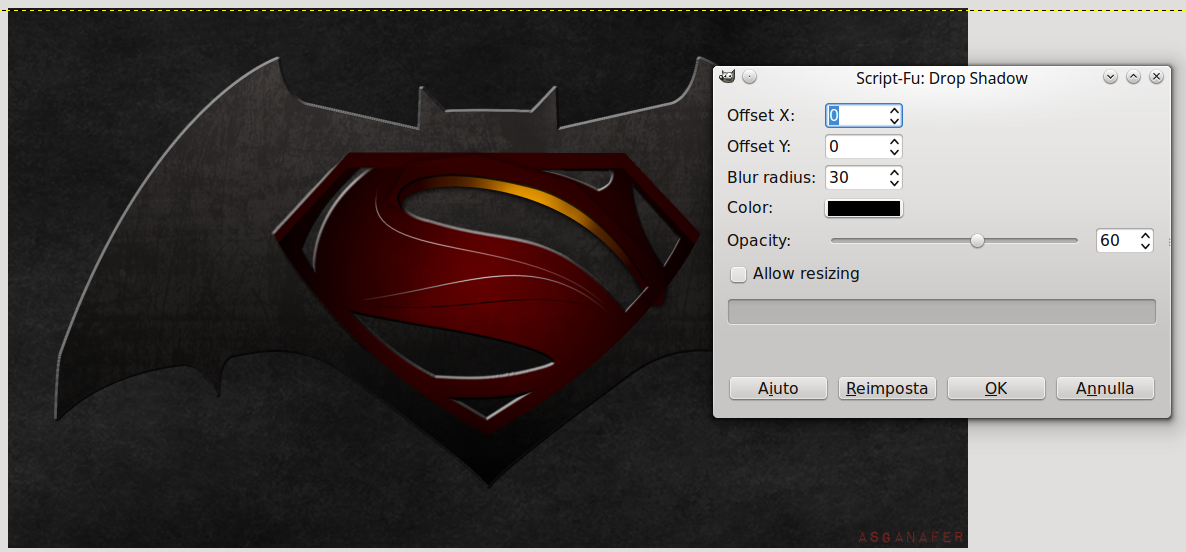
Project the bat shadow clicking on Filters–> Light and shadow–> Project shadow, configure the settings below:

To define the lights, create a new layer over the logo one, click on alpha to selection of the bat borders and color it slightly using brush tool ( white color, opacity = 10 ).

Repeat the same process with black color in order to define the shadows at the bottom of the logo.
Configure the options below and repeat the previous steps to add some reflections in lower part.
The result of the script will be two layers with two layer masks. Join together the two layers (position the cursor on the first layer, right – click—> Meld downward) and add a layer mask. Select the brushes downloaded at the beginning of the tutorila with opacity = 30 and ruin the borders in order to get this effect:
At the beginning of this tutorial you can find the link to download the font used for the logo in the movie, once you have installed it, you can position the writing on the image below (text options are in the section tool options below the tools):
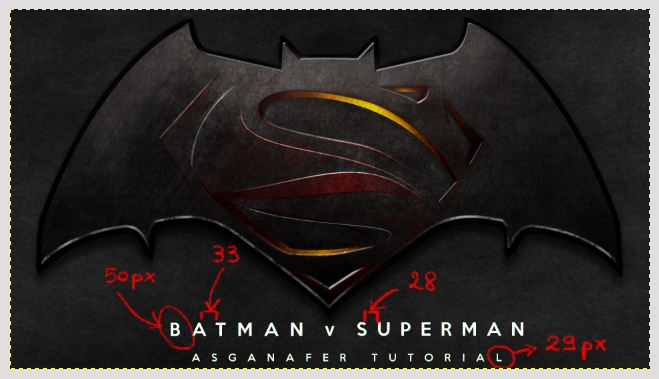
Select path tool to trace a line between the first writing and the second one:
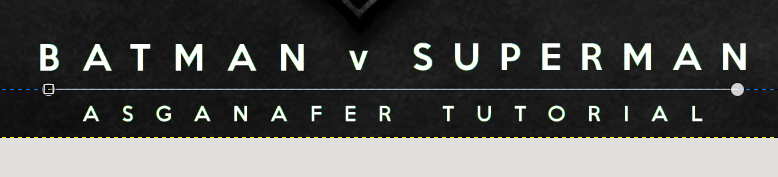
Define the line just created using brush tool (size = 4px, primary color = white), then open the path options clicking on Modify—> Sketch paths (check “Emulate dynamic brushes“).
Then duplicate the layer and, on the lower layer, click on Filters—> Blur—> Gaussiana (Blur range: 25px)
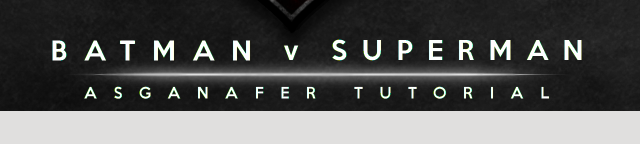
Select stump tool and dissolve the blur under the letter “V“.
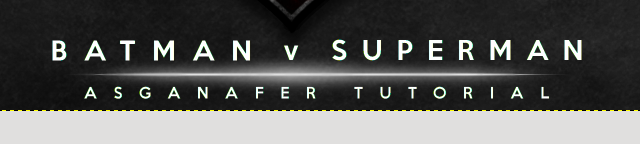
Join together the two layers, then right – click—> Alpha to selection.
Use the brushes dwonloaded previously to color in #c5c5c5 the upper side of the writings.
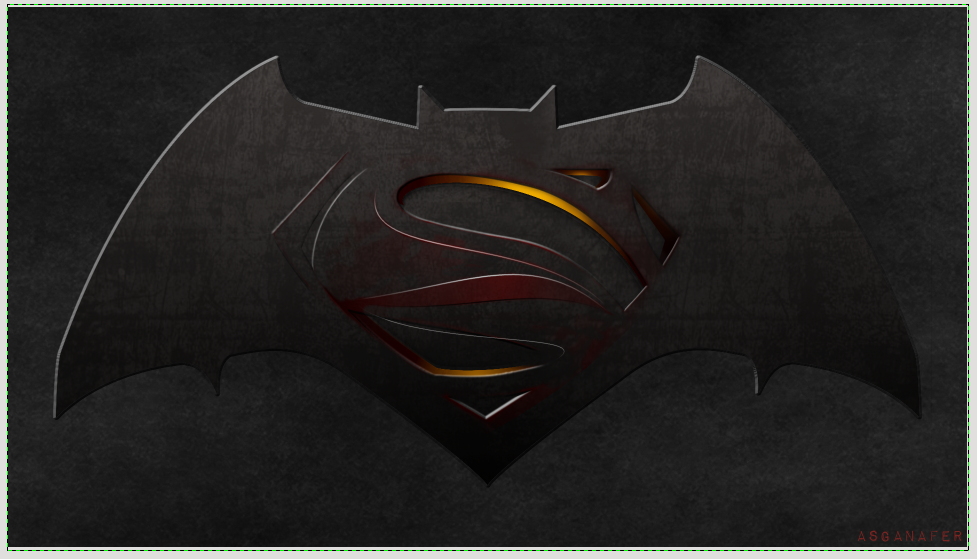
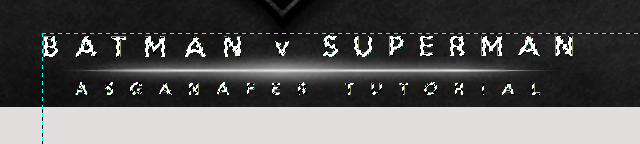
This will be the final result! If you like this tutorial, share it, comment and send me an email with your artworks!
Bye 🙂
![]()