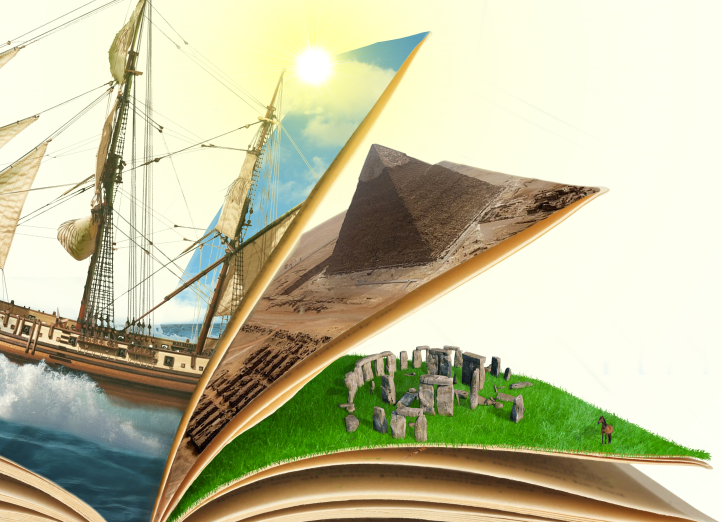
Hi everyone and welcome back for the second part of the Book of Miracles!
Let’s pick up where we left off: Stonehenge.

Start this second part creating a new group of layers. The next page of the book will contain a totally different place, instead of grass we will draw sand… Egypt!
Import the pyramid in the book clicking File → Open as layer.
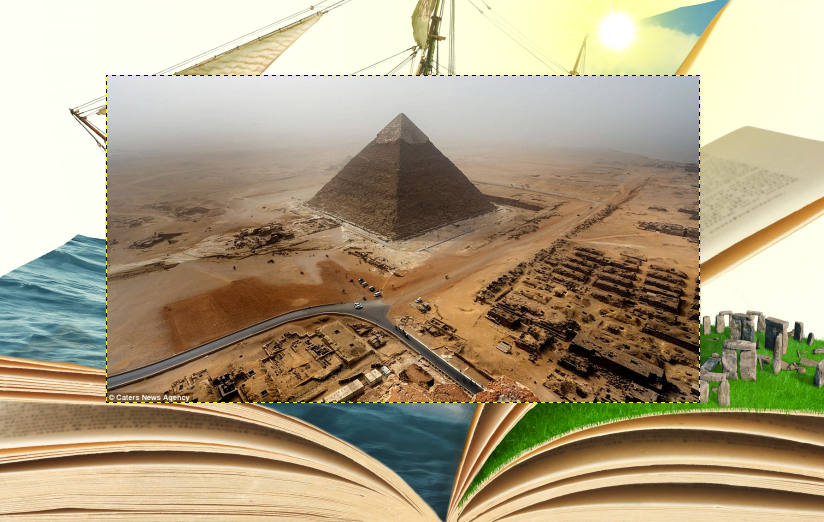
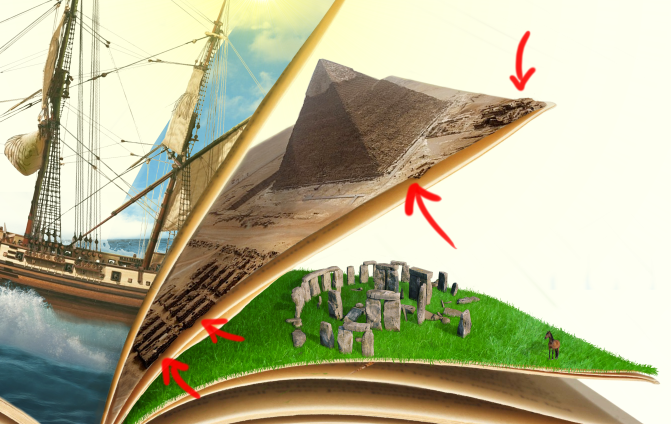
Select the rotation tool and rotate the picture in order to give it the same direction as the page (the image is semitransparent to show the grade of the page below).
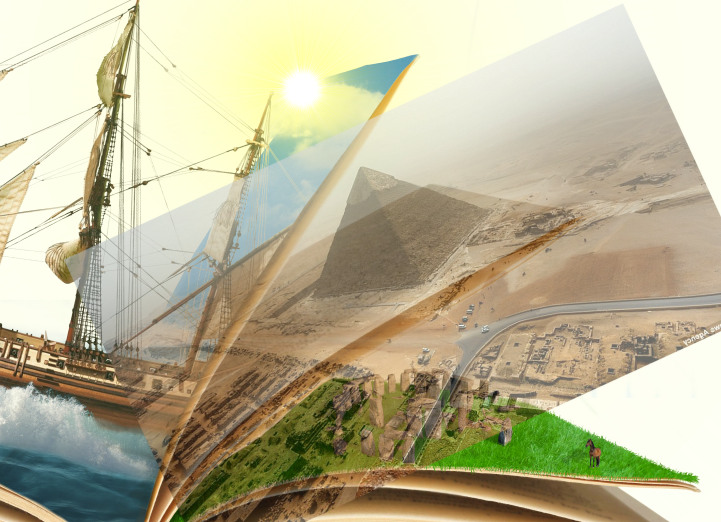
Add a layer mask to the image and erase the excess part using the brush. To simplify the work you can keep the image semitransparent and set opacity to 100 once finished.
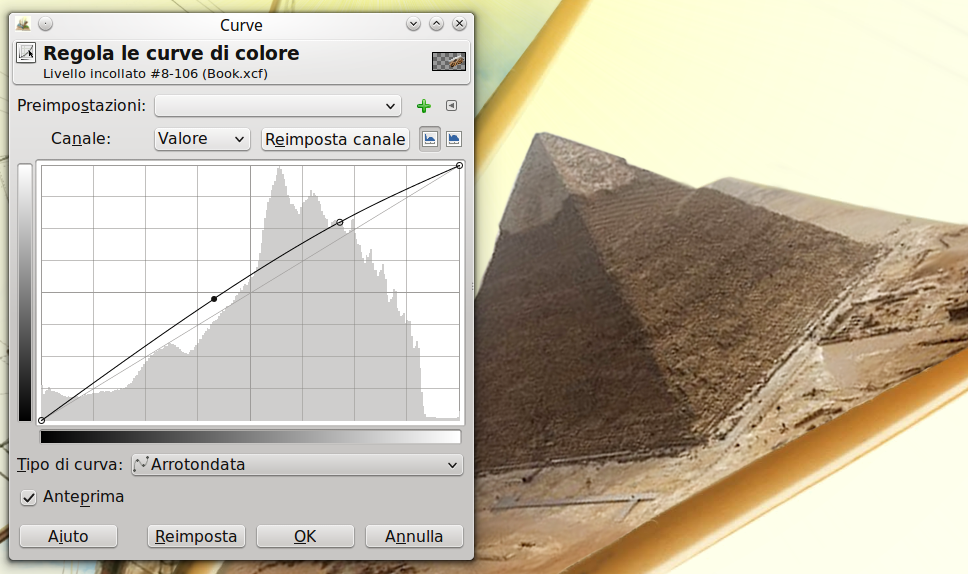
At first sight, the picture of Egypt is darker than the rest of the book. You can adjust the color clicking Colors → curve and slightly dragging the line to the top (this step will make the image brighter).
Now create the shades repeating the process used in the previous page. Create a new layer over the picture of Egypt and fill the shade area with the black brush as you can see in the image below:
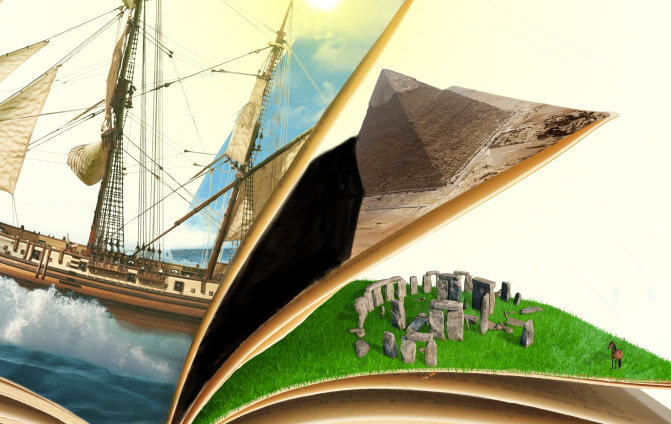
This time the shade must be clear because it is projected by the page. Regulate the shadow adjusting opacity to 30.

Add a layer mask to the shade. Then, using brush tool with opacity 20, color the image letting the shade border barely visible.
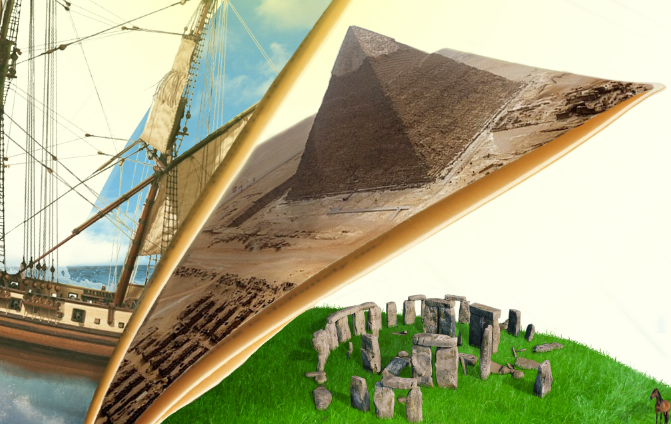
At this point you should add some touches to give tridimensionality to the image. Select the original layer of the image, and, using the brush with the white color, make visible some details:
The image is almost finished, now we can draw whatever is outside of the book.
File → open as layer and select the wooden texture downloaded at the beginning of the first part of this tutorial. Once you have imported it, select the perspective tool and enlarge the two angles on the bottom to make a table.
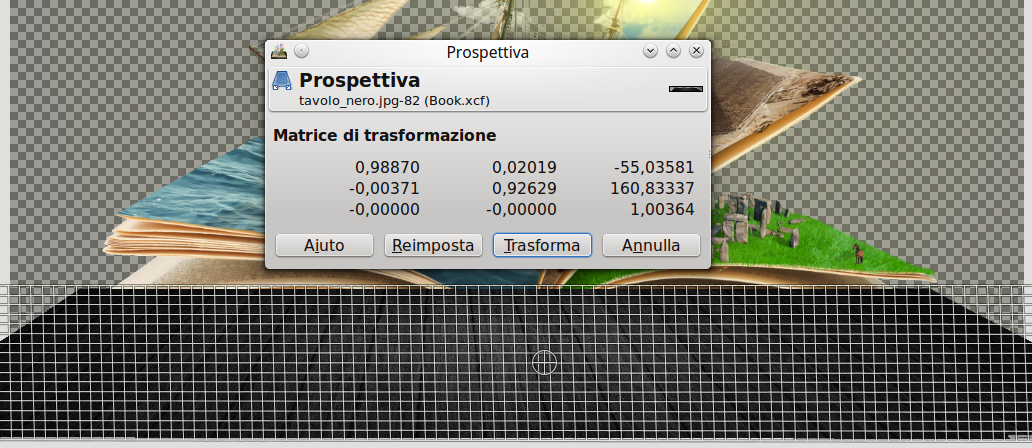
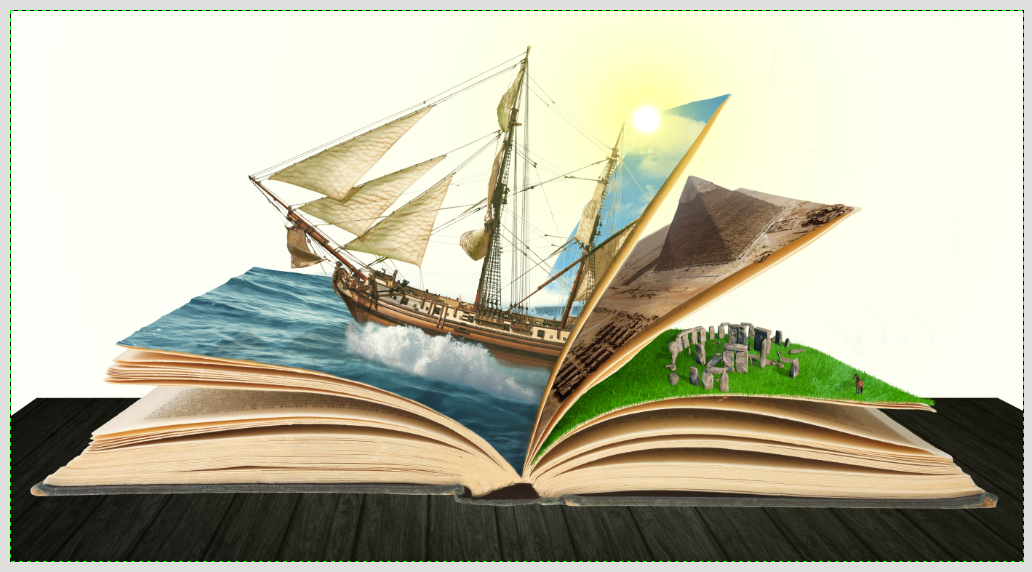
The result will be this:
Now import as level the image of the library (you can find the link in the first prt of this tutorial).
At this point, apply on the library image a slight blur to show that the focus is on the book. Click on Filter → blur → gaussian (with the book level active).
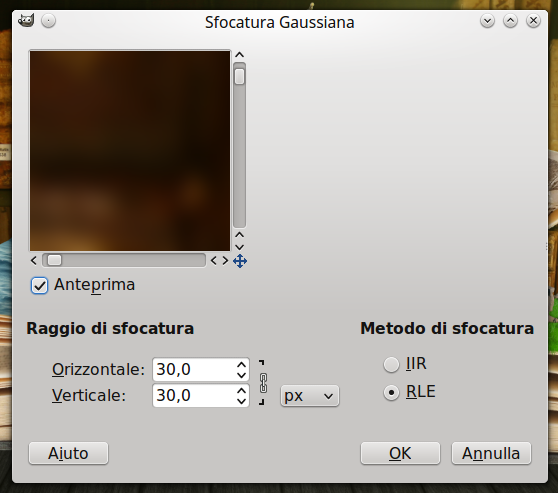
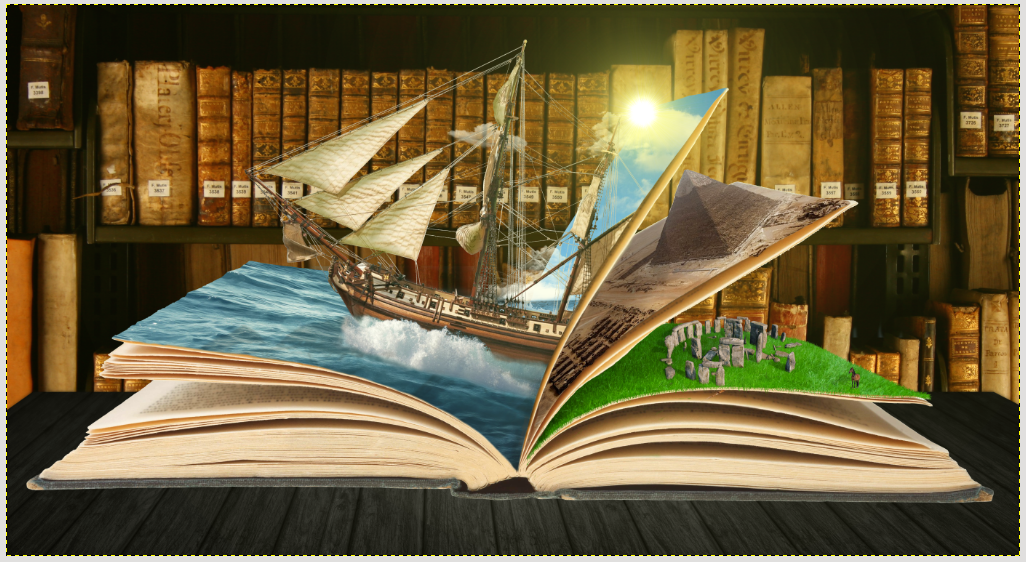
The result will be the image below:
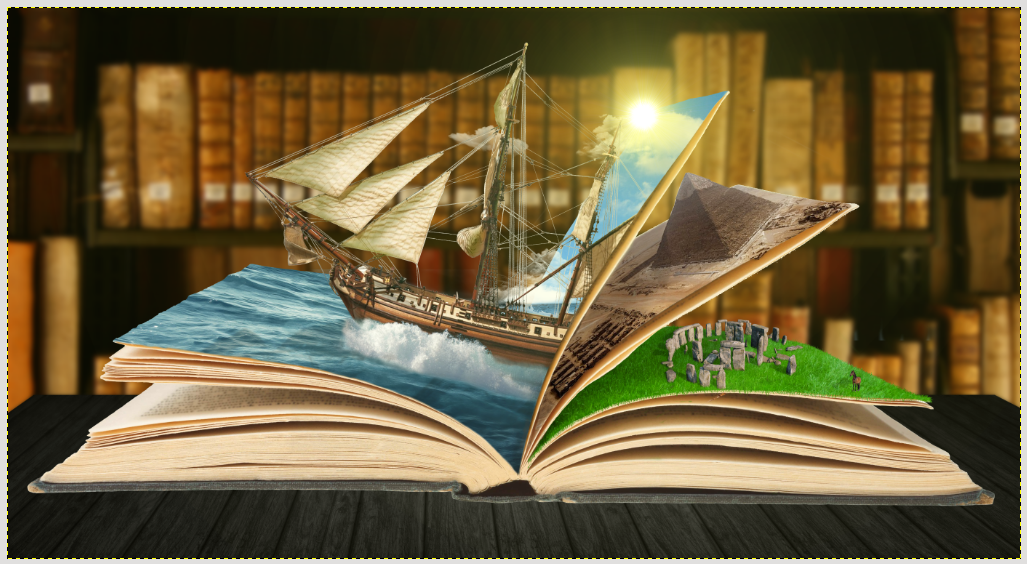
The next step consists of fixing the area between the book and the table in order to make it more realistic. How can we solve this problem? Create a new level above the book, select the brush tool with black color and opacity 20, and color the border underneath the book.
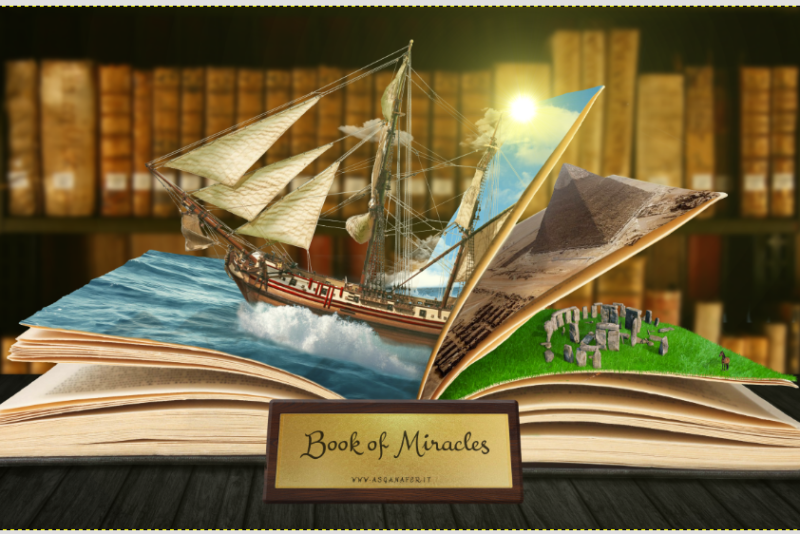
Once you have drawn the shades on both sides of the book you’ll get this:

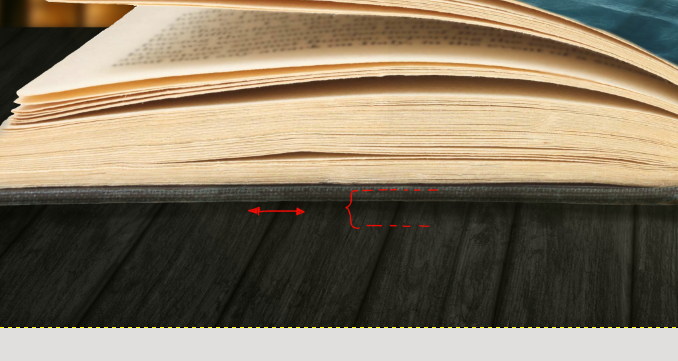
Our artwork is almost finished, you only need a golden plate with an engraving of the the title and the author.
Open as layer both the golden plate and the wood of the plate (you can find the link to download them at the beginning of the first part of this tutorial). Regulate the size of the wood by a layer mask so that the borders have the same distance from the plate.
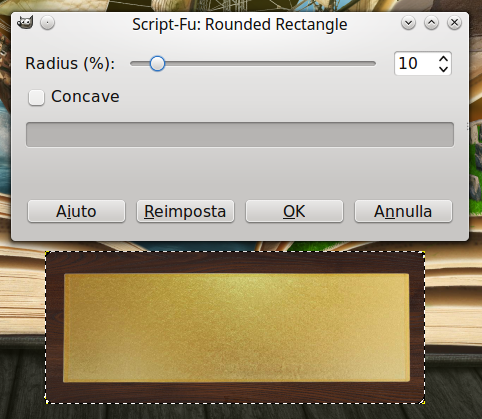
Smooth out the border of the wooden plate: right – click on the layer → Alpha to selction, then click select → rounded rectangle.
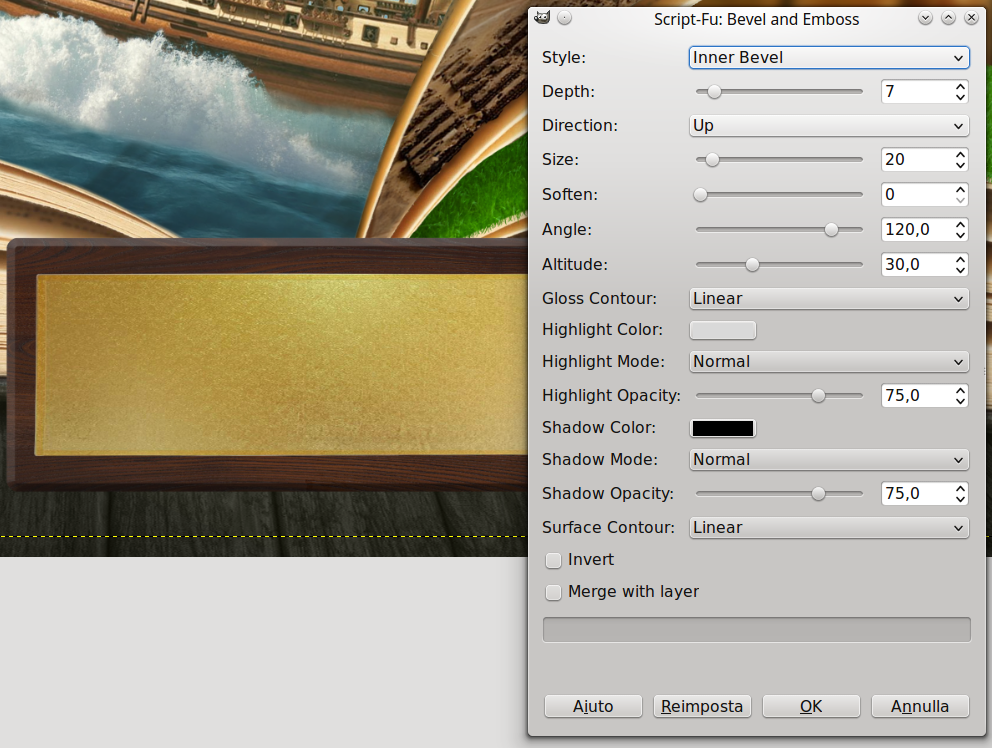
Now let’s give a tridimensional effect and soften the borders (you can use a script installed previuosly). Click script- fu → layer effect → bevel and emboss and configure the settings indicated in the image below:
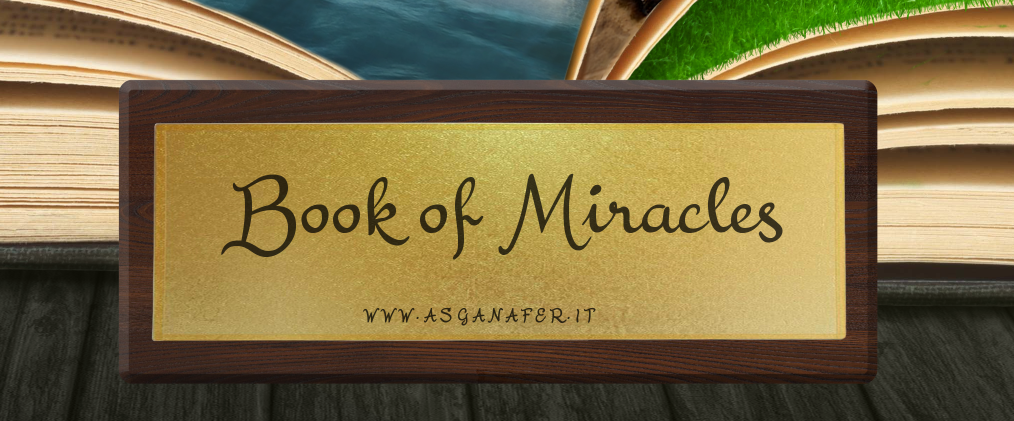
Did you think of a title for your book? I did it, it will be “Book of Miracles”! Why don’t we engrave it on this plate? Select the text tool and, using the font downloaded at the beginning of this tutorial, write the title:
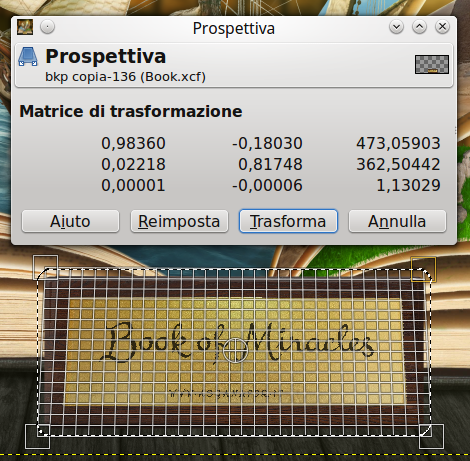
Now merge all the plate layers together in order to place it against the book using the perspective tool, then select the tool and click on the layer to regulate it:
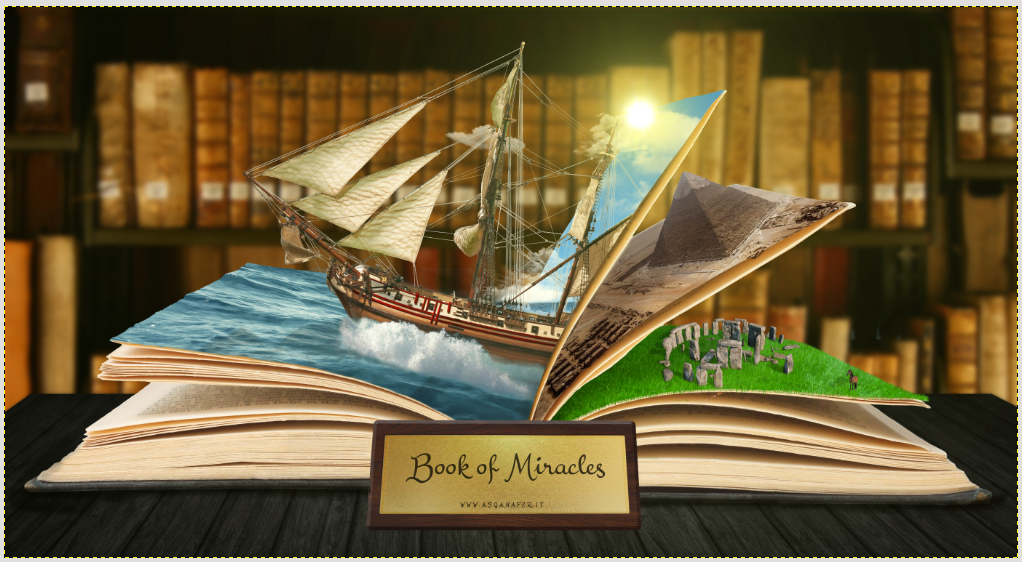
Ladies and gentlemen here the Book of Miracles!