Hey everybody!
Today I have a great tutorial for you (well, actually this is only the first part).
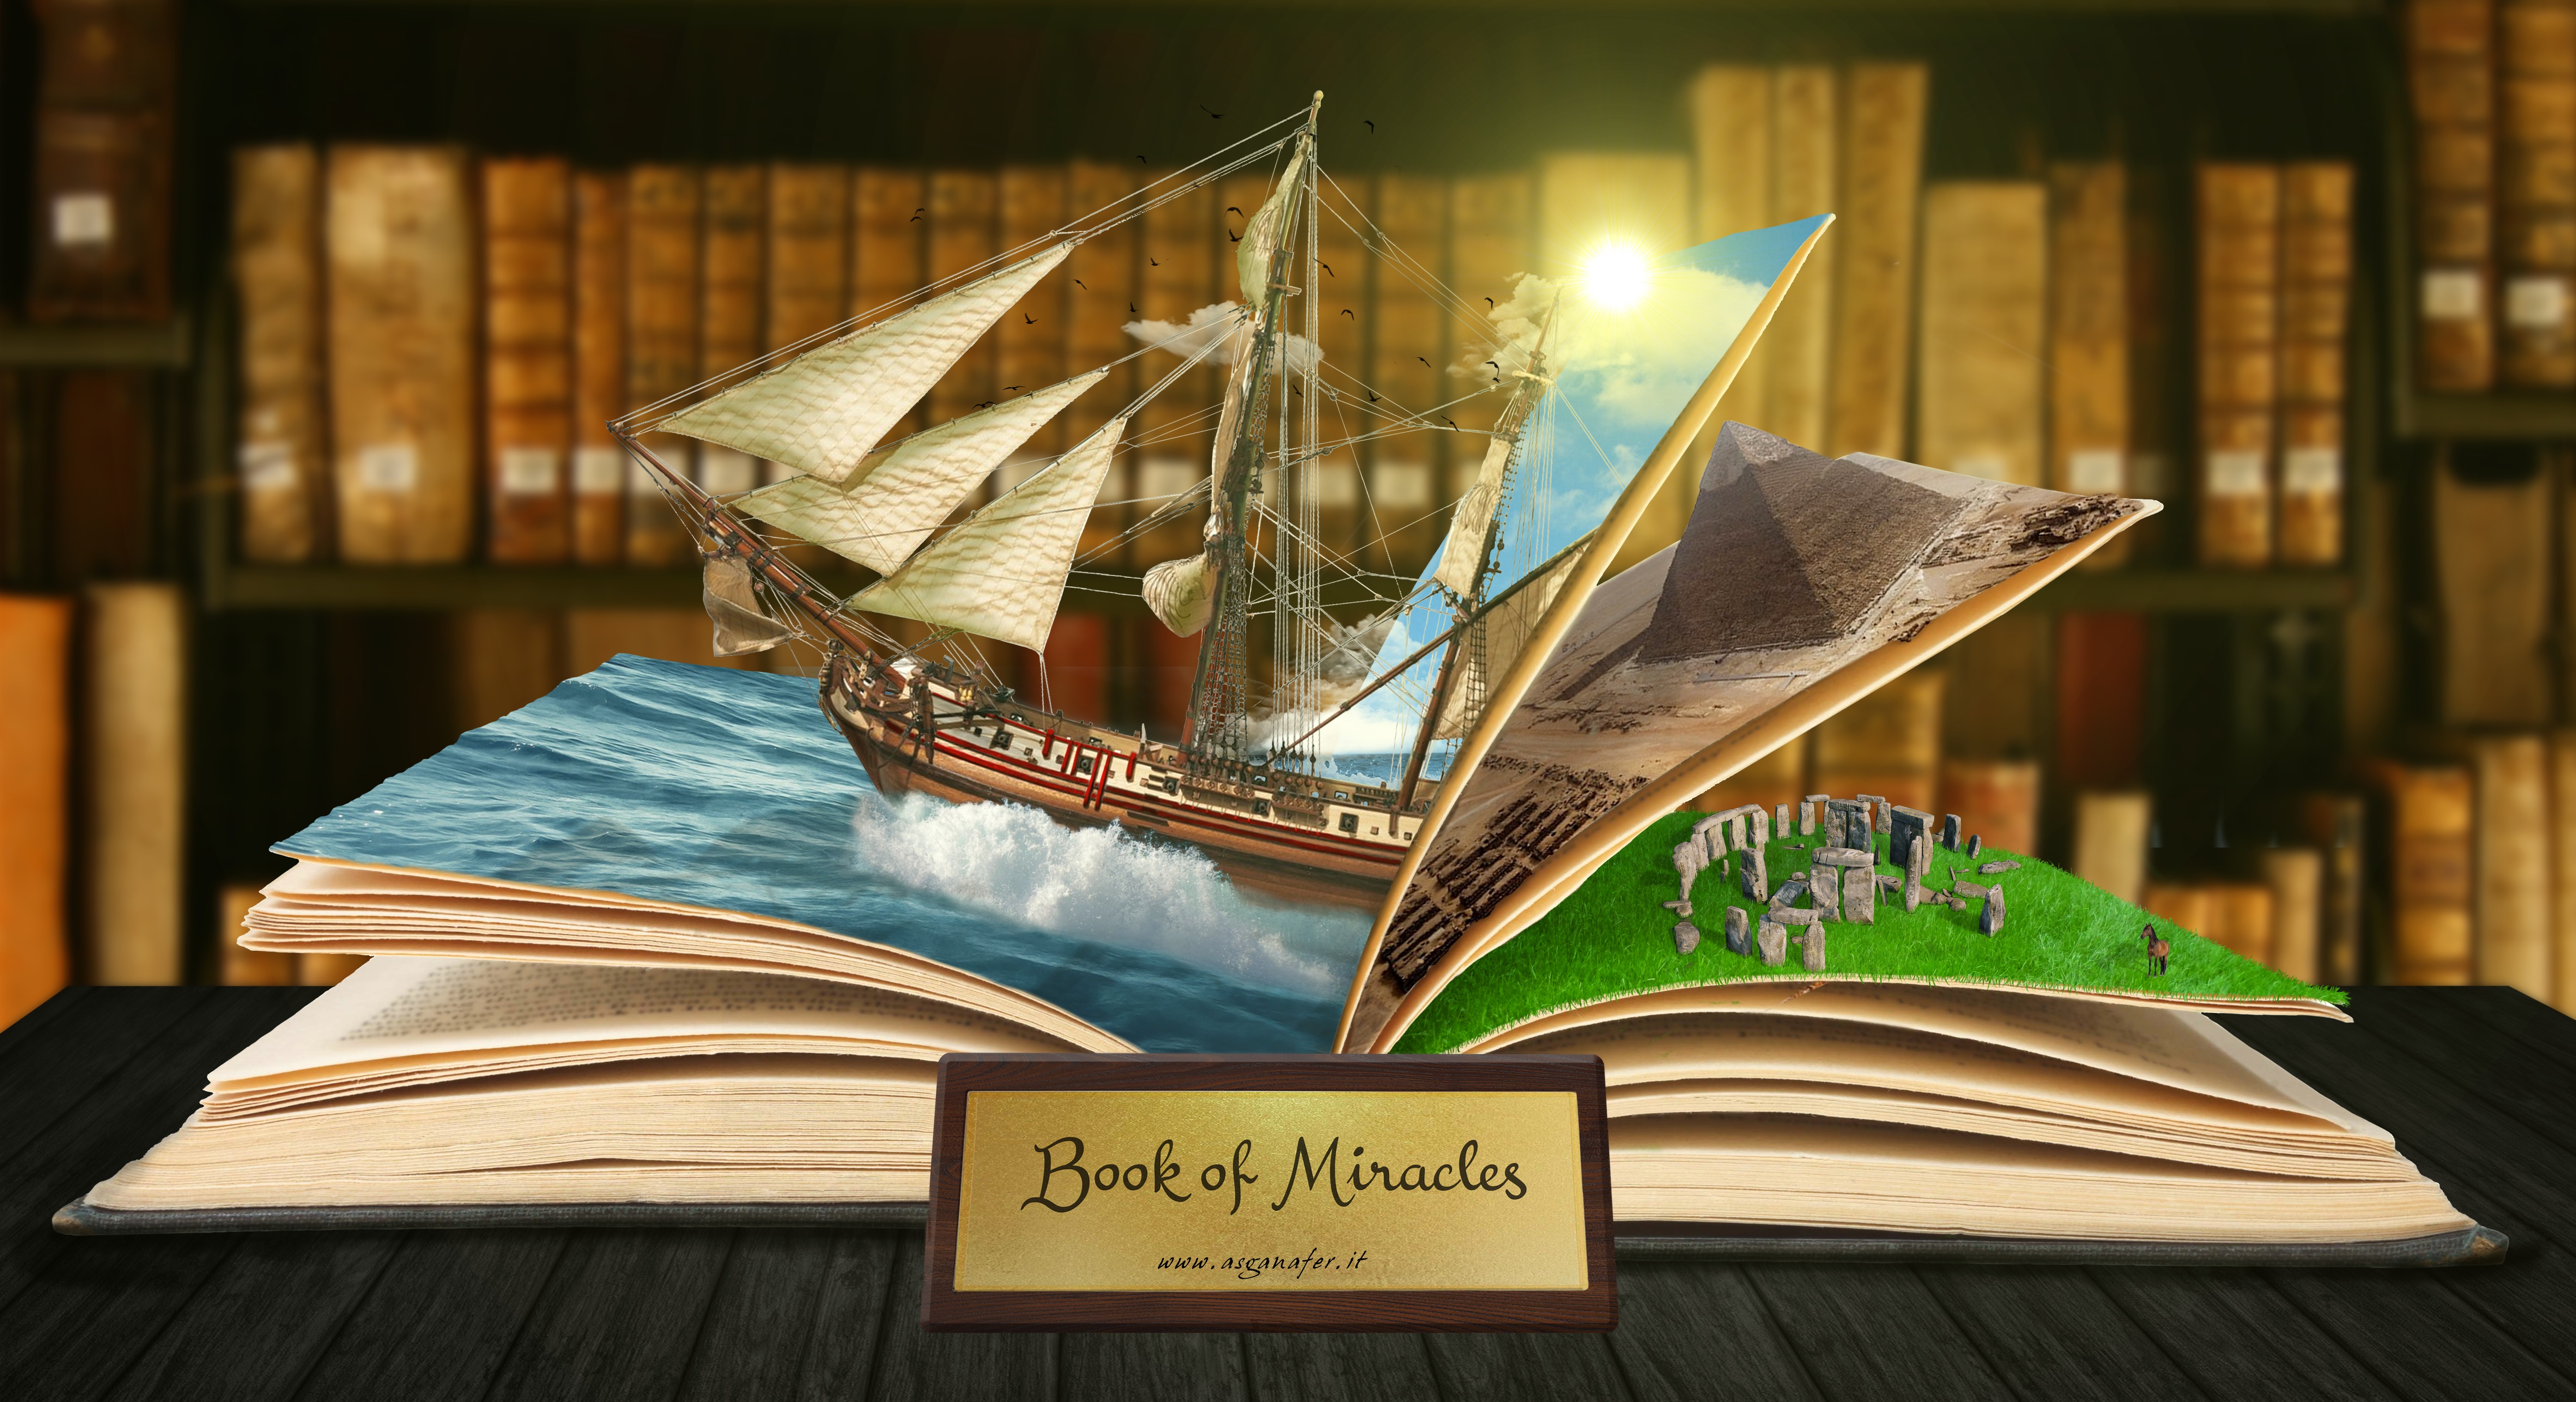
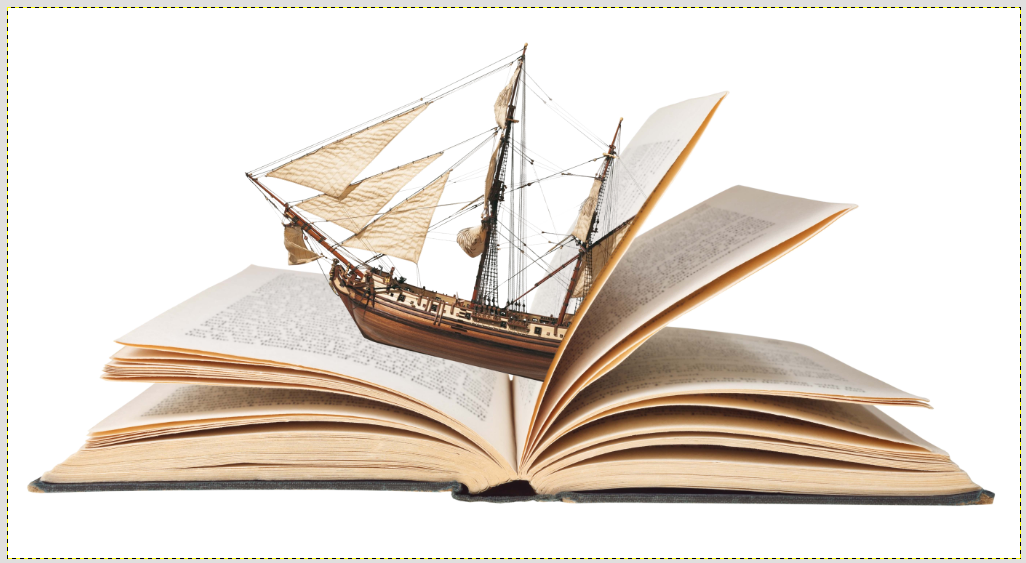
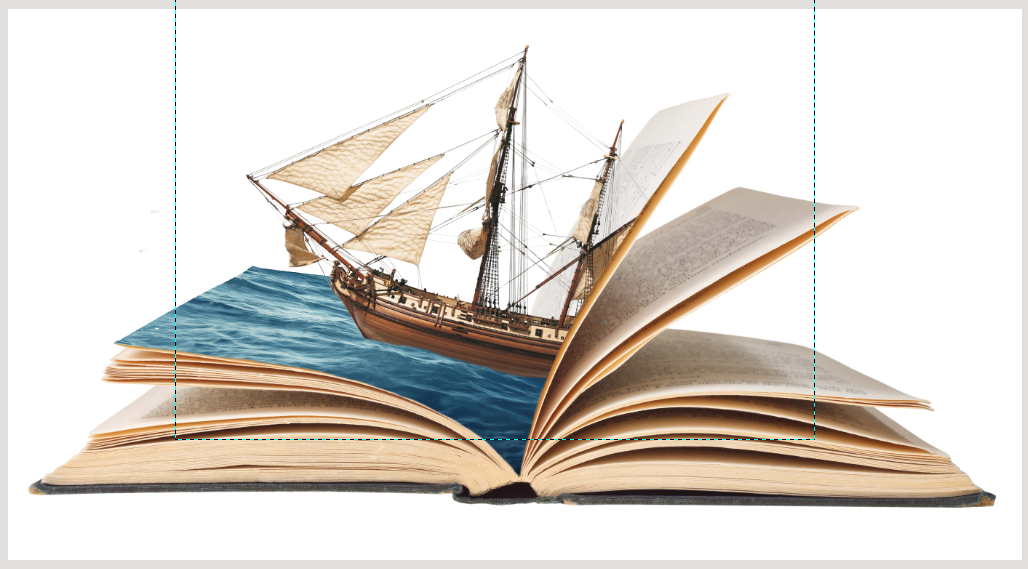
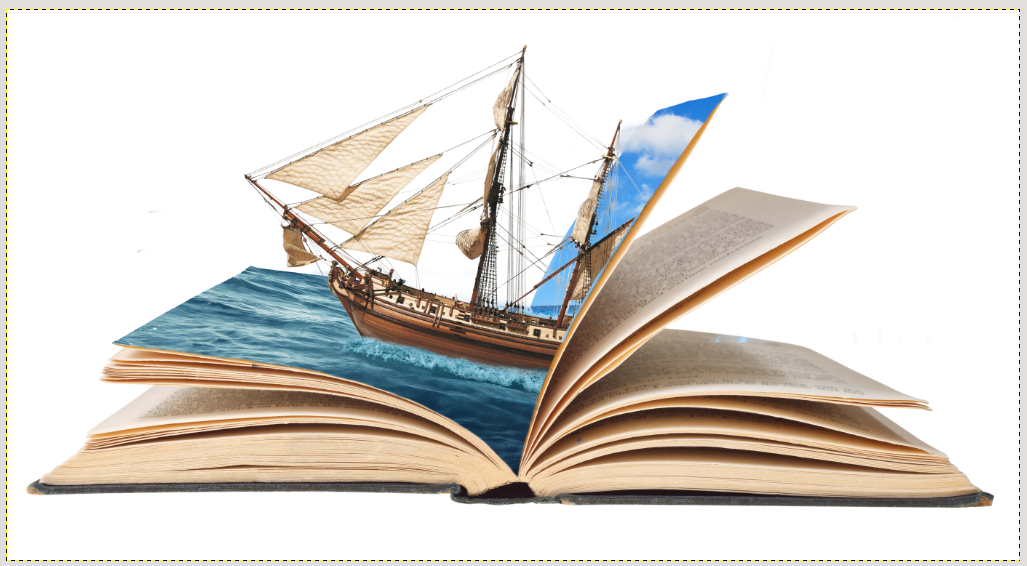
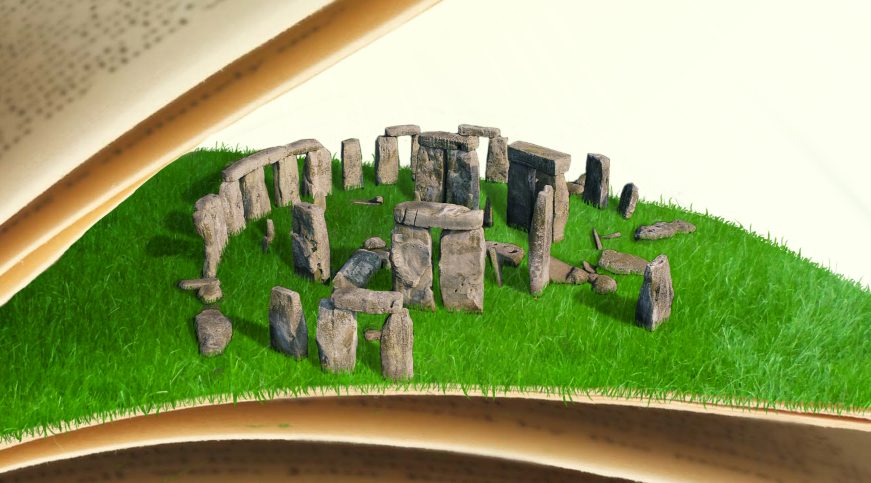
In this tutorial and in the next one I’m going to show how to make a difficult photo editing tutorial in order to get this:
You will need the following materials:
- Book
- Ship
- Sea_1
- Sea 2
- Sea 3
- Sea 4
- Sky 1
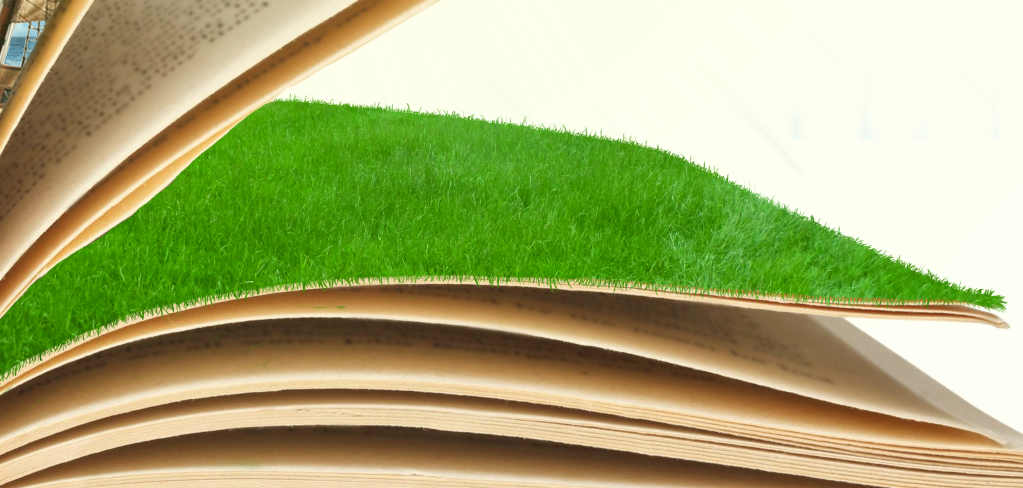
- Grass Lawn
- Stonehenge
- Horse
- Piramid
- Library
- Wooden Table
- Golden plate
- Texture Wooden plate
- Font text “Boo of Miracles”
- Golden plate 2
- Graphics tablet (not needed but well – recommended)
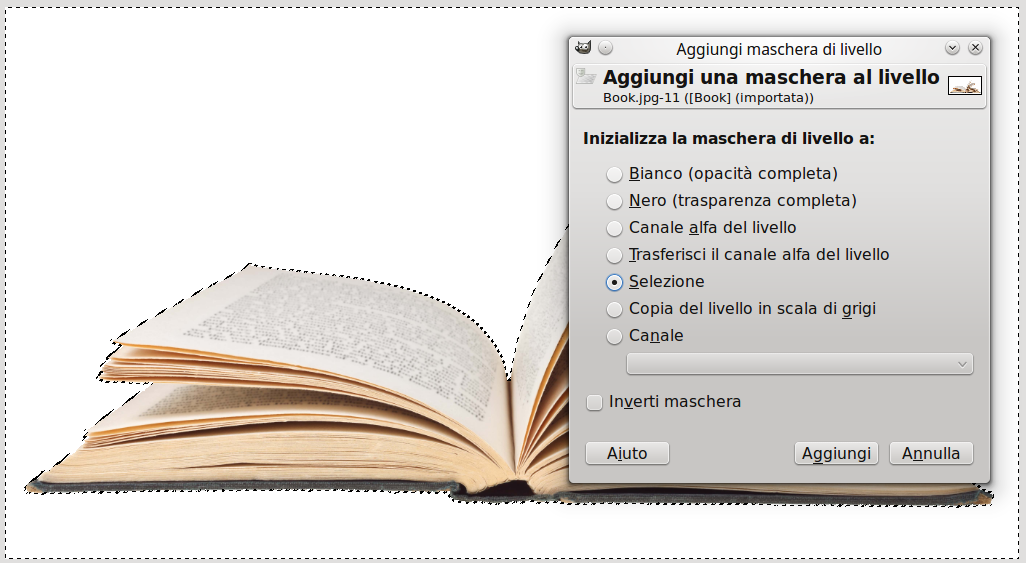
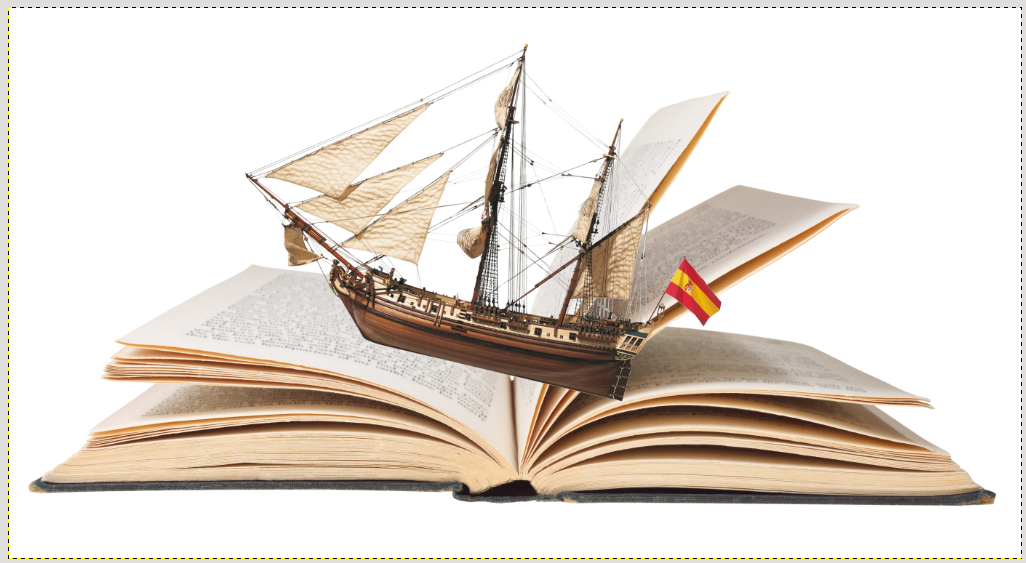
Once you got these materials you are ready to proceed! First of all, open the image of the book (the worksheet size is the same as the picture one).

Now block out the book, as the background is monochromatic, it is very easy and you can use the selection tool fuzzy. Click on the white part to select it, then right – click → add layer mask and select as in the image below:
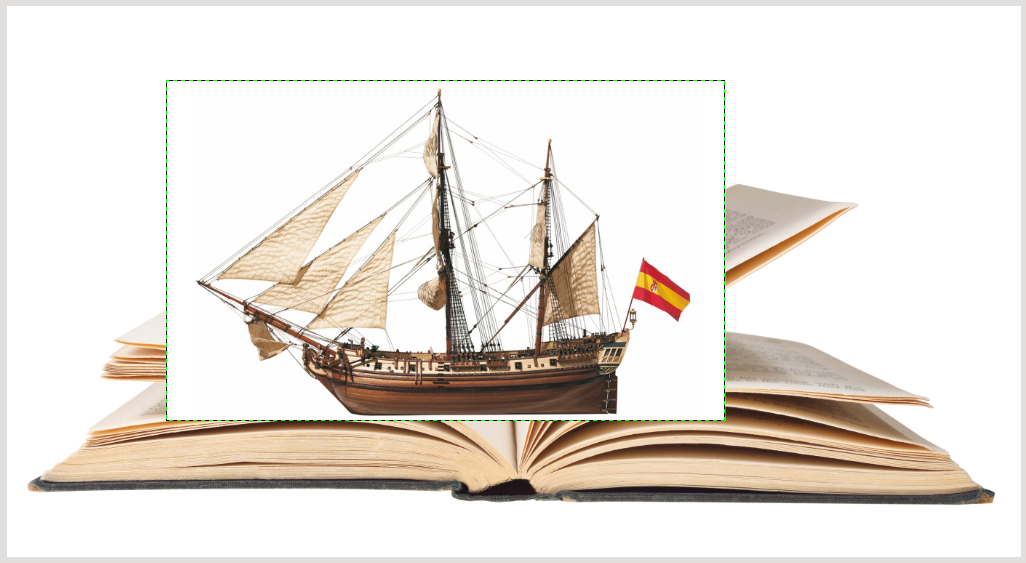
File → open as layer and choose the ship downloaded at the beginning, resize the image keeping these relationship with the book on the background.
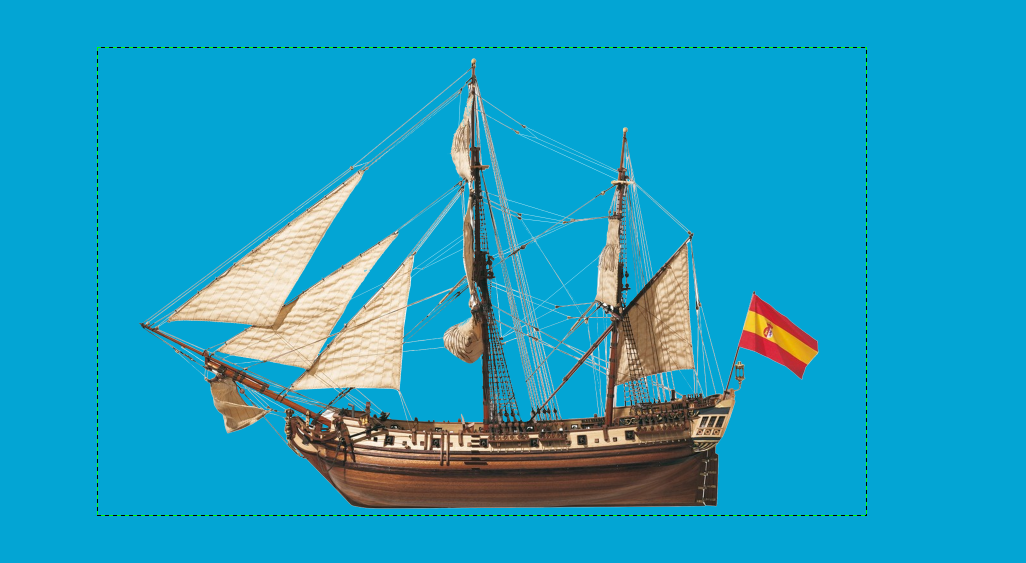
This step consist of erasing the ship background, add a layer mask by right – click → add layer mask and remove whatever you do not need with the brush (the blue background only helps to display the ship without outline).
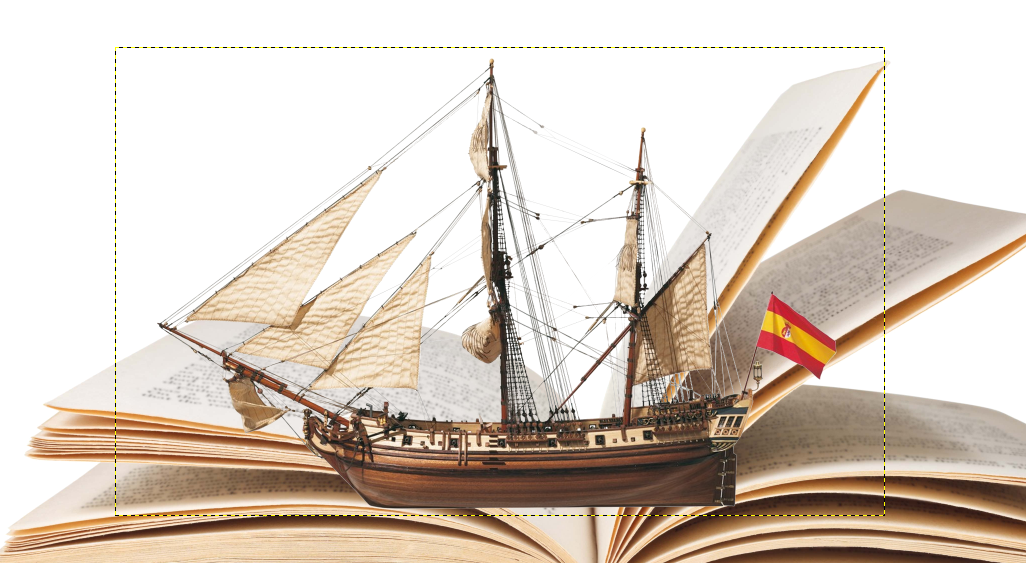
Take the rotation tool to tilt the ship as instructed: the idea consists of transforming the page of the book in a sea, so the ship should be tilted.
Operating on the layer mask, erase the part of the ship hidden by the page.
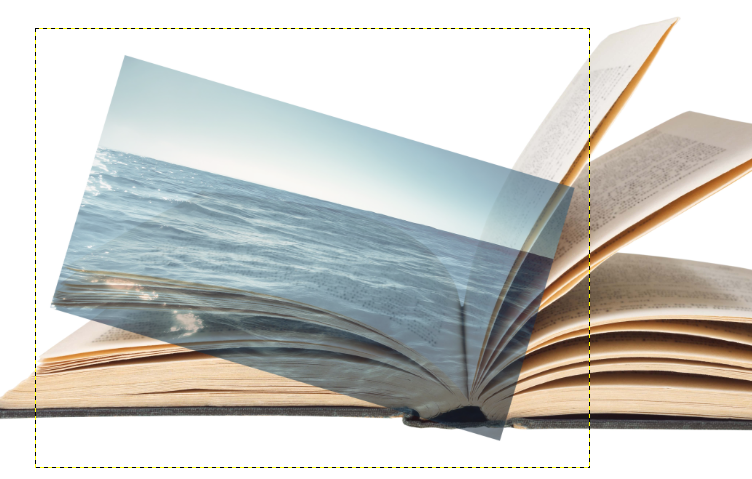
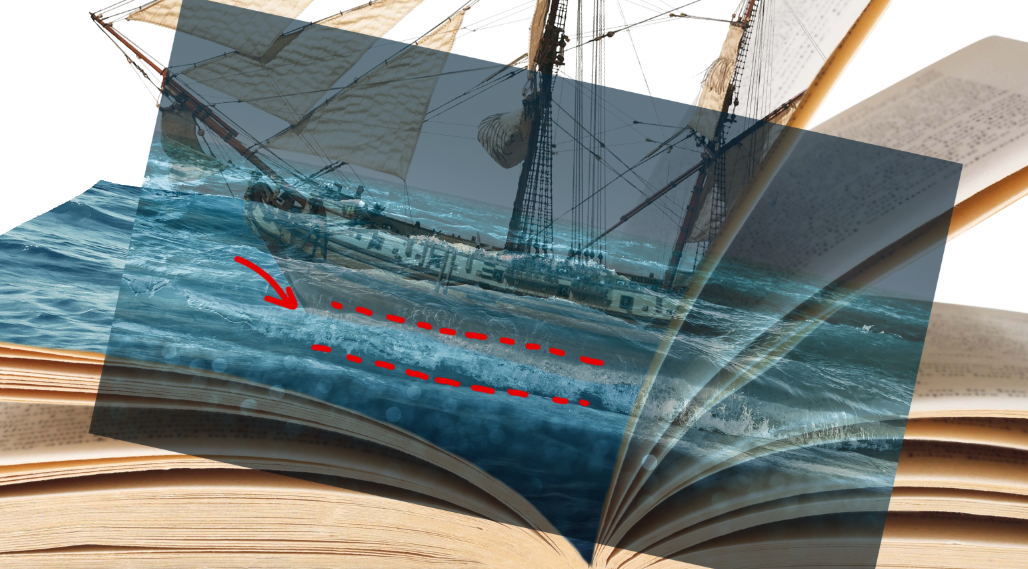
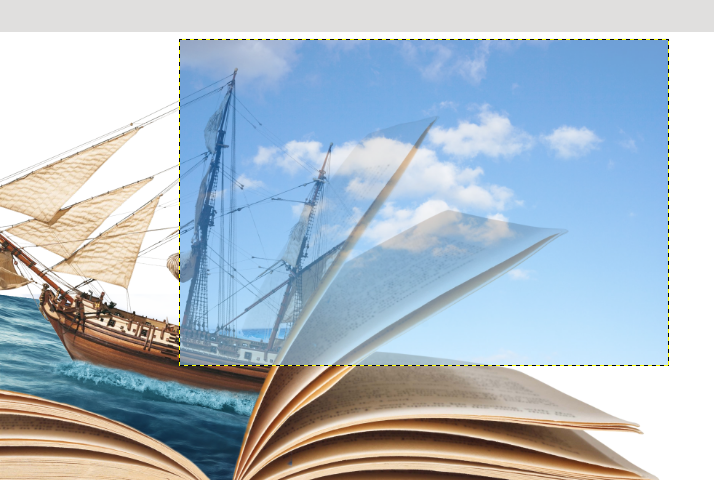
Put some water on these pages clicking on File → Open as layer and selecting the image “sea 3” downloaded at the beginning of the tutorial. As soon as you have imported the image, you need to resize it with the resize tool and rotate it with the rotation tool. The result will be the image below, where the waves follow the length of the page (the picture is semitransparent just to show the dimensions of the page).
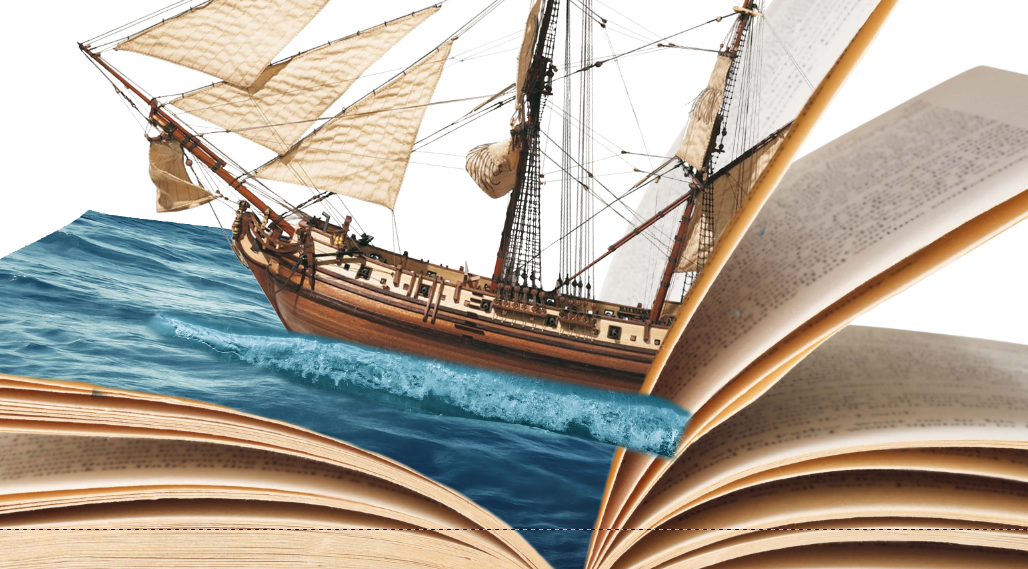
Add a layer mask and erase the outline leaving only the waves on the page. Once the mask has been precisely drawn, go back to the ship level and ruin the bottom of the image to give the effect of the waves on the keel of the ship.
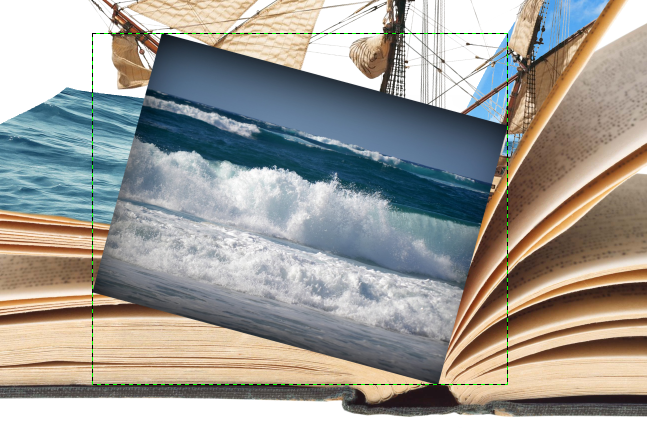
Import as a layer the image “sea 1” like you did before, we will use the ripple of the waves to give a motion effect.
Resize the image and rotate it so that the scum of the wave has the same size as the ship in this way:
Right – click → add a layer mask and block out the picture as did below, erase all the outline first and then dedicate to details.
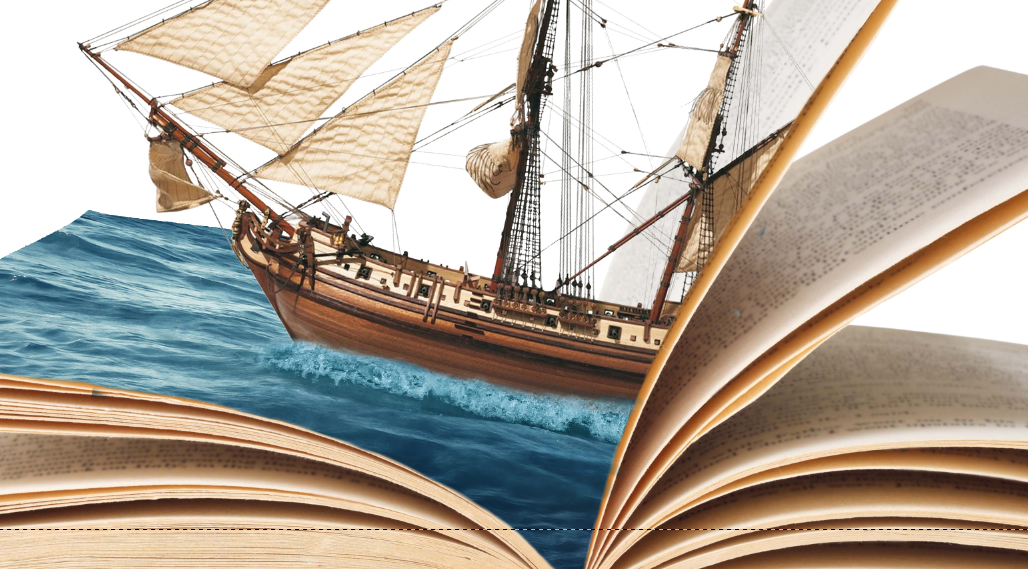
At this point you should adjust colors to give emphasis to the ripple on the water, click Color → Brightness and contrast, and configure the options below:

Add the sky importing as layer the picture of the sky downloaded at the beginning of this tutorial. Position it with the cloud on the edge of the page:
Add a layer mask and erase the excess part of the image leaving a portion of the cloud outside the page.
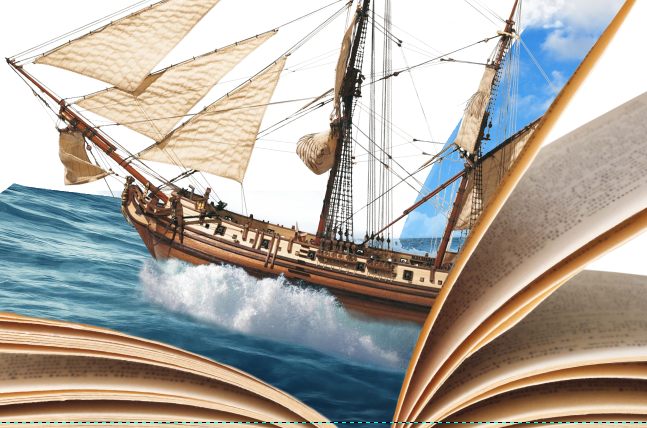
Let’s continue our work with the waves, click File → open as layer and select the file “sea 4”, using the rotation tool position it with the ripple parallel to the keel of the ship.
Right click on the layer → add a layer mask, remove all the outline except the waves paying close attention. The result will be this:
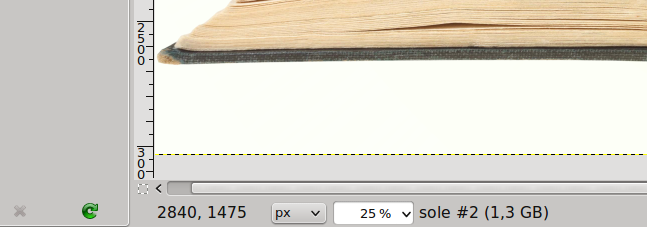
Create a new layer over the others and call it “sun”. Decide where you want to position the sun and put the cursor in that point: at the bottom left, next to the dropdown “px” there are the coordinates.
Note down the coordinates, then click Filter → Light and shadow → Supernova and insert the coordinates in the specific spaces of the window. Select color #f7ff7b.
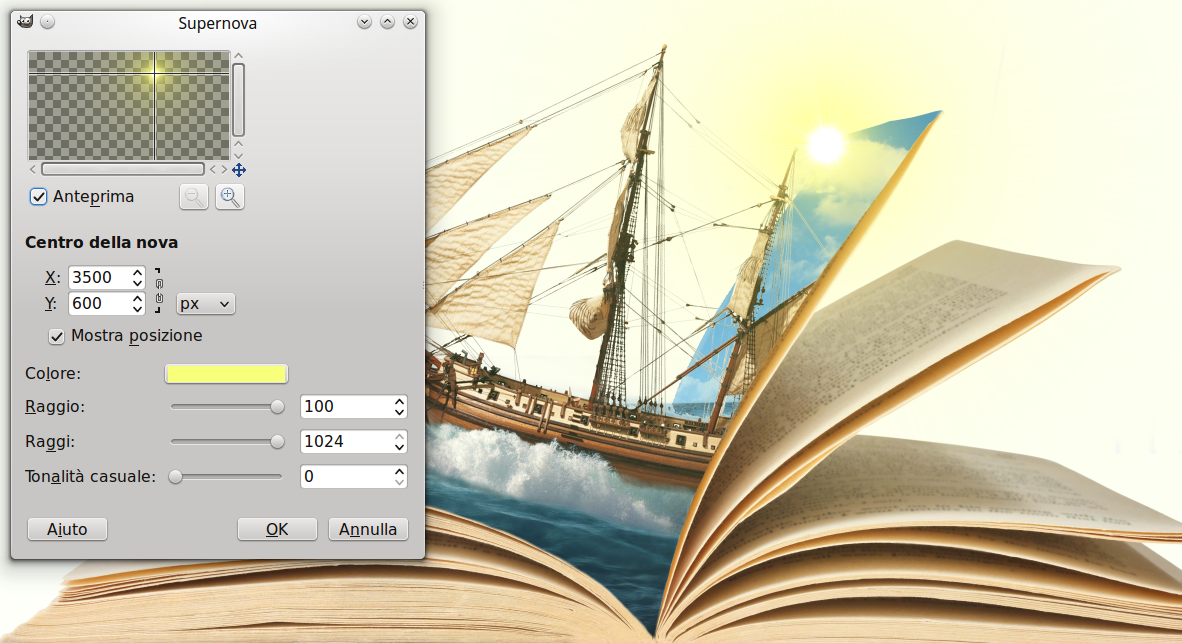
Click OK to get what desired.
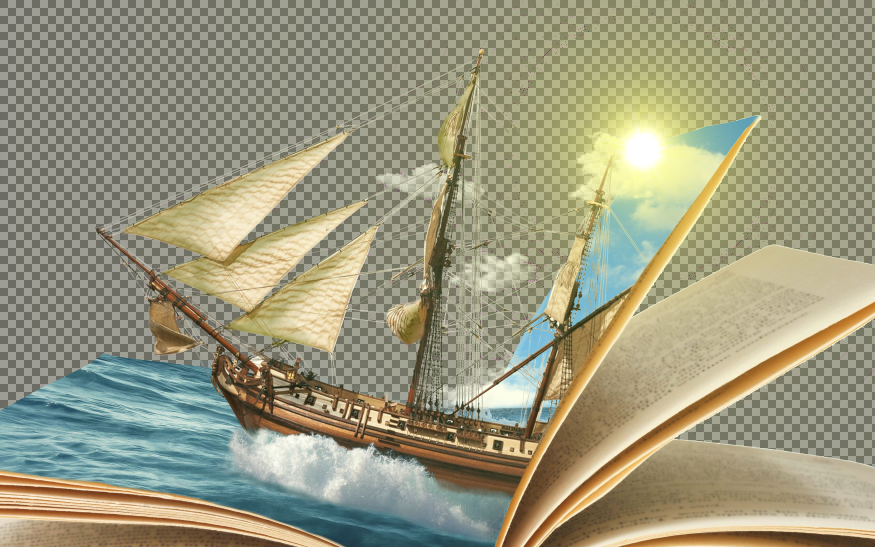
Now let’s pass to the next page, where we will reproduce the famous site of Stonehenge!
Create a group of layers where you will put all the layers of this page.
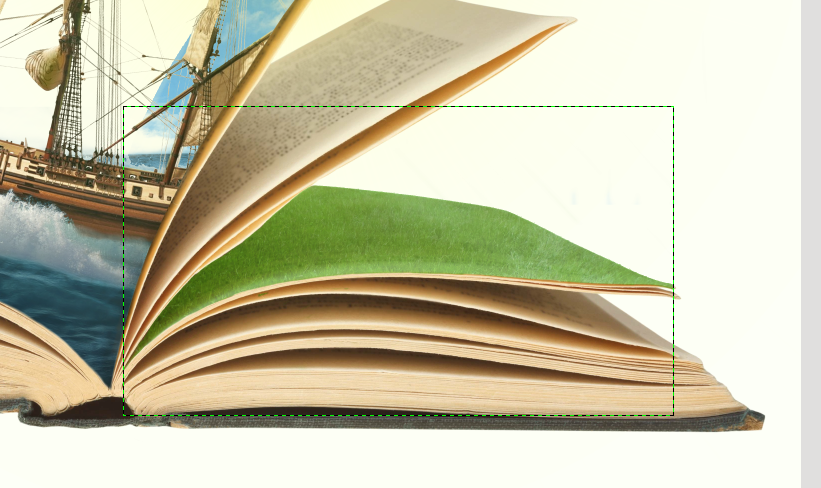
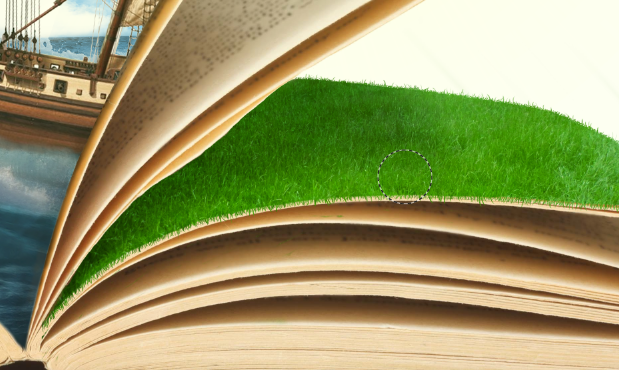
Then open as layer (File → open as layer) the grass lawn downloaded at the start, once you have imported it, resize it and rotate the image in direction of the page.
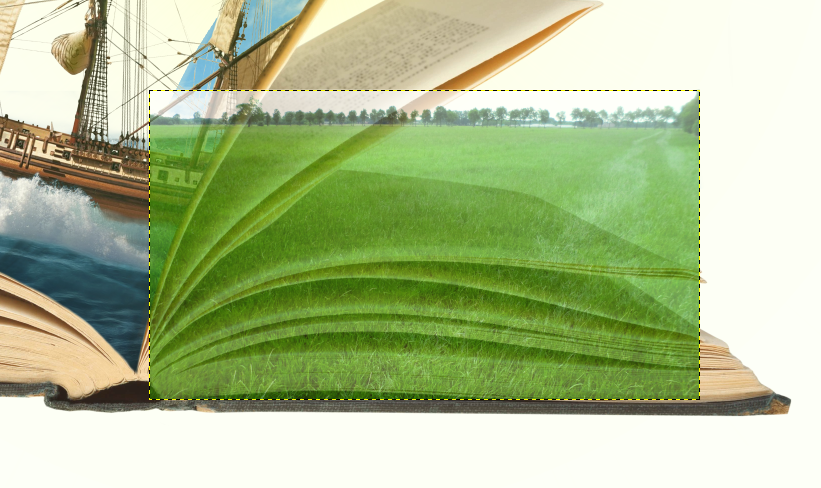
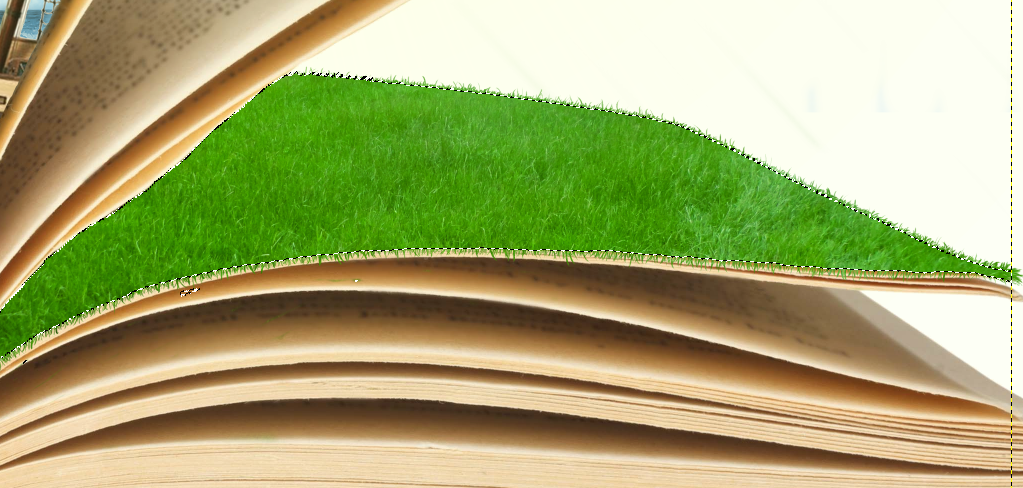
Add a layer mask to the lawn and erase the excess part in order to get this:
Now you must draw some grass on the border of the page to make the grass lawn more realistic. Select the clone tool with a brush size of 2 px. Position the origin of the clone tool in the middle of the lawn, then draw the clumps of grass along the border of the page. Be careful not to overdo, your clumps of grass should follow the size of the others in the image.
At this point you should draw the shade on the grass caused by tha page. How to do it? It’s very simple, select the border of the page in order to color without worrying about the borders.
Then create a new layer called “lawn shade”, select the brush tool (size: 20/30 px, opacity 10%): with this configuration you can realize a shade as in the image below also if you don’t own a graphics tablet.
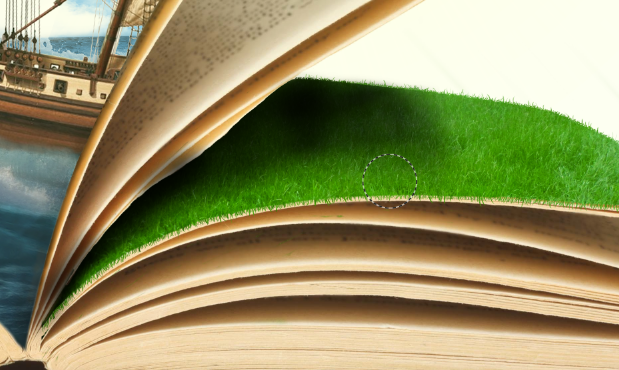
Regulate the layer opacity in order to get the shade you want:
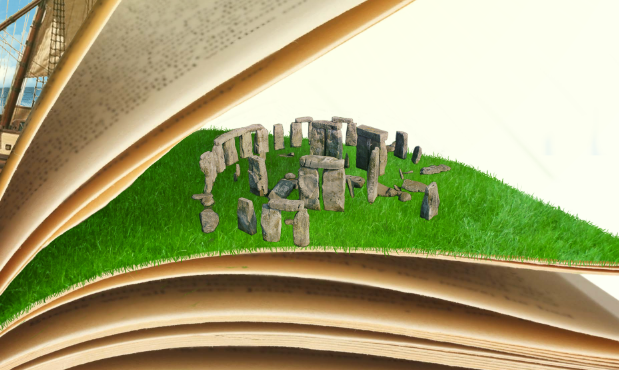
File → open as layer and import the picture of Stonehenge. First you have to block out the image with a layer mask, then resize it with the resize tool.
Looking at this first outcome you can easily notice that it is a photomontage because the image is flat, there are no shades and the light is not well – defined. These factors create a difference between the stones and the context. The next steps consist of defining lights and shades (in this case lights will come from right). Create a new layer, select the brush tool with opacity 40 and size 15px in order to define the shades as in the image below.
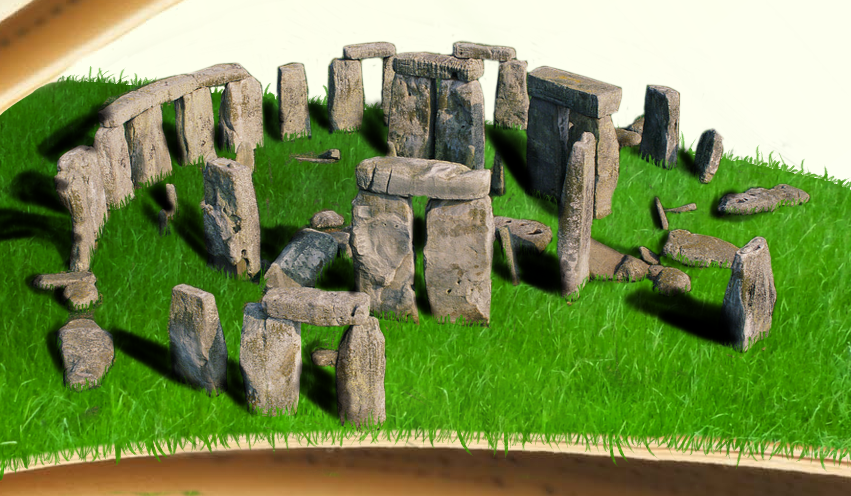
Regulate the layer opacity to make the stone shades.
While I was drawing I thought about what I could find in a field and the idea of a horse came to my mind, so I put a horse into the image! Import it as a layer and let it free in this green field!

This horse is a bit out of proportion, resize it with the resize tool!

This is the end of the first part, next week I will publish the second one and we will continue drawing together to realize this fantastic book!
Bye for now!