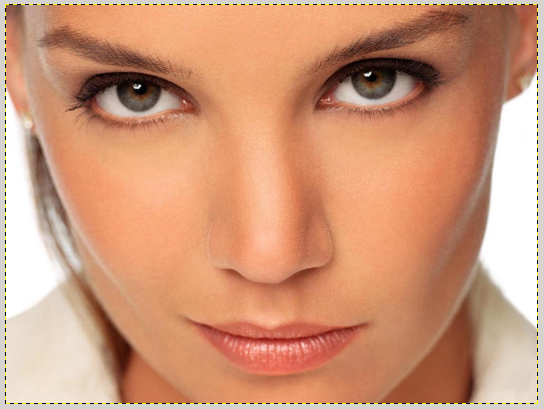
Goodmorning everyone! 🙂 After seeing the movie of Avatar, many of you will be wondering “How would I look like if I was a Na’Vi?”. Well, today we’re here to answer to this question. Are you ready to start? Great! Let’s get the following materials:
After getting all the necessary, start opening your image.
Click on Filters —> Distorsion —> IWarp. A window will open, from there you will be able to manipulate the girl’s face. First expand the nose just like an Avatar’s one. Use the move mode.
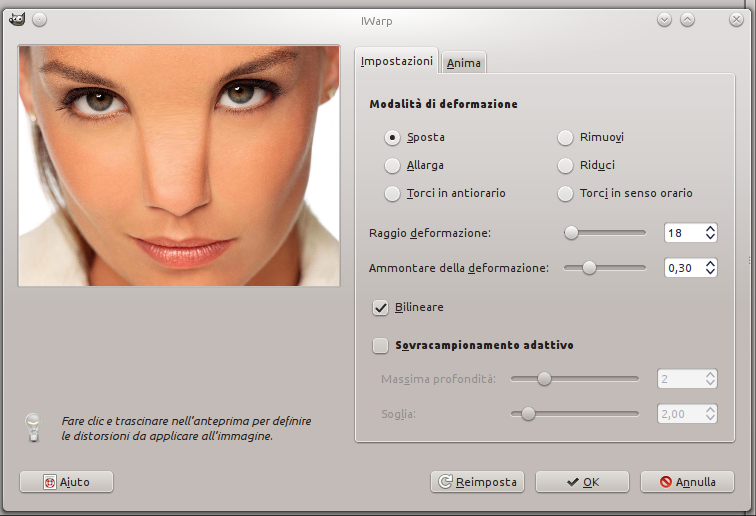
Click on OK and then repeat the operation enhancing the eyes (use enlarge mode).
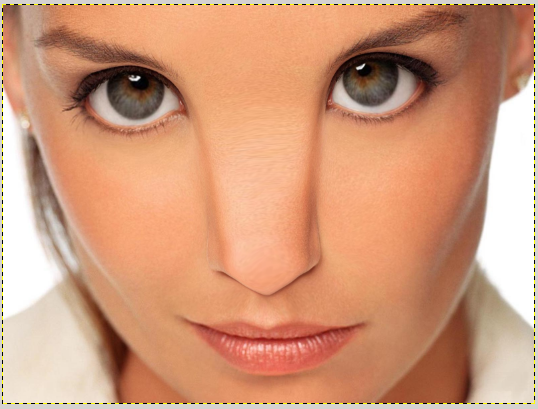
Don’t worry if the eyes are unwatchable, later we’ll use the iris downloaded at the start of this tutorial.
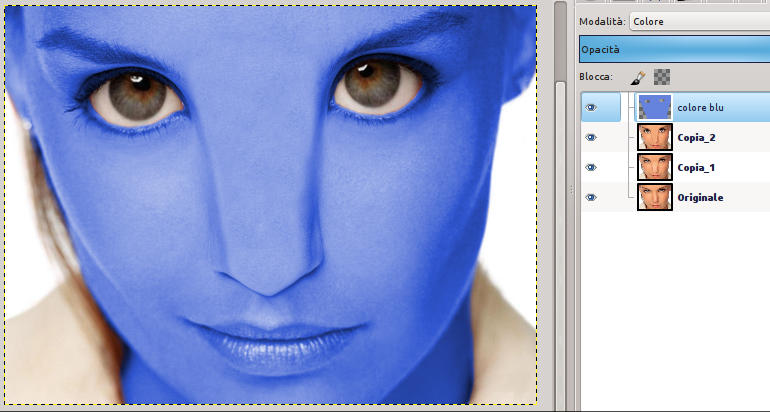
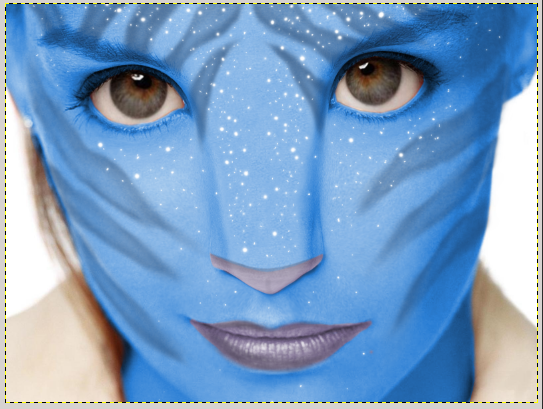
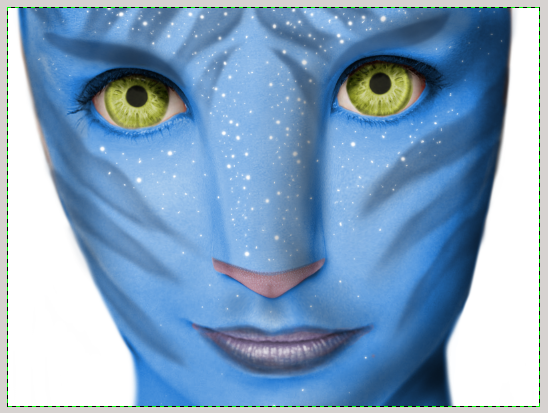
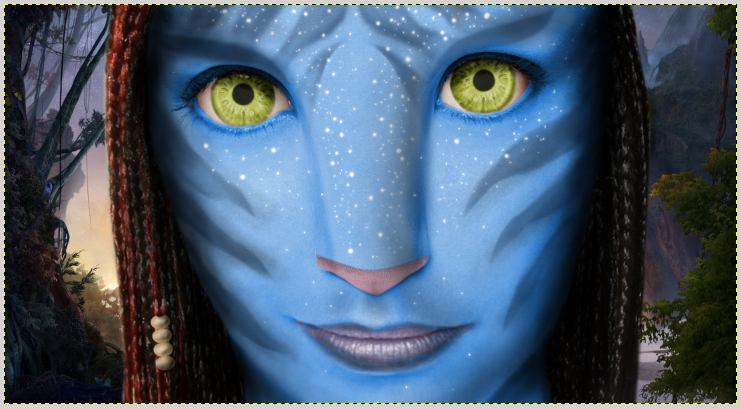
Now create a new layer, change the mode from Normal to Color and fill the area of the face with the blue color (#62a0e0):
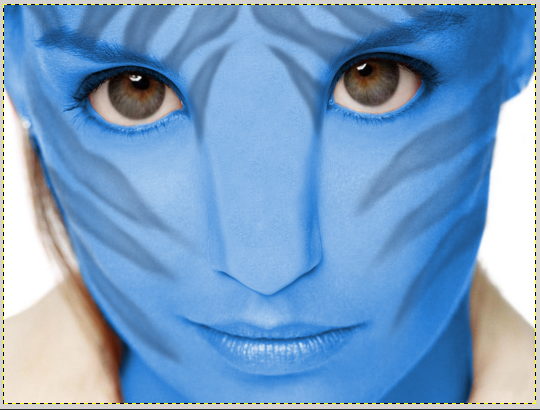
Create a new layer over the previous one, modify the opacity to 80 and select the color #1e3c61. Then draw the typical stripes of the characters. Add a layer mask (White, full opacity) and, with the brush tool (opacity to 10), delete slightly the inside of the image so that the border appears darker and more marked.
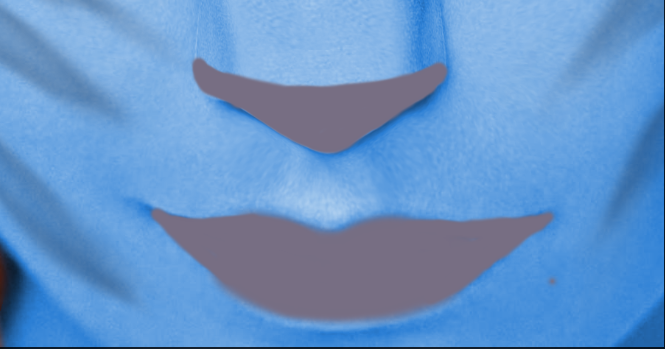
Create a new layer, take the brush tool with color #5b4f6b and color the tip of the nose and the lips. Change the layer mode from Normal to Color.
Create a new layer and draw lots of white dots, then duplicate the layer and click on Filters —> Blur —> Gaussiana.
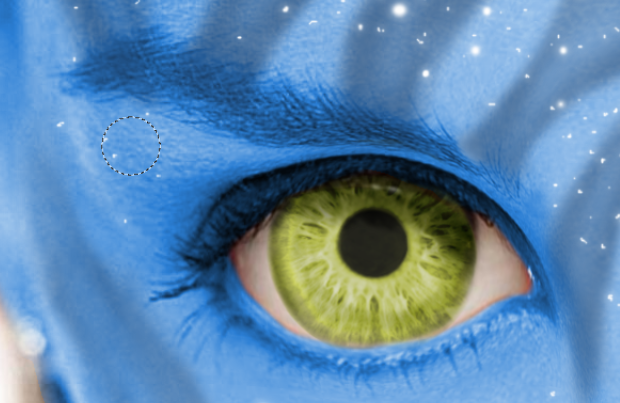
Now you can adjust the eyes! File—> Open as layers and open the image of the iris downloaded at the beginning of the tutorial.
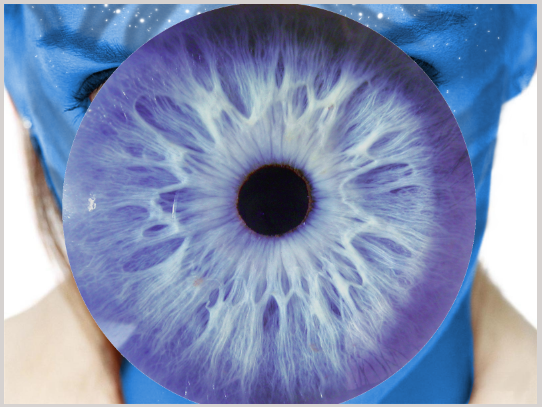
Definitely to big! Take the Scale tool and resize to eye dimension.
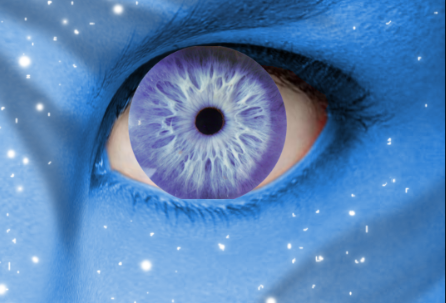
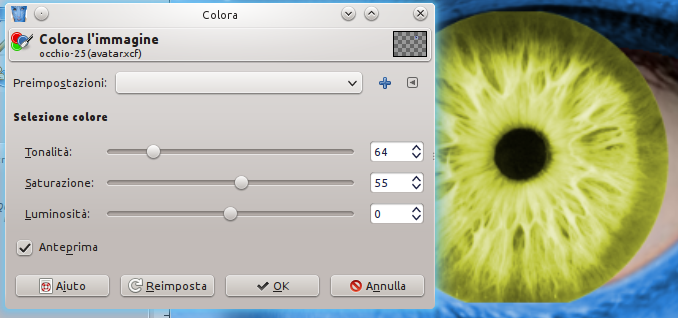
Colors —>Color and set options as in the image to change the color of the iris to yellow (these settings refer to the image I indicated, if you have chosen another one you’ll have to set them on your own).
Add a layer mask to delete the hidden parts of the iris.
Create a new layer over the eyes layer (layer mode from Normal to Fusion Grana) , then draw an half-moon on the iris to give depth to the eye, with the brush tool and color it black.

Repeat the same passages for the other eye.
Fix the last details (in this case I’ve enlarged more the eyes just created).
At this point you must delete the eyebrows. To do this, select the face layer and take the clone tool. Keeping pressed ALT, point the origin on the skin, for example here:
Then delete the eyebrows!

Create a new layer and draw the eyebrows like in the image below, use color #244a79 and set opacity to 50:
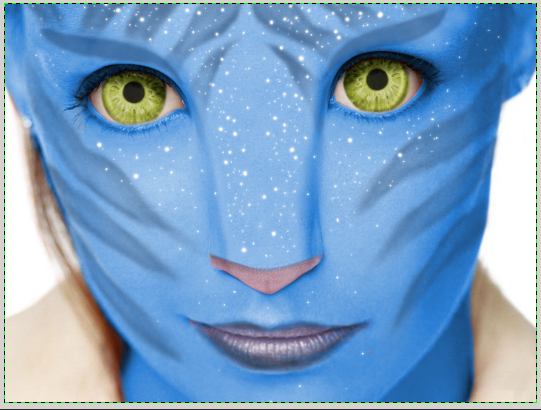
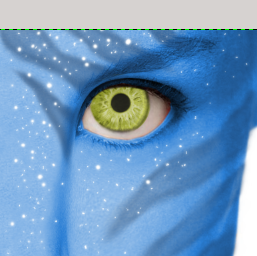
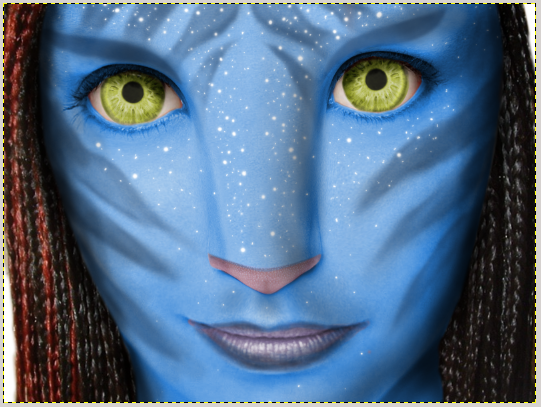
Add a layer mask on the face and delete all except the face and the neck in order to obtain this:
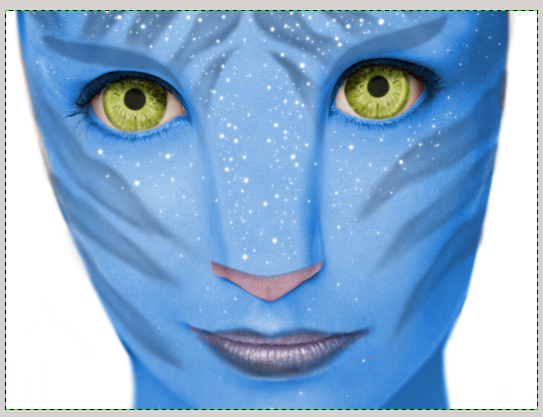
Continue working on this layer, right – click —> mask to selection so that you can select all the face in this way:
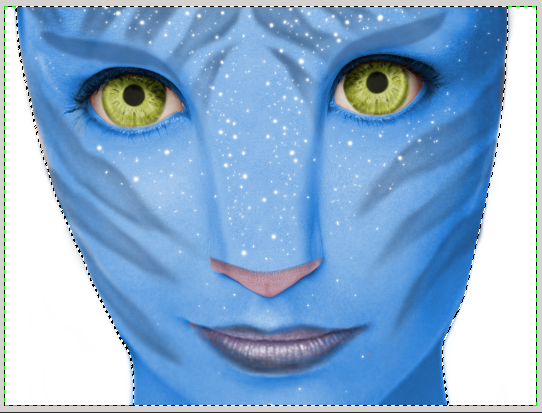
With selection active, create a new layer over all. Select the brush with black color and opacity to 30. Done that, color the side of the face and the overshadowed areas (before doing it, decide if the light will arrive from right or left, I’ve chosen right).
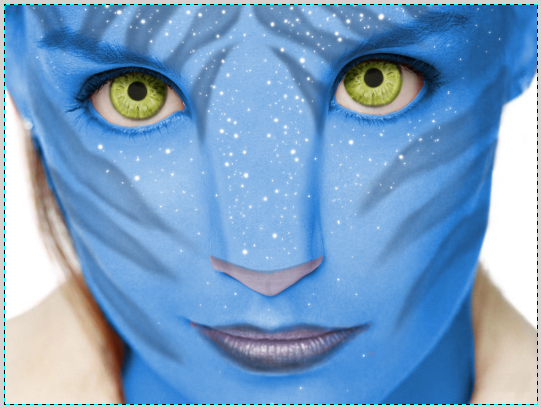
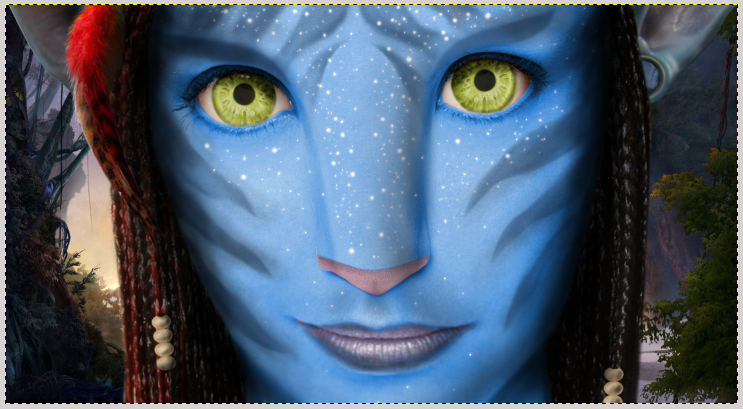
File—>Open as layers and open the image of the girl with the braids. Then add a layer mask to the image and delete all except the hair, in this way:
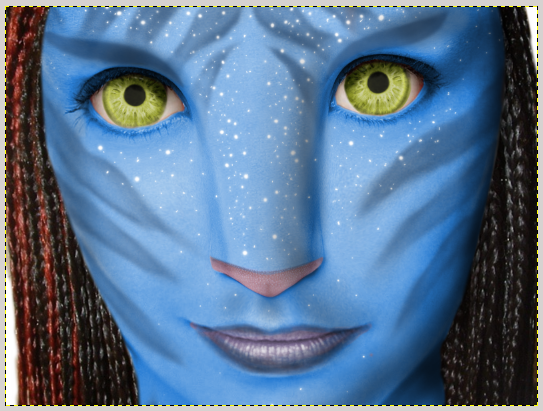
Do you remember about the level where we drew shadows? Select it again and draw shadows to face and hair.
Now start with the hair decoration! Below the shadow level, open (and possibly block out with a layer mask) the wooden bead downloaded at the beginning of this tutorial.
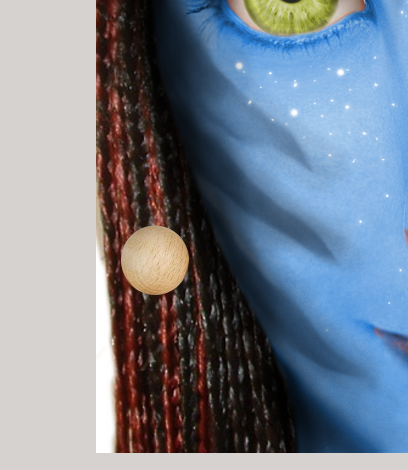
Using the resize tool, zoom out and flatten it, then duplicate the layer to put more beads one above the other like in the image below:
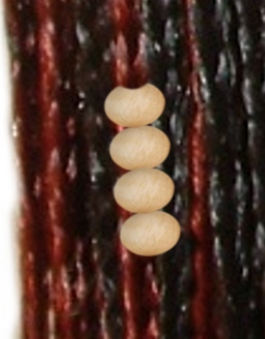
Add the shadows to this decorations, like we did for the face.
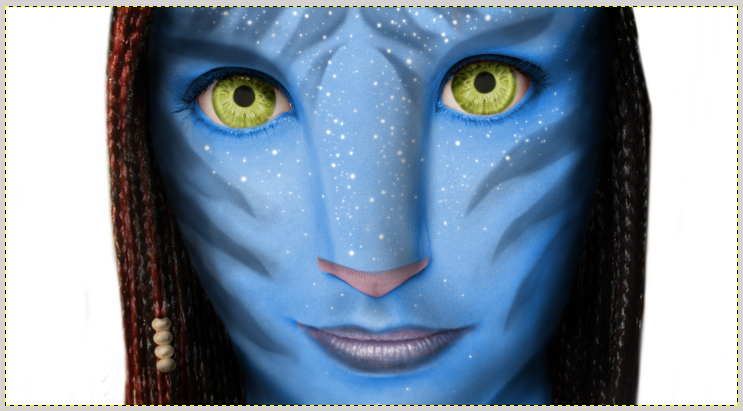
It’s time to deal with the wallpaper. Image —> Surface size to enlarge the image.
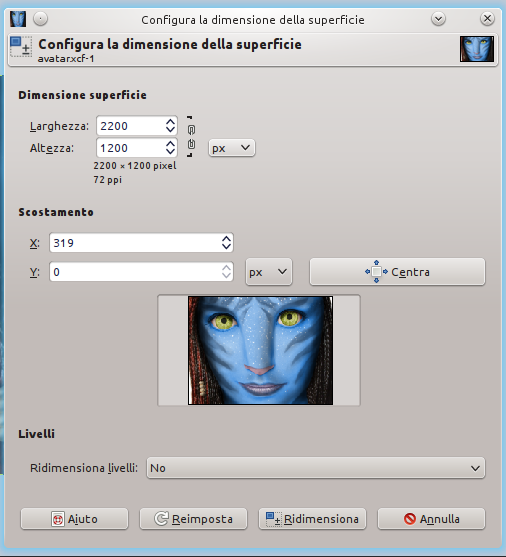
You have now space on the left and right for the wallpaper and other details. If the image you have chosen, already has a contour ignore this passage.
File—> Open as layer and open as last layer the wallpaper that we downloaded at the start of the tutorial.
The pointy ears are an Avatar characteristic. Where can we find them? At the beginning of the tutorial! 😀
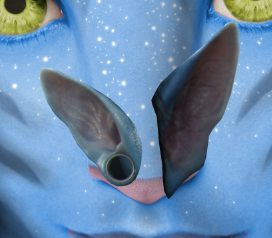
Put the ears between face and hair, then adjust the dimensions and add some other details.
Click CTRL+D on the keyboard to duplicate your work. In the copy, join all the layers in order to have only one layer. Then click on Filters—> Light and Shadow—> Lens Reflection. Point the cursor where you glimpse the sun behind the shoulders of the subject.

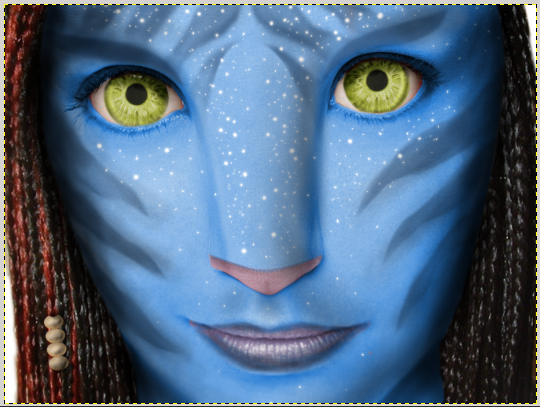
This will be the result:
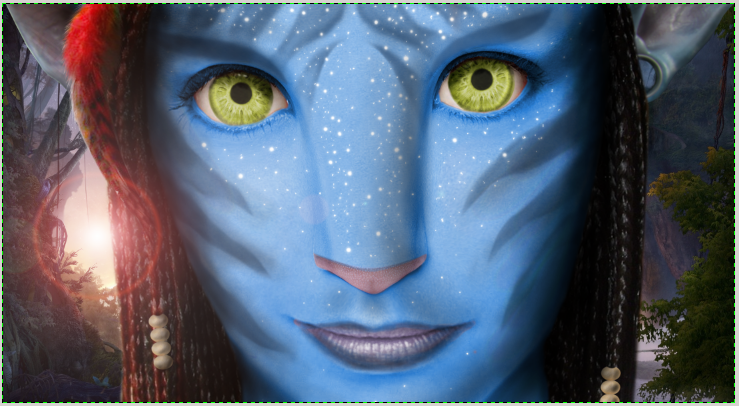
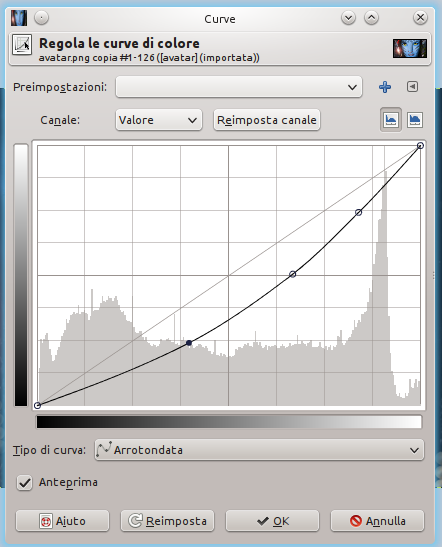
To adjust the color, click on Colors —> Curve
Tha last step consist of writing your Tag with an Avatar style! This is my final work, what do you think? 🙂