Here we are with the second part of the IronMan tutorial!
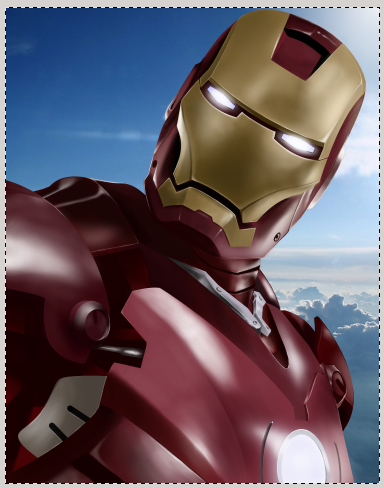
This was the image we got in the last step of the first part of the tutorial:
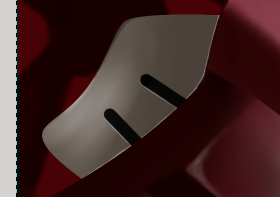
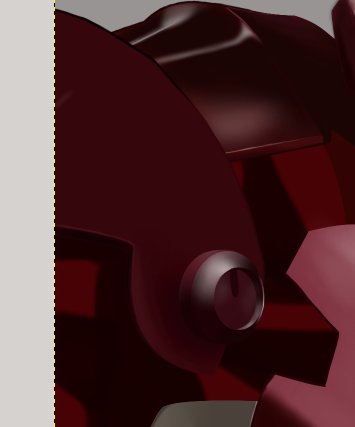
Start defining lights and shadows for section 3 and section 4.
As for section 3, shadow will cover the majority of the surface (color #160202), with a few lights on the bottom left, to made them, color with brush tool ( opacity 40%). You can realise the reflection at the top of the image with brush tool (reduced size, opacity 60%).
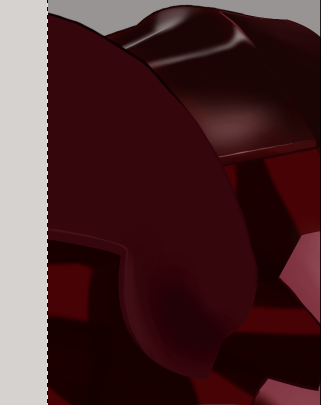
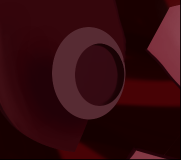
Take elliptic selection tool and trace an oval near the bottom corner of the shoulder with color #572b33 (do it on a new layer). Trace another oval, inside the first one, using elliptic selection tool. Right – click on the layer and add a layer mask with selection mode.
Then create a new level under the last one and draw the contours with color #190204.
Now define shadows, use the same color as the contours (#190204).
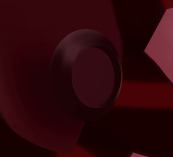
Then create lights with color #51272e and opacity 90% on the right border, and use white color for the reflection on the left.
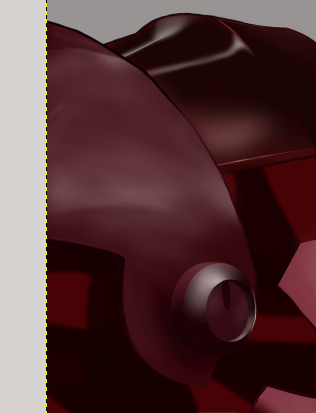
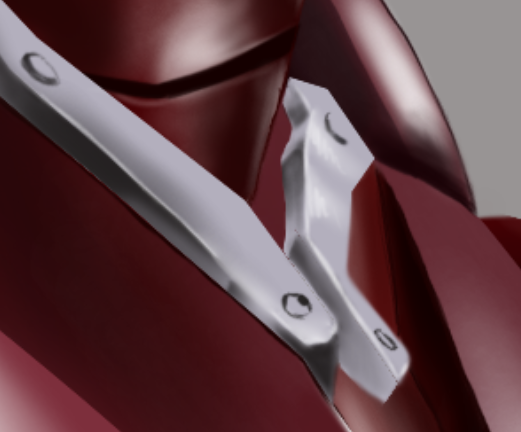
Add some more reflections on the inner border and other details in the center in order the get an outcome similar to the image below:
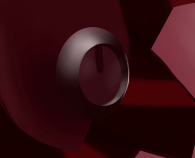
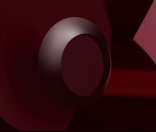
Give thickness to the linchpin just created using the colors of the draw. Then start defining lights of the shoulder on the left corner with color #611a23 and opacity 30%.
Continue by defining lights with white color. Use stump tool with opacity 20% to soften lights, in order to make them more uniform.
It’s time for Ironman’s jet engine! Create a new section inside section 5, and create a new layer. Draw two ovals with elliptic selection tool: color the external one with #c0c0c0, while the second one will be white.
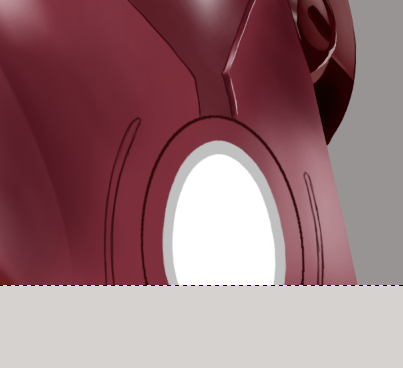
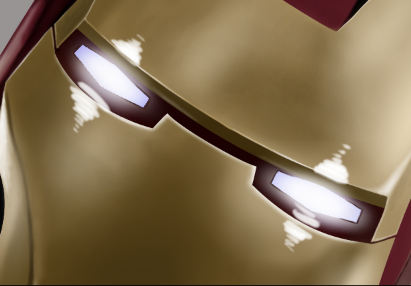
Now draw the eyes! Use path tool to define the borders of the eyes.
Selection —> From path to select the area. Then, create a new layer and apply gradient tool (radial mode) to eyes selections. Primary color: white, secondary color: #a7a8f2.
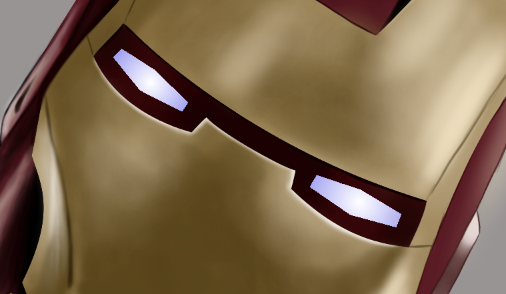
Create a light layer for the eyes, select white color and soften the eyes in order to create a blaze.
Create some soft contours with white color on the golden armor, then define reflections on the red side.
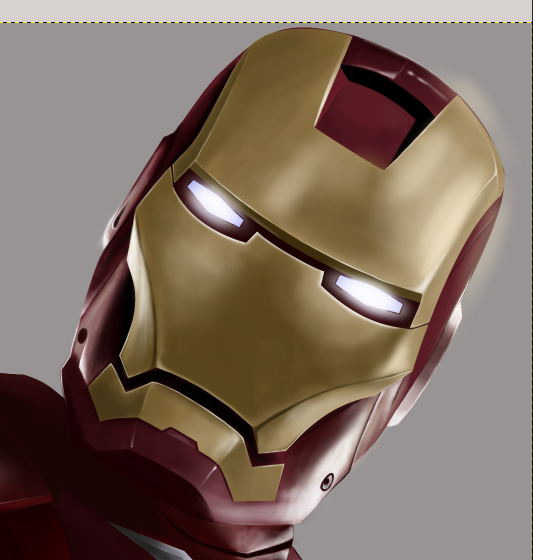
This should be the result!
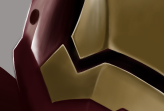
Now it’s time for chest! Define lights and shadows of the hooks (section 9) in this way:
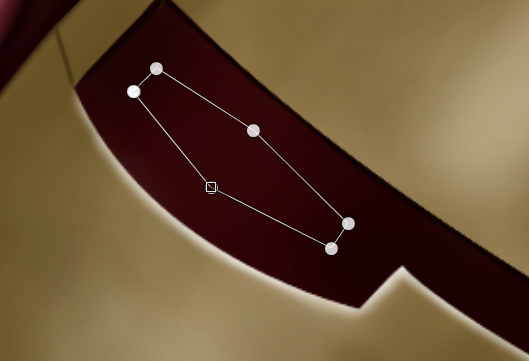
Select path tool to define the groove near the jet engine.
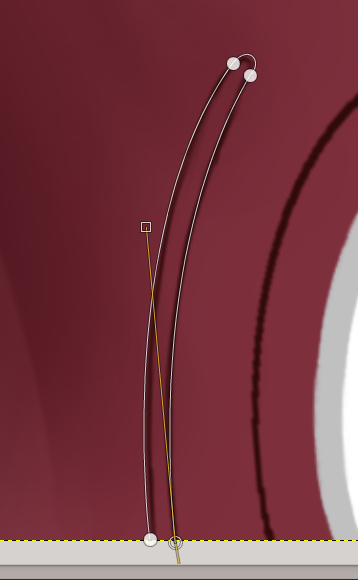
Start defining a base with color #553d45, then use color #32272b for the right side (it will be the shadow), and color #674f58 for lights on the left. Color the roud hook at the top with color #e2e2e7 for bright parts and color #382230 for darker ones.
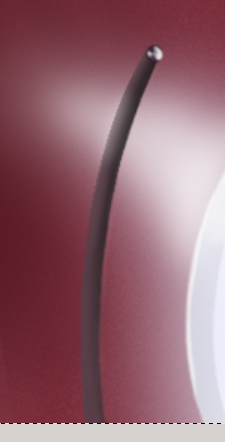
Draw another groove and define lights and shadows of the jet engine. On the left of the jet engine (gray part) draw a white border, while on the right side draw a dark border with color #716e73.
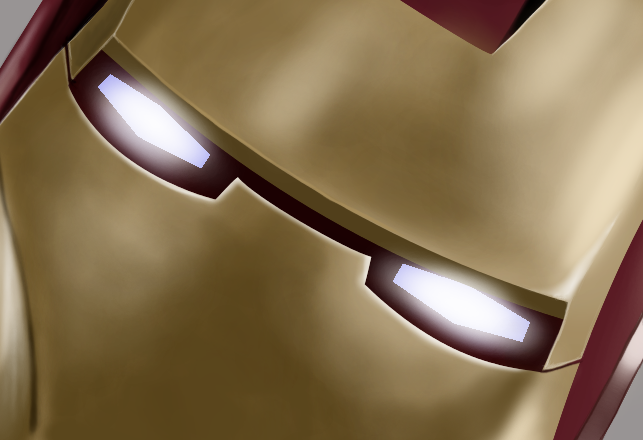
At this point define general lights and shadows of the draw. Start from the eyes, create a light layer over all the others and draw with white color in this way:
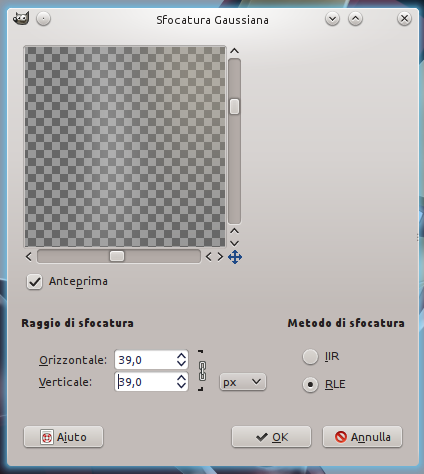
Click on Filters —> Blur —> Gaussiana and apply a blur in order to create a blaze on the face, caused by the light of the eyes.
The structure of every section will be composed of 4 layers: base color, lights, shadows and possible details. Select the base color layer and, for each section, click on Filters —> Noise —> Noise HSV. This particular filter will give a more realistic and dinamic effect to the image.
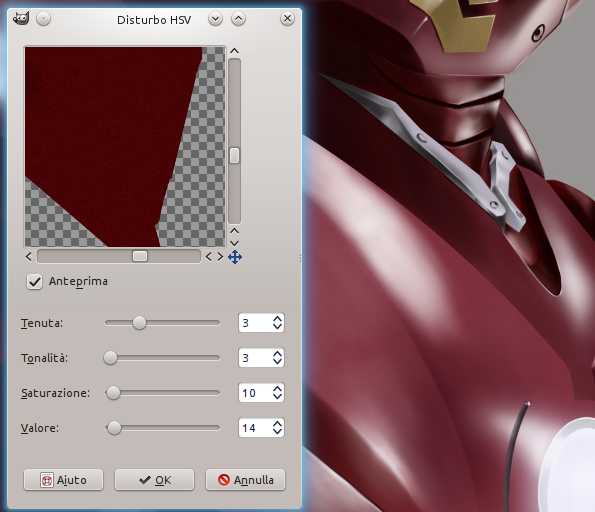
Apply the filter to the rest of the body, intensifying the effect for the darker parts.
To make the background, add the image downloaded at the beginning of the tutorial clicking on File—> Open as layer.
 Apply gradient tool, from white to transparent, at the top right corner. Select white as primary color, and set gradient “From pp to transparent” in the tool settings.
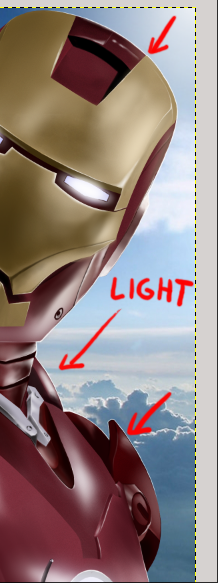
Define light borders on IronMan’s right side with brush tool.
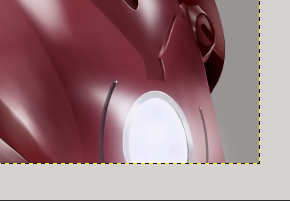
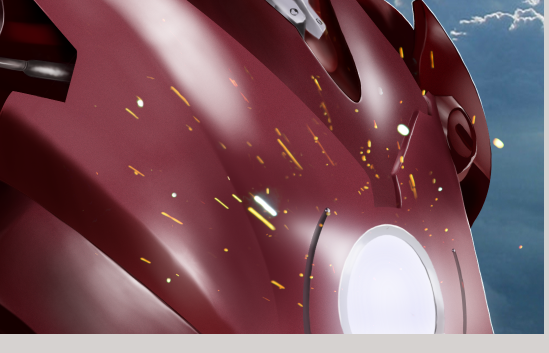
To complete this artwork, we only need some sparks and a little smoke. Start from the sparks clicking on File—> Open as layer and open the spark image downloaded firstly. Reduce the image and position it near the jet engine. Change the layer mode from Normal to Only bright tones.
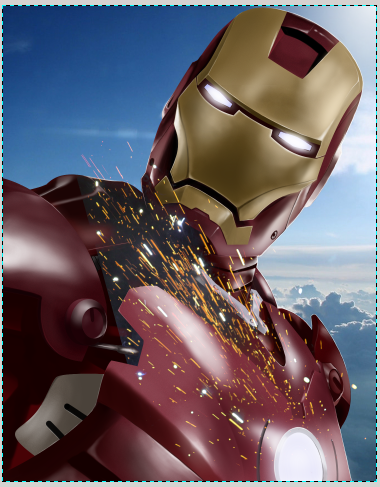
Add a layer mask to delete extra sparks, keep only the ones in the middle of the chest, like in the image below:
Create a new layer, take brush tool with color #c4c2bb and draw smoke around the jet engine.
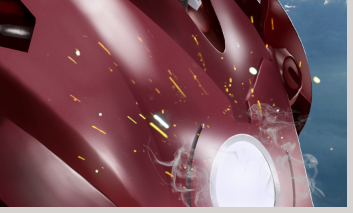
Draw a little smoke also on IronMan’s shoulders.
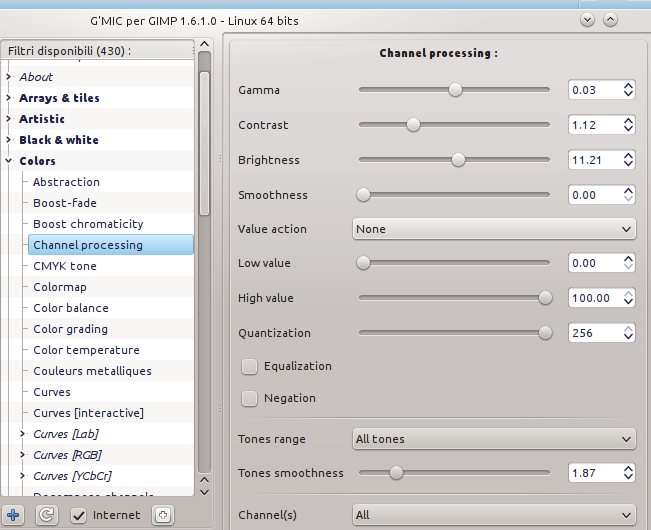
At this point try to enhance the colors of the draw. Right – click –> New from visible to create a new recapitulatory layer. Use this layer to improve colors: open up G’MIC —> Colors—> Channel Processing and configure the options below:
G’MIC—> Colors—> Boost chromaticity to give emphasis to the colors.

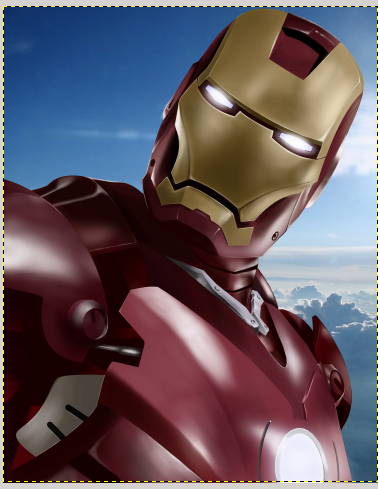
This will be the final result:
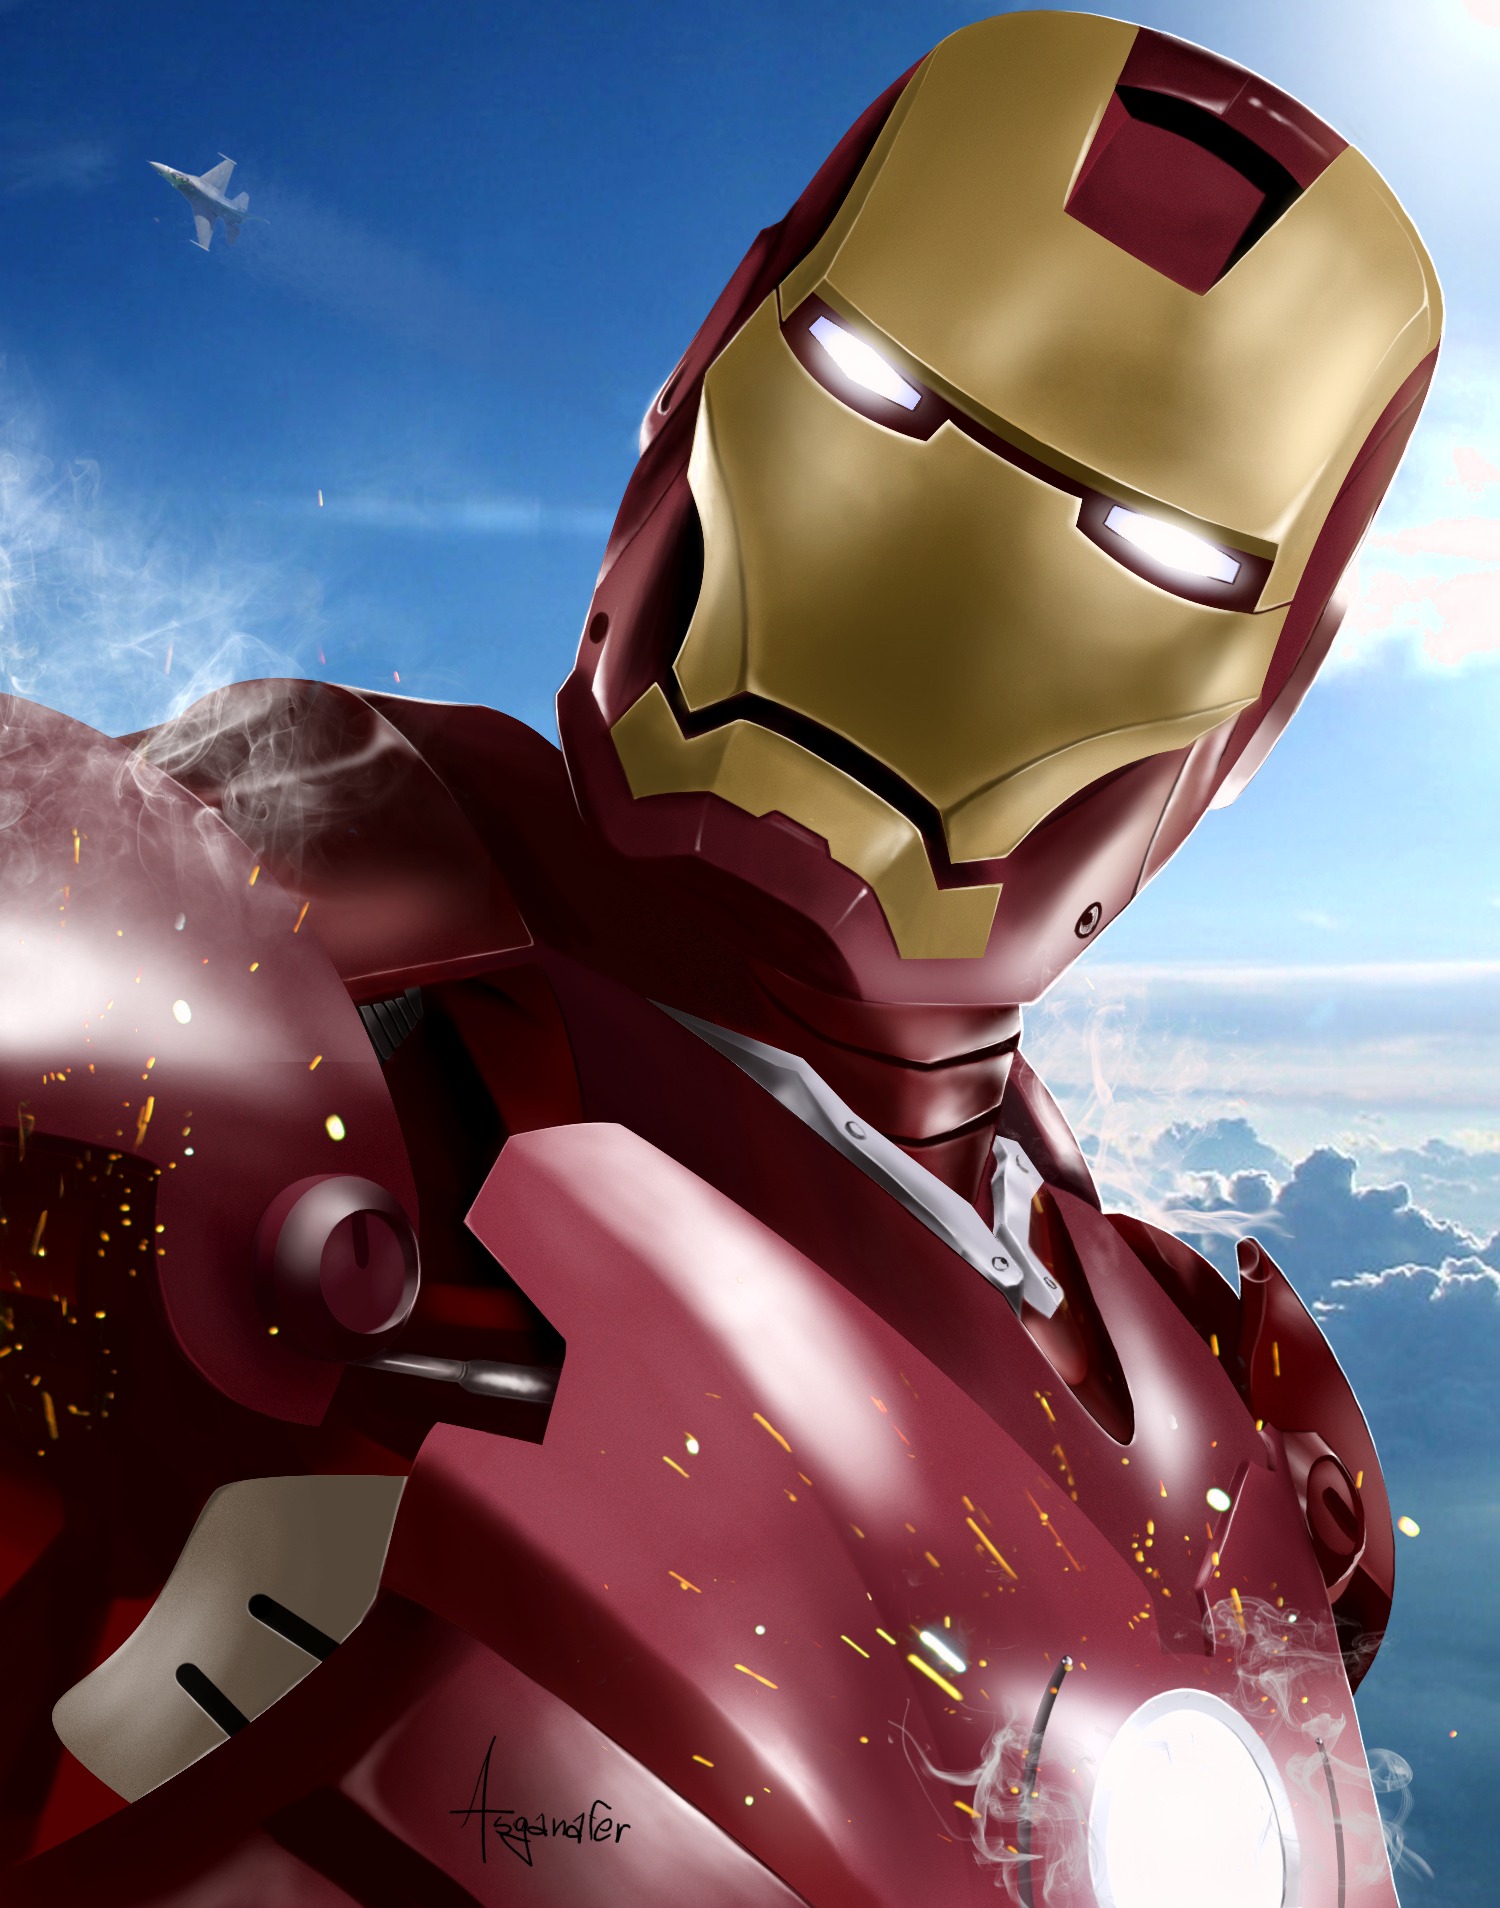
What do you think about this IronMan? Is it similar to the Photoshop image? I know that Photoshop is a more professional program, with more functions than Gimp, but, considering that this is the first time I realise this tutorial, I think that my outcome is satisfying.