Welcome to the first of this two part watercolor effect tutorial!
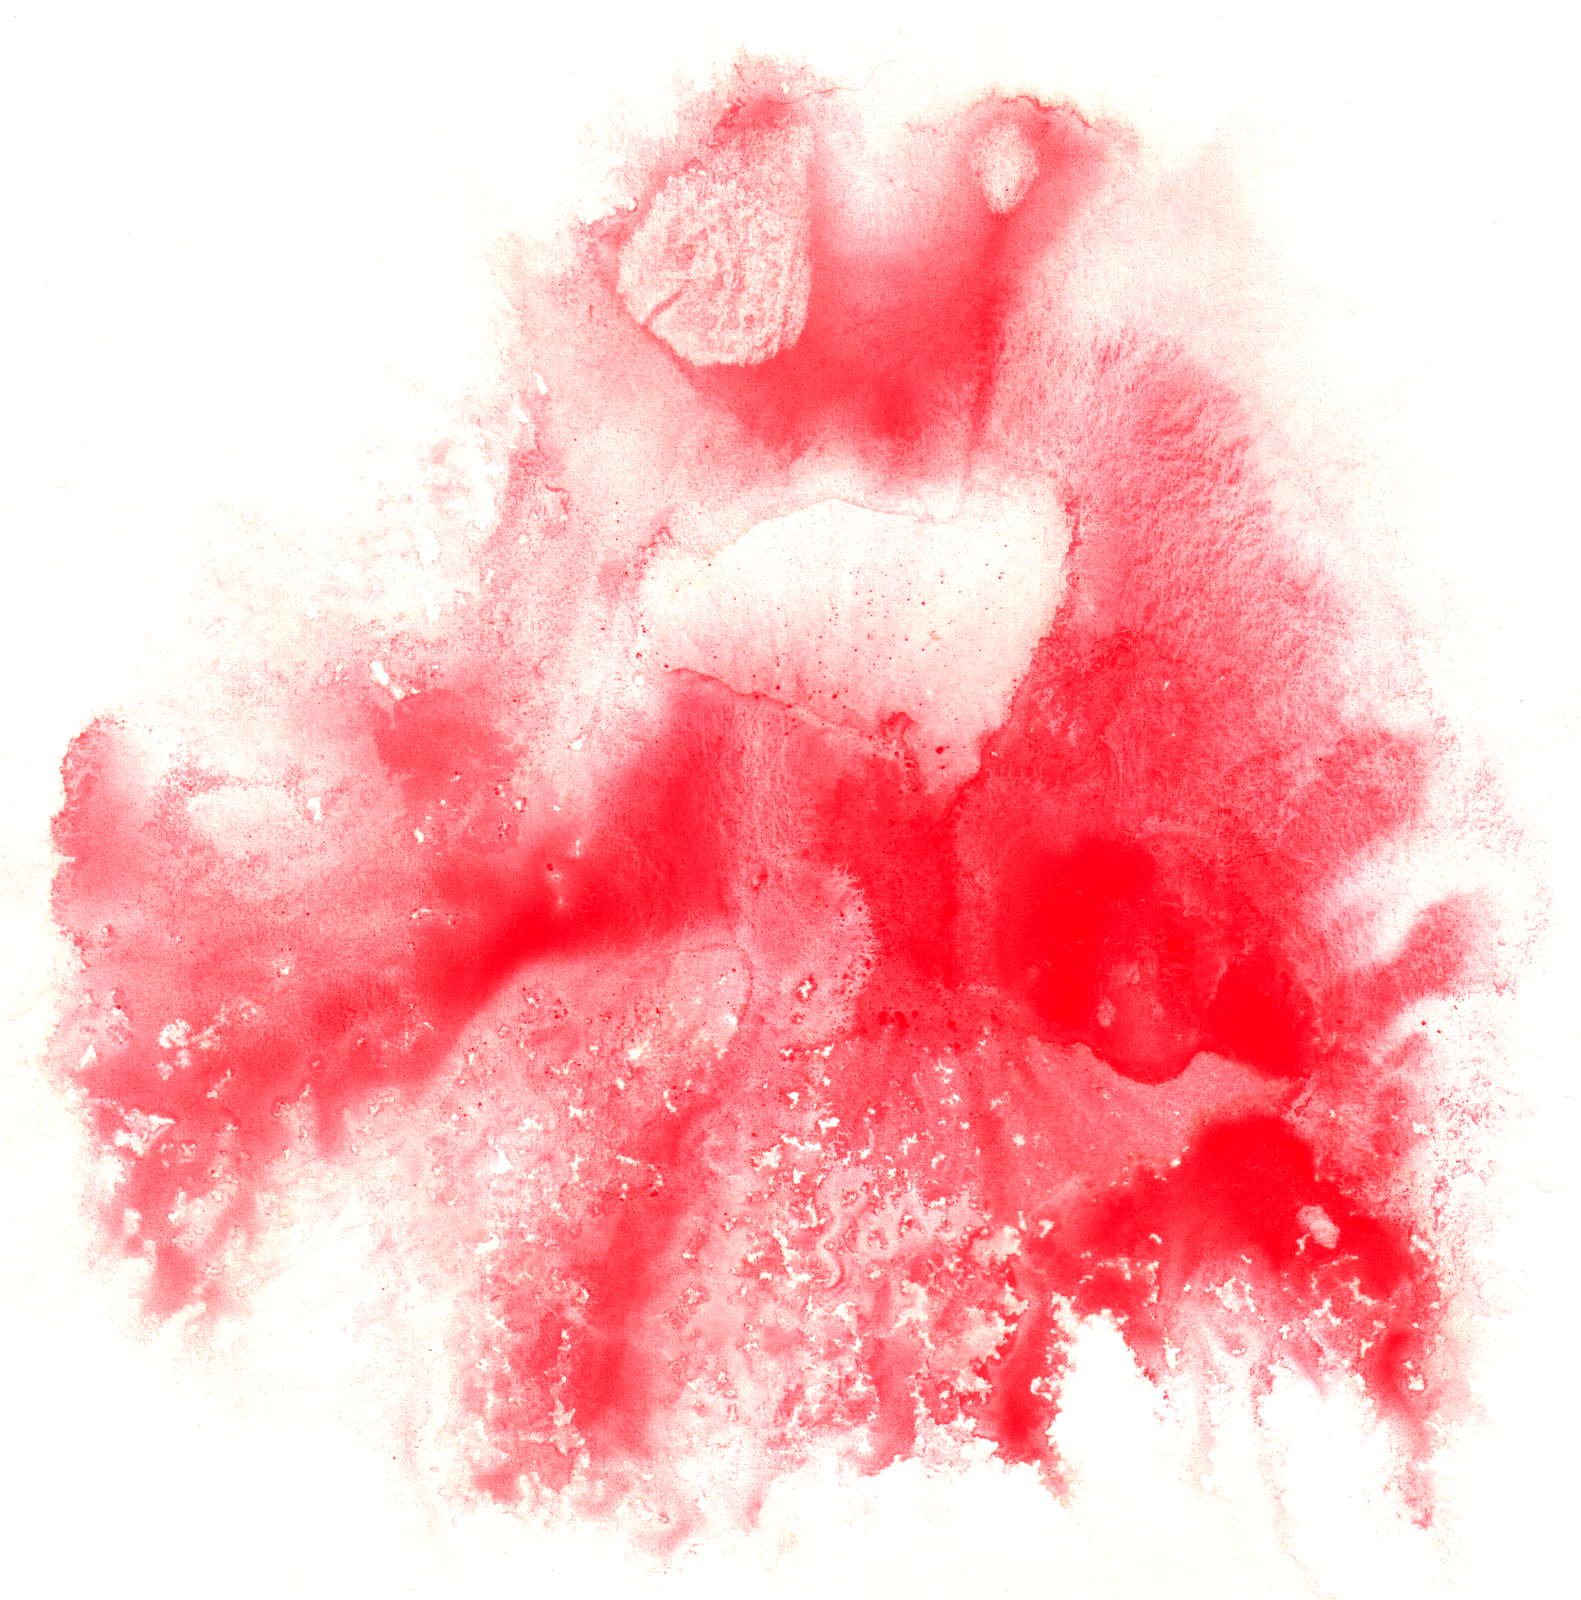
The following resources are needed for this tutorial:
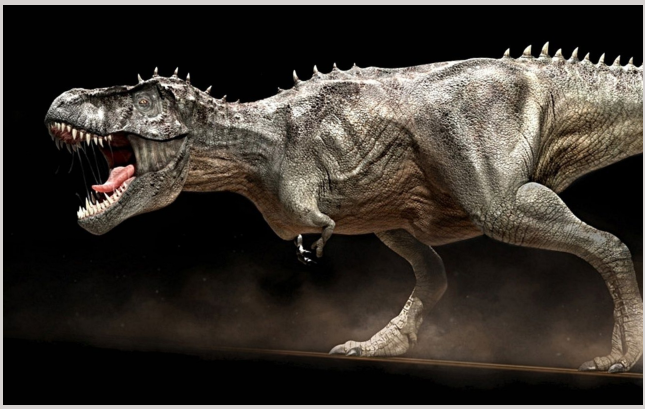
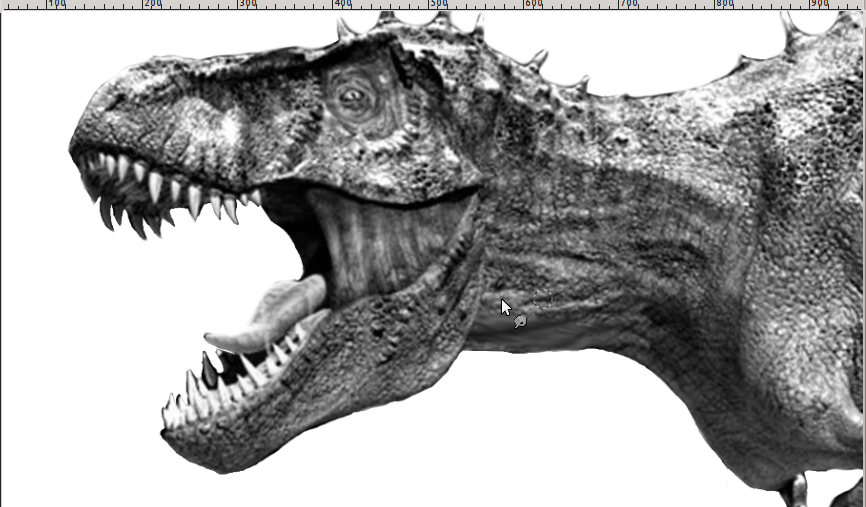
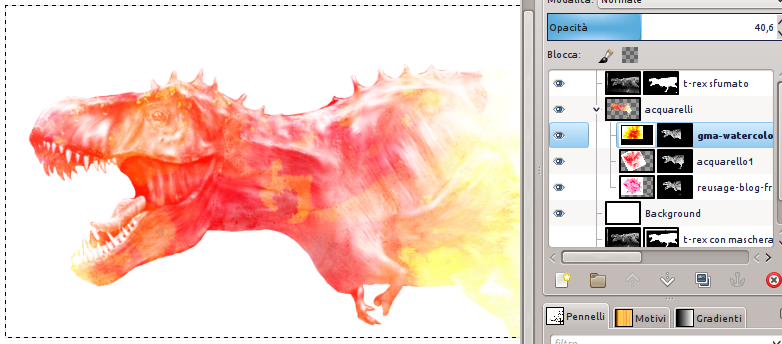
First you need to choose the image on which you want to apply the effect (I used the T-Rex image).
Open your photo and position it where you prefer.
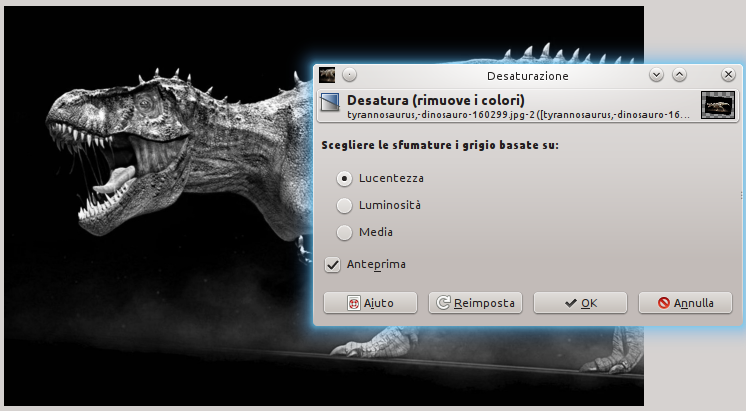
Colors—>Desaturation in order to make the T-Rex black and white.
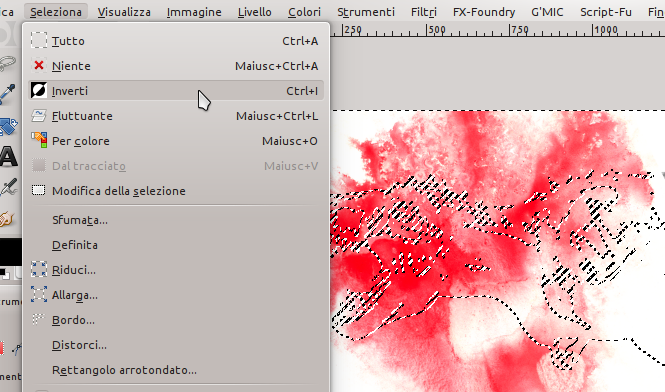
Select the freehand selection tool to block out the image, I suggest to use a layer mask.
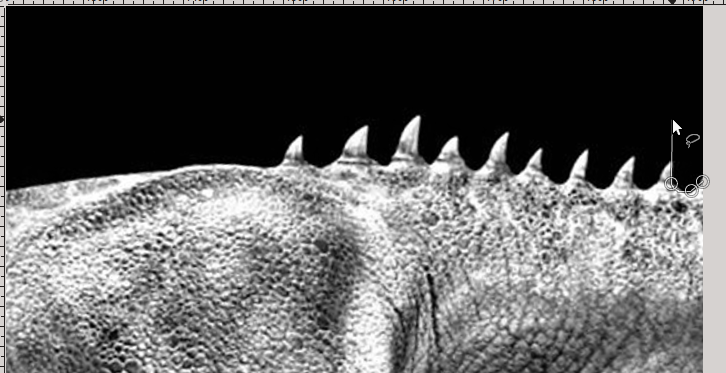
Pay attention not to create a too definite contour, the contours of the final subject should be almost invisible.
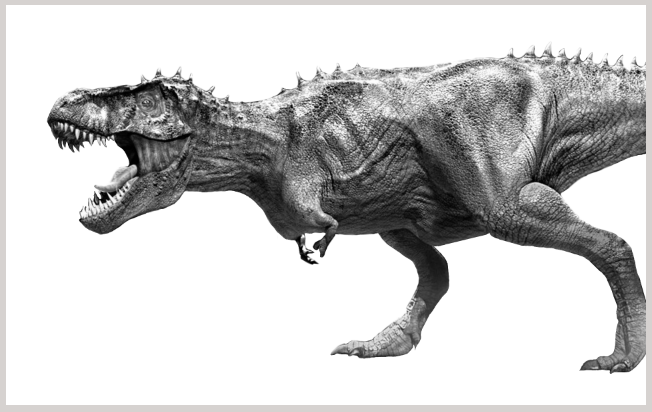
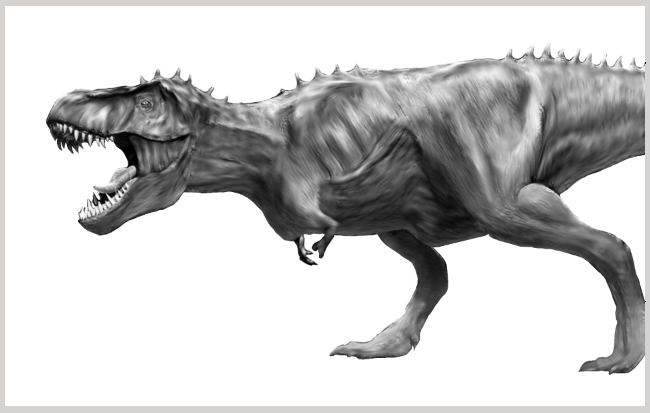
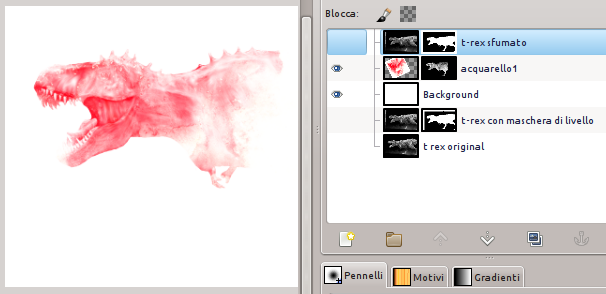
Duplicate the dinosaur layer and soften it following the lines of the muscles with stump tool.
The outcome should be similar to the image below:
Hide the layer just created, then click File—>Open as layers and open one of the images downloaded at the beginning of this tutorial. Position the image between the hidden dinosaur and the background one.
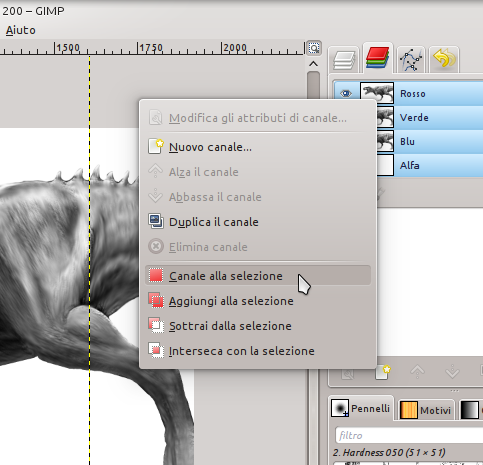
Hide the image and make the dinosaur visible again. Then go on the channel table and right – click—>Channel to selection on one of the channels.
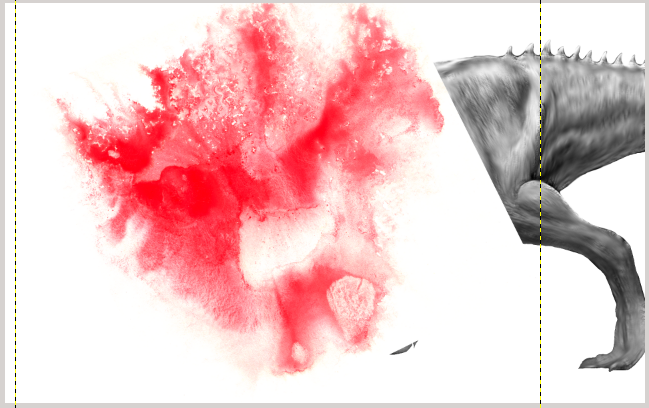
Hide the dinosaur, make visible the color layer and click Select—>Transform selection. These steps are a bit difficult, but they become easier as you learn the process!
Right – click on the color layer and click on add a layer mask. Choose selection as mode.
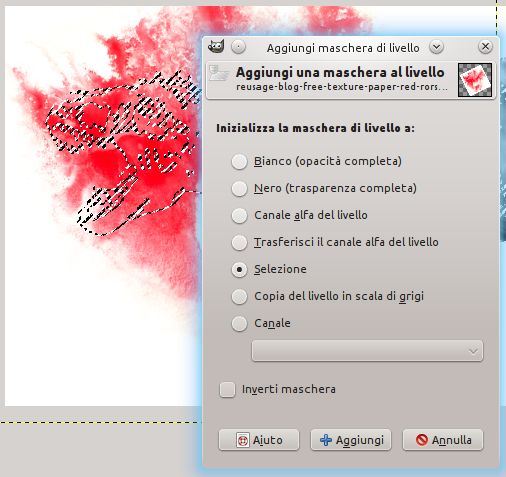
This is the effect you will get! Don’t worry if it is not much clear, we will adjust it in the following step!
Open as layer another watercolor image, then look at our artwork layers: the dinosaur that we hid and made visible is now active but… you can not see it because I changed the layer mode from “Normal” to “Soft light“: in this way the T-rex image will be more marked.
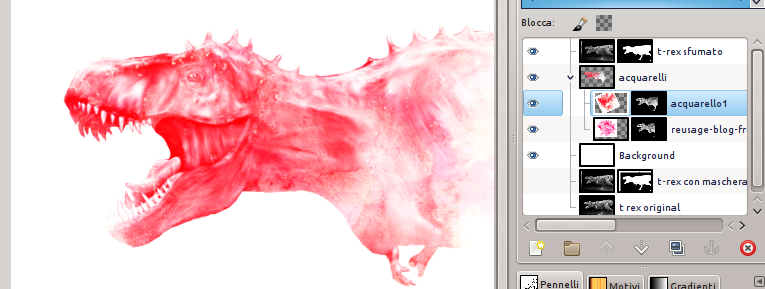
Add a third color layer to complete the head of the dinosaur.
In the next part of this tutorial we will finish our artwork! I’ll see you there!