Hi guys! Today I have prepared an easy, but impressive tutorial!
Before starting, download the following materials:
- MegaTron Font
- Script Fu (Don’t you know how to install them? Check this guide )
Open up a new Gimp document, I am using a 1920 x 1080 sized document, and fill it with color #333131.

Duplicate the layer just created, then click on Filters—> Noise—> Noise HSV and configure the settings in the image below:
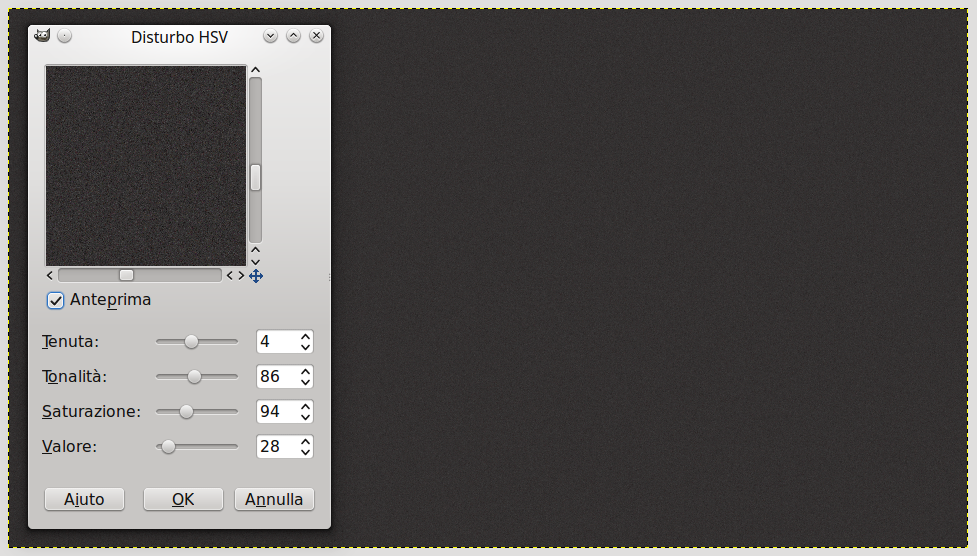
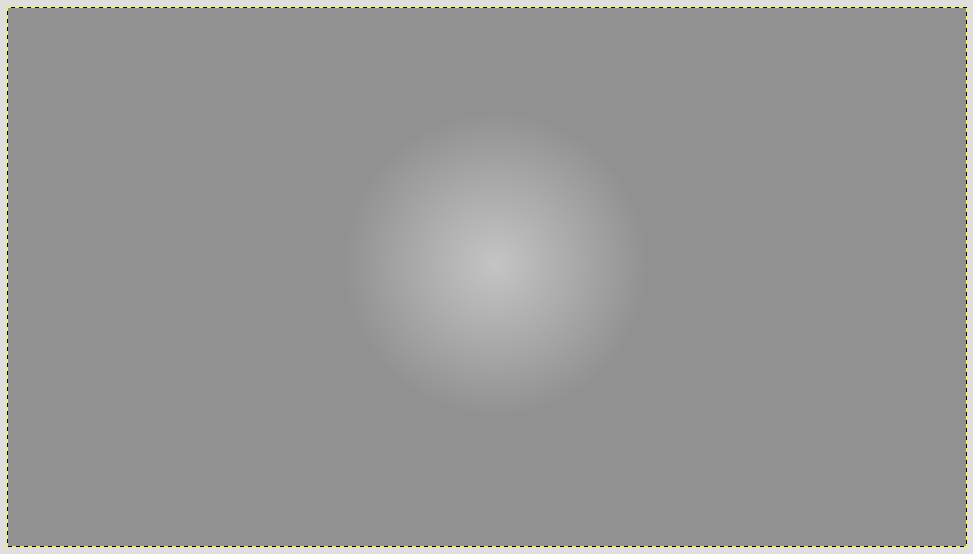
Right – click—> Add a layer mask on the layer just created, then select the blur tool and apply a radial gradient (be sure to have set white as primary color and black as secondary color). You will get the result in the image below, where noise HSV is visible in the centre only.

Select the Blur tool, set black as prmary color and set gradient from primary color (black) to transparent, click on the gradient preview to select it.
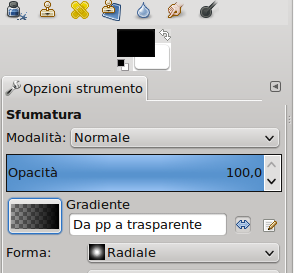
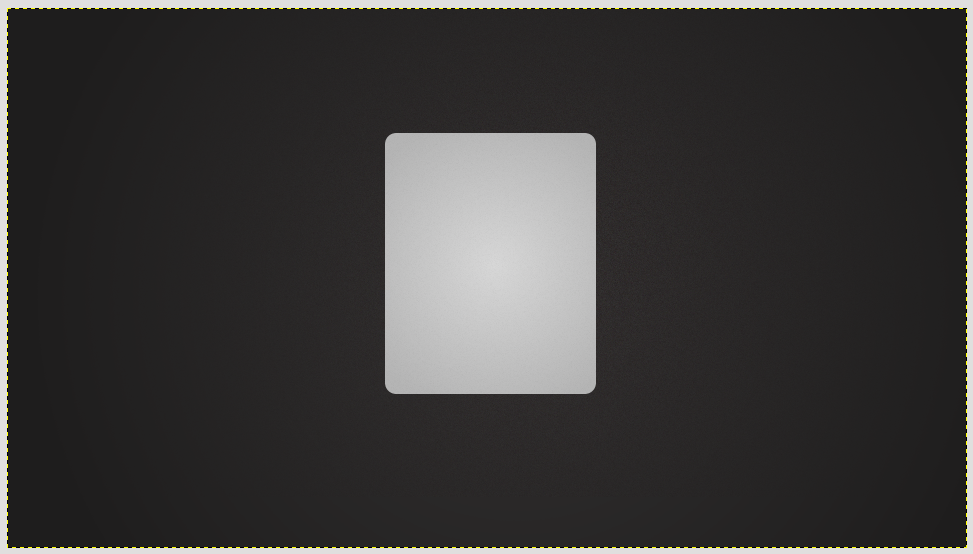
Create a new layer over the two just craeted and use Blur tool with the same settings as in the previous step to apply the gradient on the whole document: the sides will be black, while the centre will be transparent. Be careful not to blacken he sides too much; if they are too dark, adjust opacity to get an effect similar to the image below:
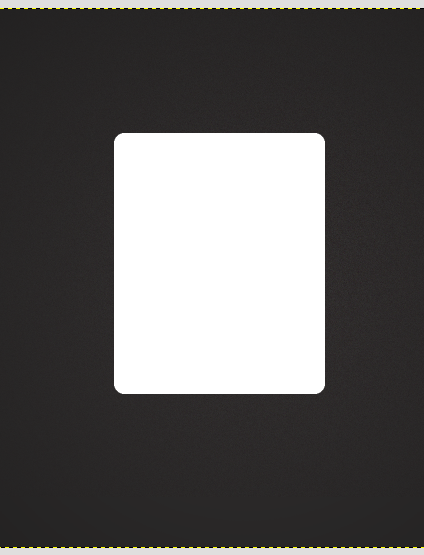
Create a new layer group (which will contain all the card layers) and, inside that, create a new layer called “Card”. Draw a rectangle in the centre of the document with rectangular selection tool. With the selection active, smooth out edges clicking on Selection—> Round rectangle and setting the rounding percentage to 10. Click OK and fill the selection with white color.
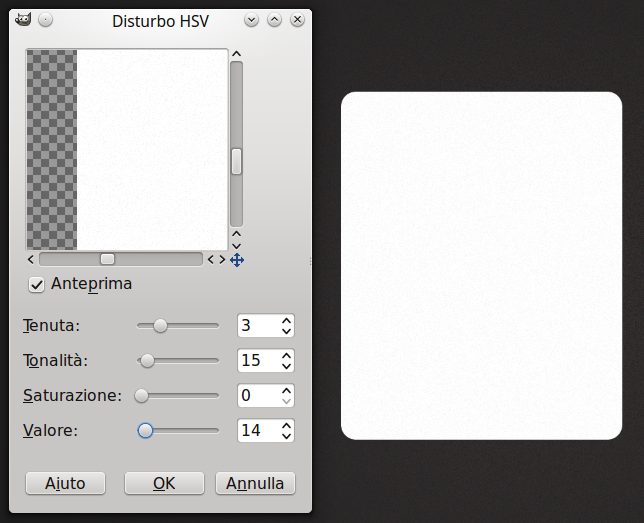
Apply Noise HSV also to this layer and configure the options below:
Create a new layer over the card one, and apply a gradient from color to set to color to set with Blur tool.
Change layer mode from Normal to to set
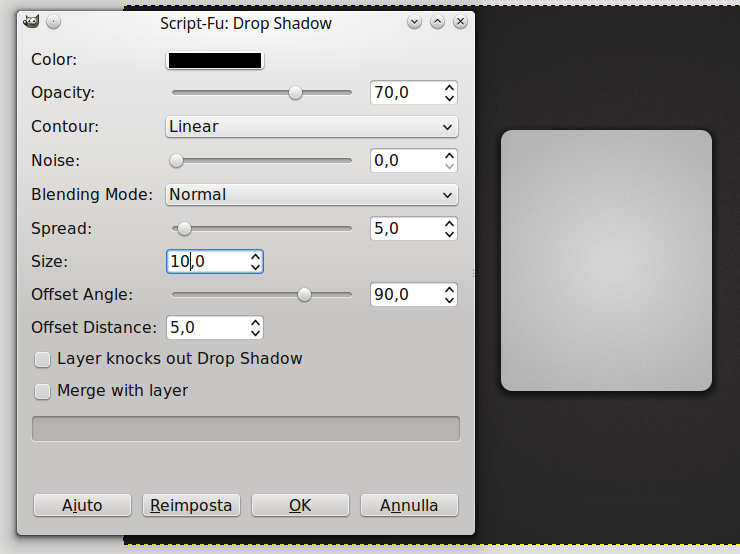
Click on Script-Fu—> Layer Effect—> Drop Shadow to draw tha card shadow, you can see the outcome next to the Script-Fu window.
At this point, you have to create a border to the card in order to give a tridimensional effect, click on Script-Fu—> Layer Effect—> Bevel and Emboss as in the image below:

NOw you have to decide what you want to write on the card! Choose the font downloaded at the beginning of this tutorial and write a letter with text tool (in my case, the font size is 600). Add a layer mask and customise the letter rounding the edges.
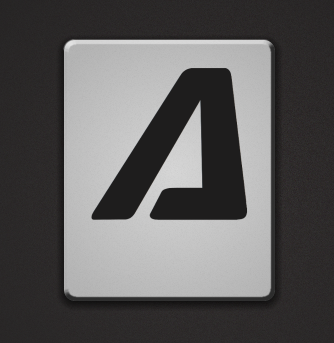
Add some text under the letter: I chose “tutorial”. Tutorial begins with an upper – case letter T, and this font extends capital letters, so you can add another writing below, as I did in the image:

Select the “A” letter layer and create inner shadows by clicking on Script Fu—> Layer Effect—> Inner Shadow, configure the options below:

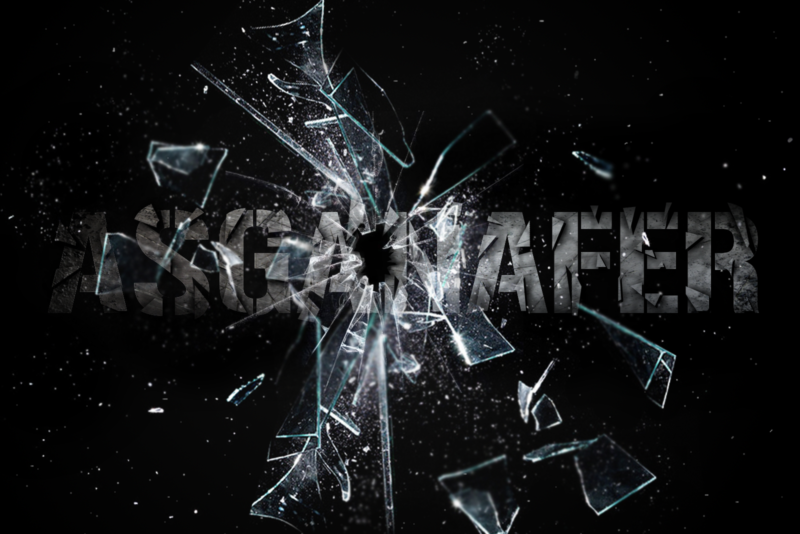
Our artwork is finished! What do you think? Do you like it?
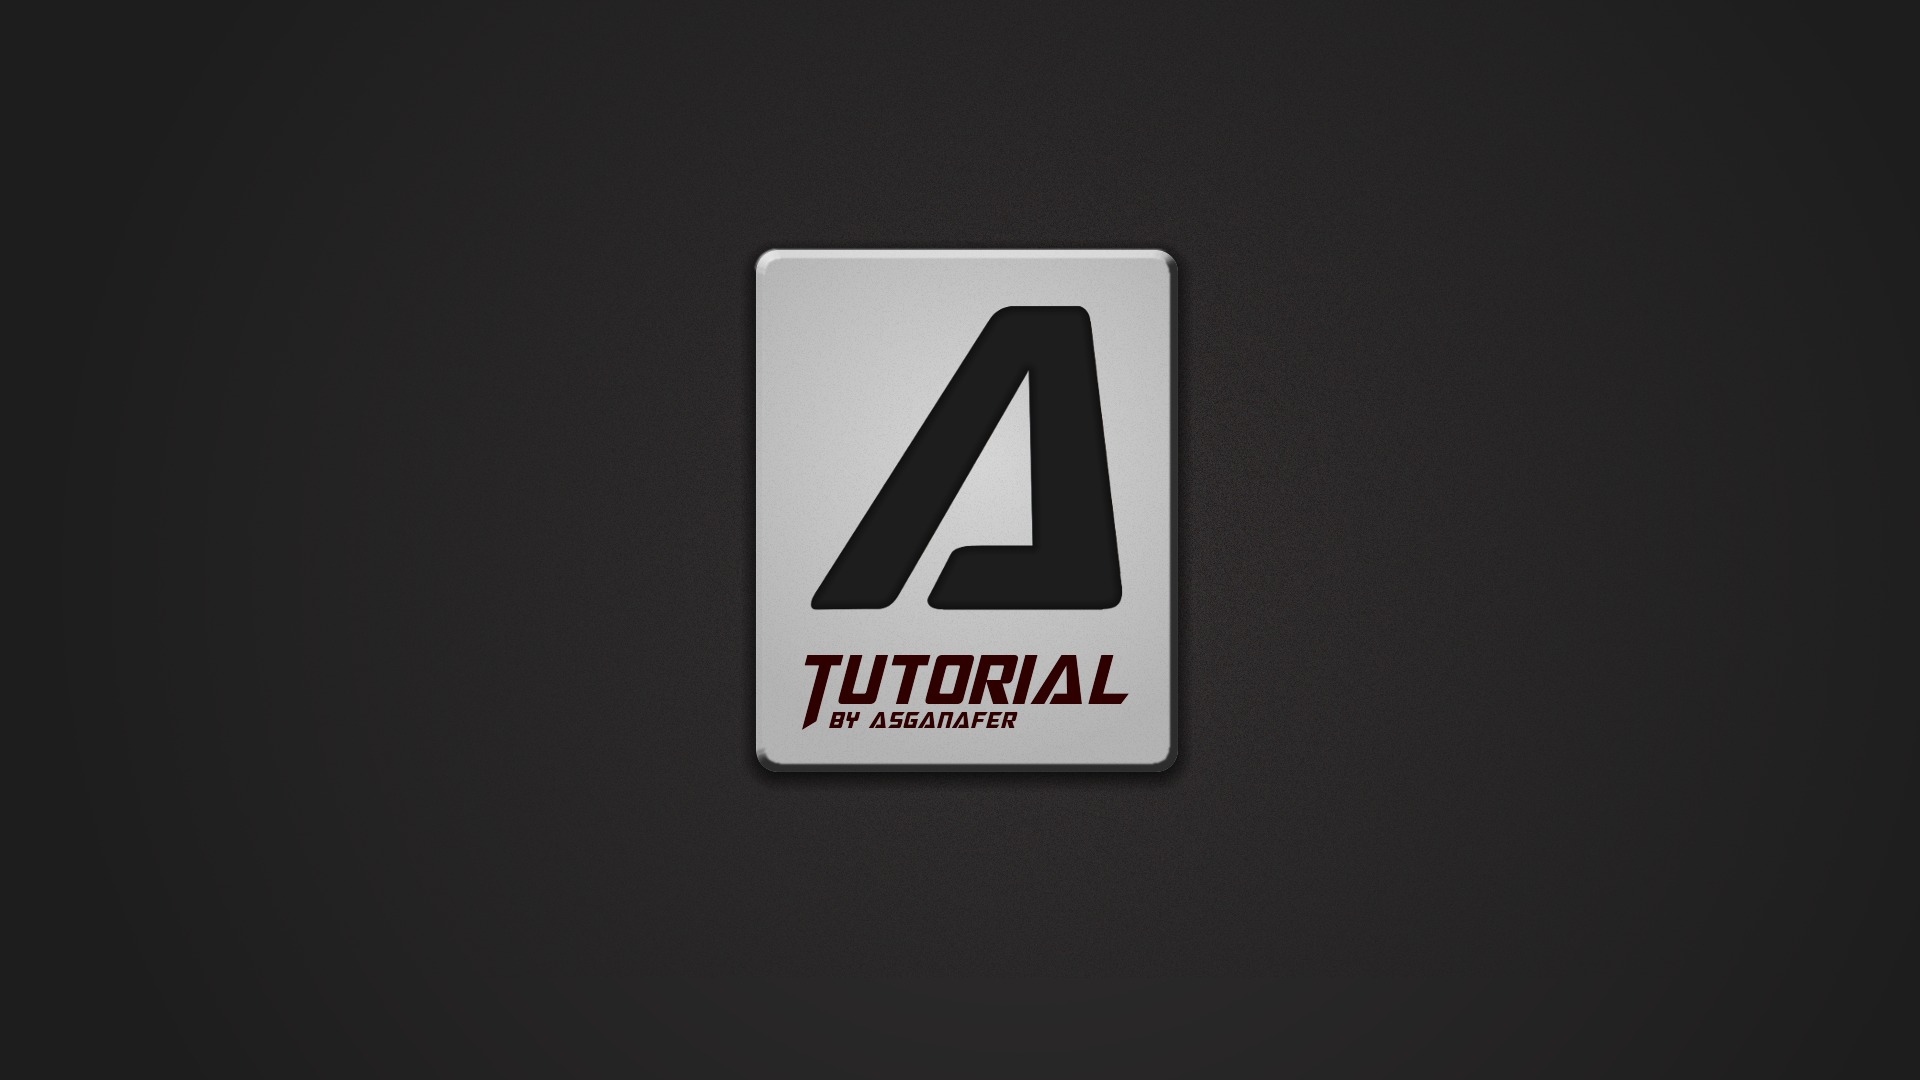
Obviously you can create many different cards, this is another example:

If you like my tutorial, comment and share 🙂
See you soon!