In today’s tutorial I will show you how to realise the light beam of a lightsaber!
As first step, you will learn how to crop one of the grip from the original image in order to draw the lightsaber characteristic laser. Select the whole outline of the lightsaber with freehand selection tool (the third tool from the right on the left column).
Once you have blocked out the image, click on Modificy -> Copy and create a new image (the size depends from the lightsaber dimensions). First create a new transparent layer called “lightsaber”: click on layer—> New layer. Then paste the lightsaber just created.

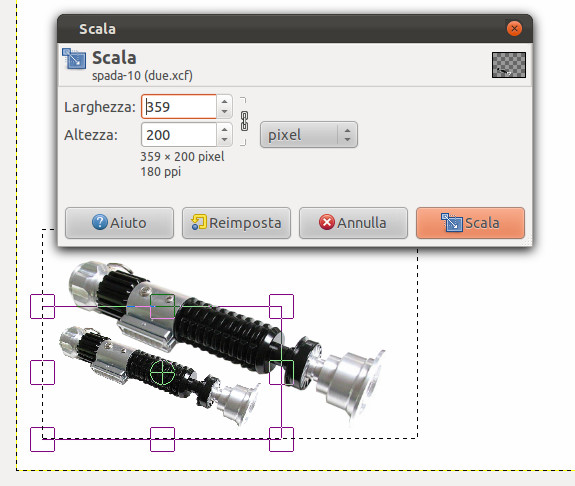
At this point I will illustrate how to enlarge/make the image smaller and how to rotate it.
As first thing, delimit the image with selection tool, then modify the dimensions with scale tool. While you will be modifying the size, a window with a chain image will appear: if the chain is broken, you can freely modify the image size; if it is locked, you must respect the relationship between length and width. So regulate the lightsaber size preserving the relationship between the sides.
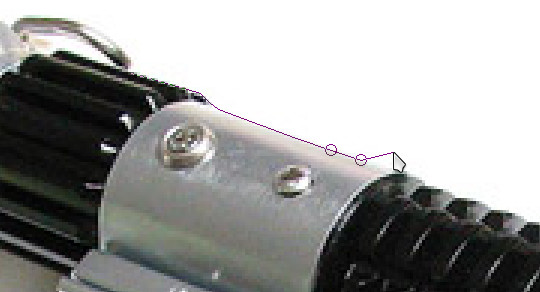
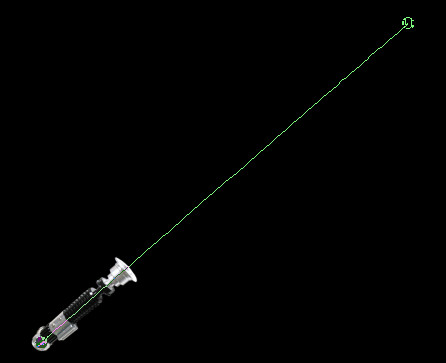
Then rotate the image with rotation tool, so the lightsaber grip will be lightly rotated. The next step consists of creating the beam of light. Create a new transparent layer called “laser” and draw a line with path tool in this way:
There are different ways to draw the lightsaber beam: we will use brush tool with white color and a suitable size: it will be the width of the laser beam. Then click on Modify -> Sketch path and a window will open:
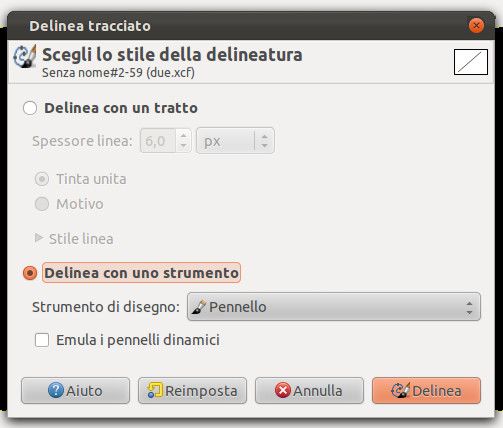
Configure the settings in the image above, the past just created with the brush will be traced over. Using a round brush, the lightsaber tip will be smoothed out!
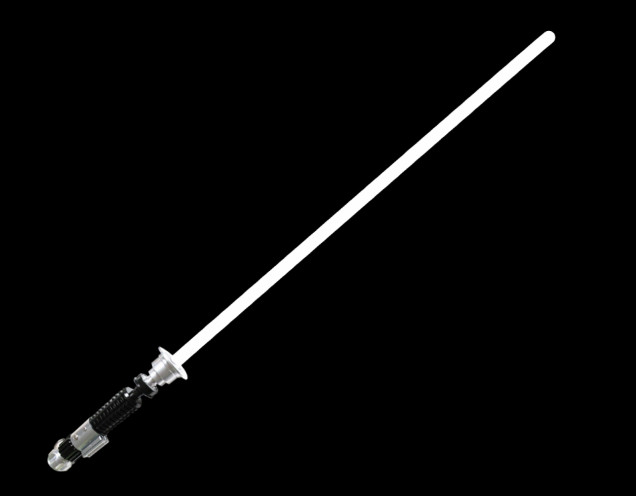
Then erase with the rubbera the laser part above the grip in order to get an outcome similar to the image below:
Our artwork just need some blur around the laser beam! We will create a blue (or another color you prefer) shadow clicking on Filters—> Light and shadow —> Project shadow, configure the settings in the image below:

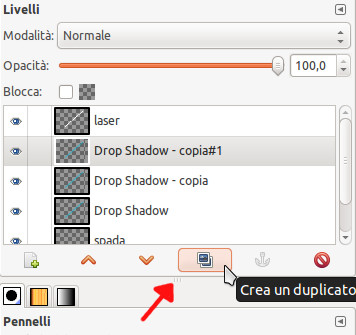
Eventually, I sugget to duplicate this layer three times, in order to highlight the laser beam blur. Click on the symbol below the layers:
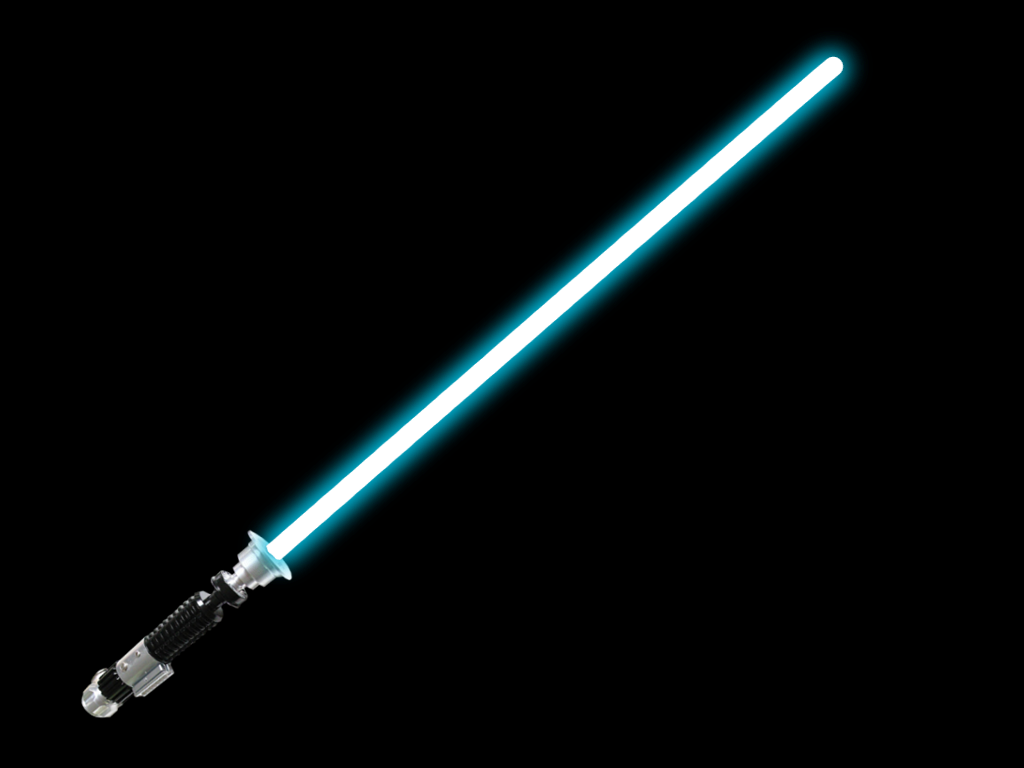
This will be the final result: