Hi everybody and welcome to my new Gimp lesson! In this tutorial you will learn how to realise an On/Off button, it will be useful for apps and websites!
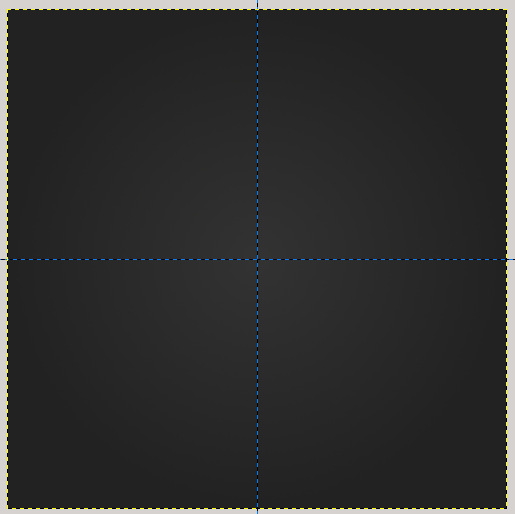
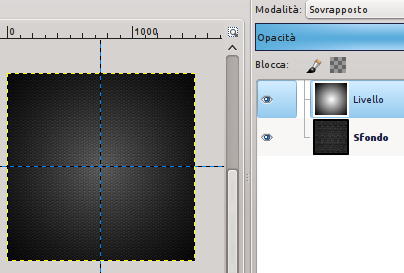
Create a new square image (I’m using a 1500px x 1500px sized document).
Select gradient tool and set these colors: primary color #313131, secondary color #222222, then apply the gradient. (Blue lines are necessary for the image construction only).
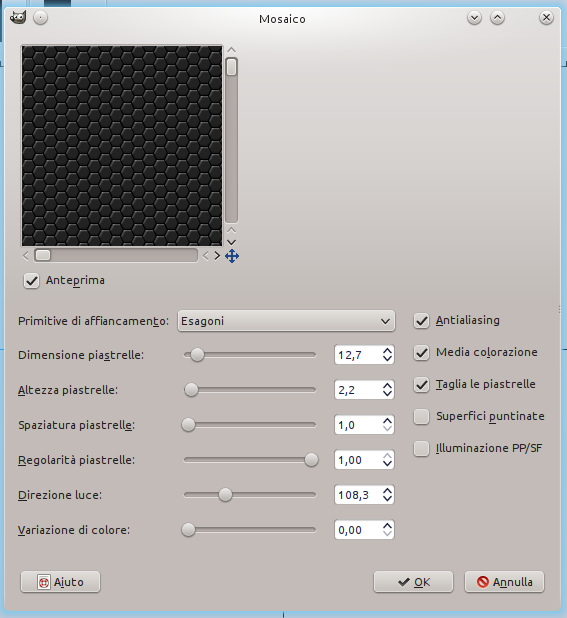
Filters–> Distorsion—> Mosaic and configure the settings below:
Tile size: this is for the dimensions of the hexagons that you will create;
Tile height: lights and shadows extension inside the tile;
Tile regularity: if you set 1 all the tiles will be identical;
Color variation: if you set 0, all the tiles will have the same color, while if you set a bigger level the color will vary in a random way.
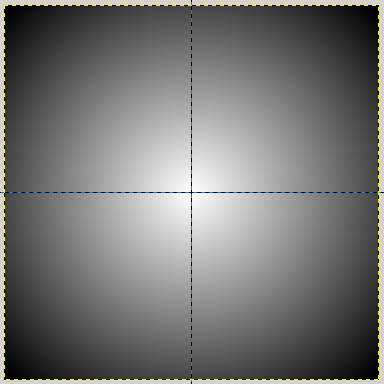
Add a layer over the one just cretaed, and apply a radial gradient (white and black color).
Modify layer mode from “Normal” to “Overlaid“.
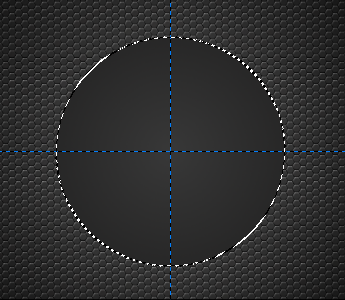
Trace a circle with elliptic selection tool (freeze the relationship to 1:1 in the tool options, in order to draw a circle). Fill the button just created with a radial gradient from color #383838 to #282728.
 We will use a script fu to create lights and shadowa (if you have not installed it yet, you can check guide). Script Fu—> Layer Effect—> Bevel and Emboss. Set color #7a7a7a as “Highlight Color” and #1a1a1a as “Shadow Color“. The Outer Bevel style will aplly the effect only outside the circle.
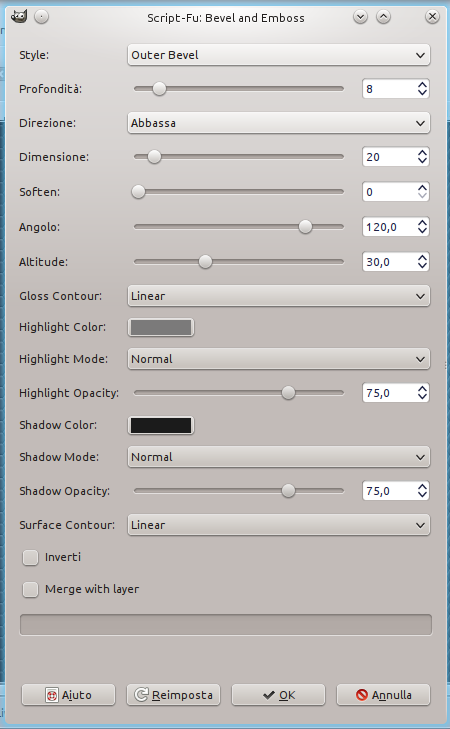
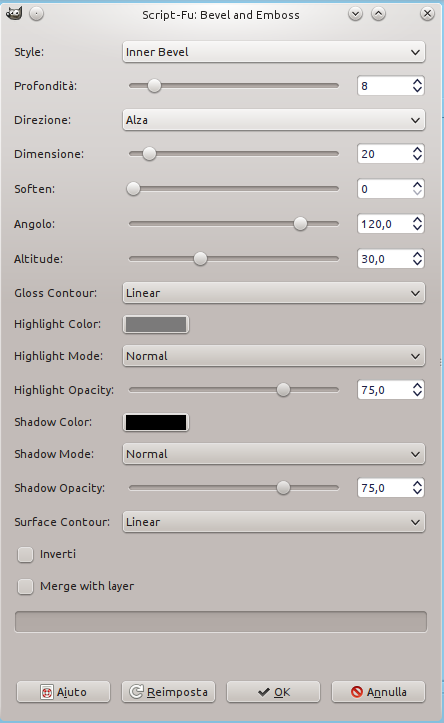
Repeat the same process, but change the style to “Inner Bevel“, so that the effect will be applied insidethe circle.
The result should be similar to the image below:

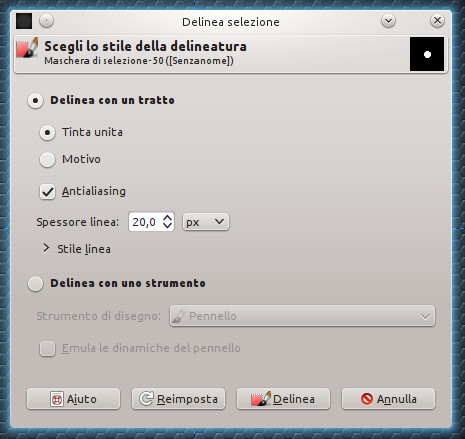
Set #7ecdff as primary color, and click on elleptic selection tool to trace a small circle inside the button. Then click on Modify—> Outline selection and set these options:
You will get this:
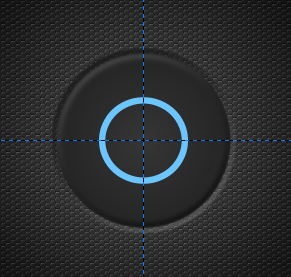
Click on freehand selection tool and remove the upper part of the circle.
Define a vertical line with path tool as you can see in the image below:
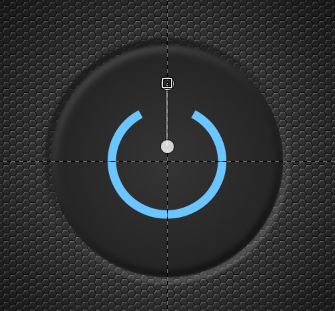
Modify—> Outline selection and follow the previous steps.
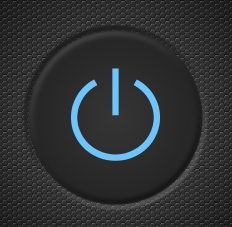
#OffState
To create the Off state you just have to reduce layer opacity to 60.

#OnState
Duplicate the layer and click on Filters—> Blur —> Gaussiana, apply a 20px blur and set opacity to 100.