The Christmas season is here, so I have decided to create a tutorial to wish you a merry Christmas, and a happy new year. Follow this step by step tutorial to realize a Christmas card in Gimp!
Begin by downloading and installing this brushes (here you can find the installation guide).
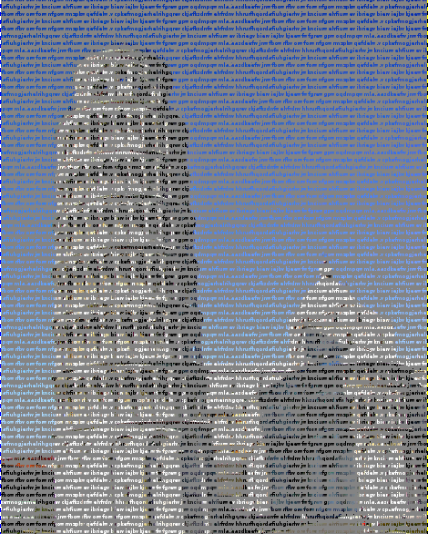
Select gradient tool and create a background with different shades of red, like the image below:

Select the dynamic brush called sparks in brush tool and draw a stylised tree. I used the graphics tablet, but if you don’t own it you can use path tool: draw the sketch of the tree, then click on modifica—> outline path and select brush tool. This is the outcome:

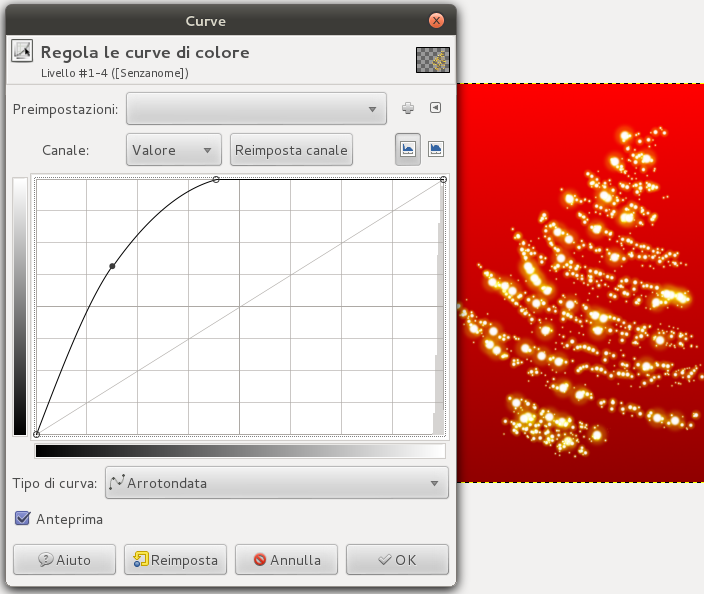
Click on Colors—> Curves to make the tree brighter and more sparkling.
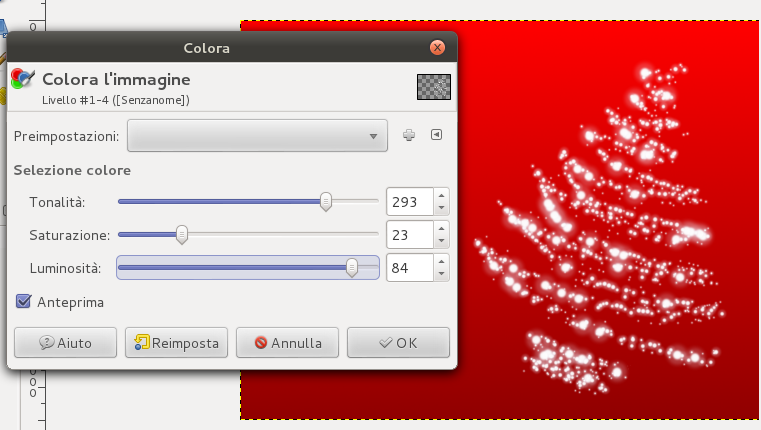
Colors—> Color and adjust the sliders as in the image below:
Select text tool and write your wish, then select path tool and trace a semi – circle where you want to put the writing. In the layer tab, right – click on the writing layer and select “Text along the path”.
Now you can proceed in two ways: sketching the path or selecting it (from the path tab, right – click on the path and select “Path from selection”). I chose the second one, once you have selected the path, you only have to color with brush tool and you will get a curved writing!

Colors—> Invert in order to color the wiriting in white, then click on Filters—> Light and shadow—> Project shadow (Position X=0, Y=0 Blur range=30, Opacity=100) and you will get this:

Select the lower part of the image with selection tool and click on Selection—> Distortion (with default option).

Add some mounds of now with the brush downloaded at the beginning of this tutorial.

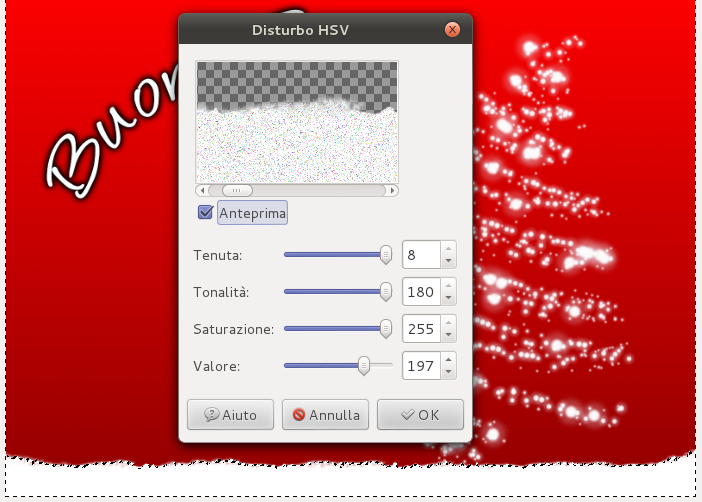
Now you have to make the snow more realistic! Right – click—> Alpha to selection, then create a new layer and click on Filters—> Noise—> HSV Noise.
Select brush tool and select the snowflake from the brushes downloaded at the beginning. Draw many snowflakes of different sizes to create a snowfall!

In the brushes downloaded, you can find also “mould of snow”, select it and draw some moulds on the writing:

Draw a star on the top of the tree, you can use the star brush in Gimp default brushes. Then apply a gaussiana blur with blur range to 5px.

Select ink tool and trace some lines (if you don’t own the graphics tablet, you can proceed as you did for the tree, clicking on the option “emulate dynamic brushes”, in order to slim the brush) in this way:

Invert colors and create a shadow on a second layer (the shadow will become white):

Select the shadow layer and change layer mode from “Normal” to “Fade”.

Finally sign your card! This will be the final result: