Hy everyone,
follow this tutorial to customize your Gimp! You only need this image ( clicking here you will go on the facebook page of the artist who realisezed it) and this font ( here you can find the installation guide).
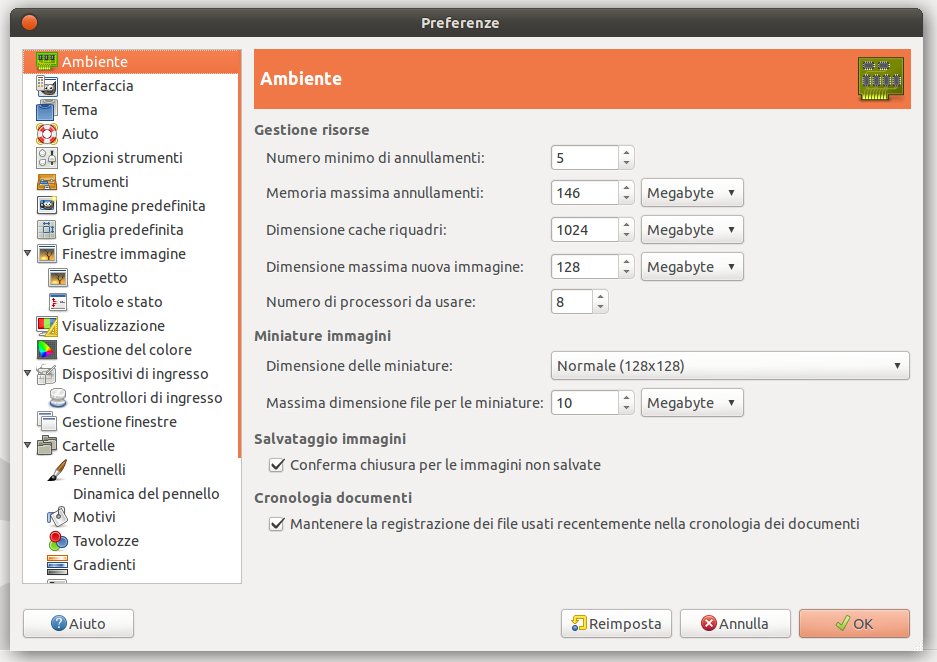
Where will we save the splash screen?
- On Linux create a “splashes” folder (lower – case) under /home/user/.gimp-2.6
- On Windows create a “splashes” folder (lower – case) under C:\Documents and Settings\nome_utente\.gimp-2.8\
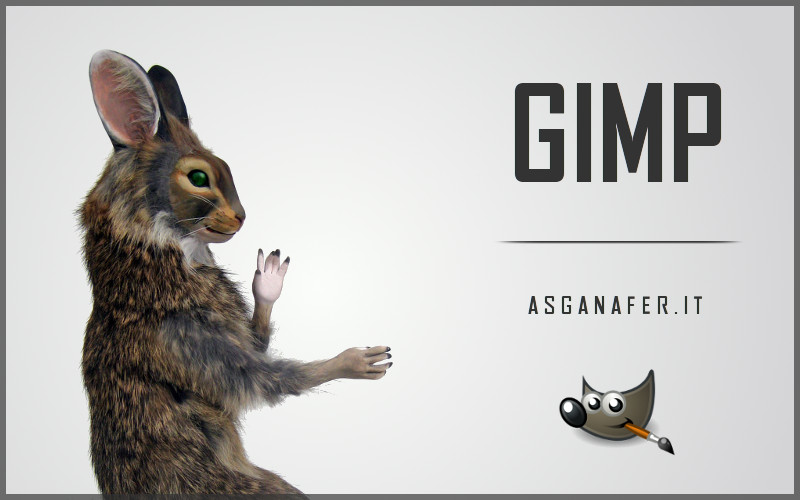
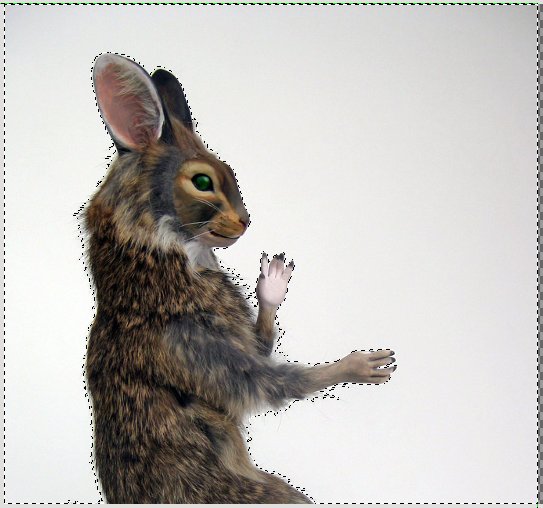
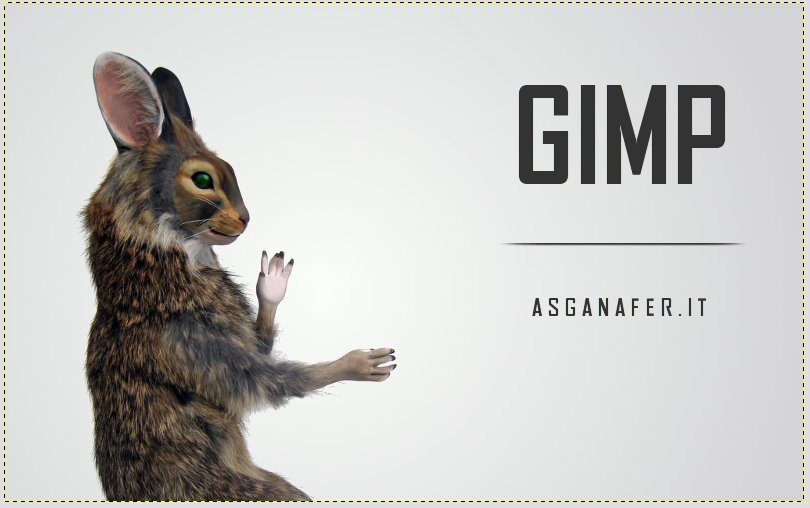
Create a new document in Gimp, I’m using a 800 x 500 sized document and open the kung fu rabbit image.
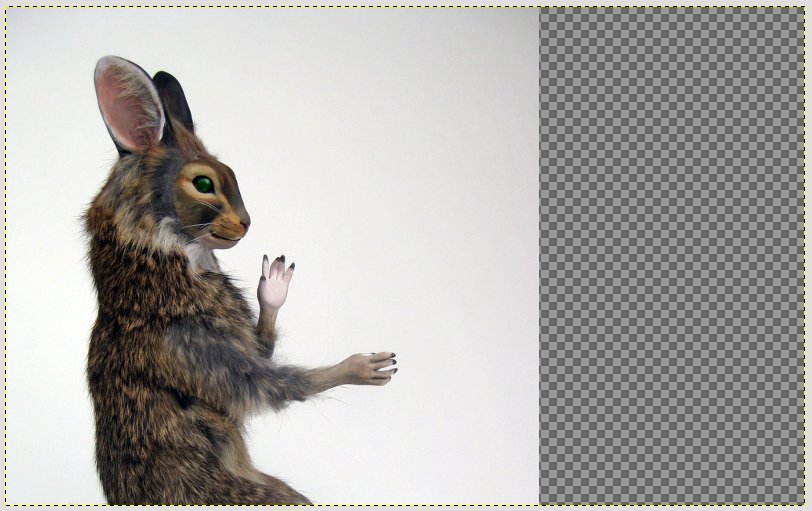
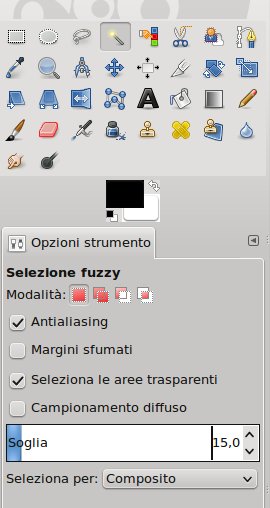
Select the fuzzy selection tool to remove the background, be careful to increase the threshold (in the tool options) to 15.
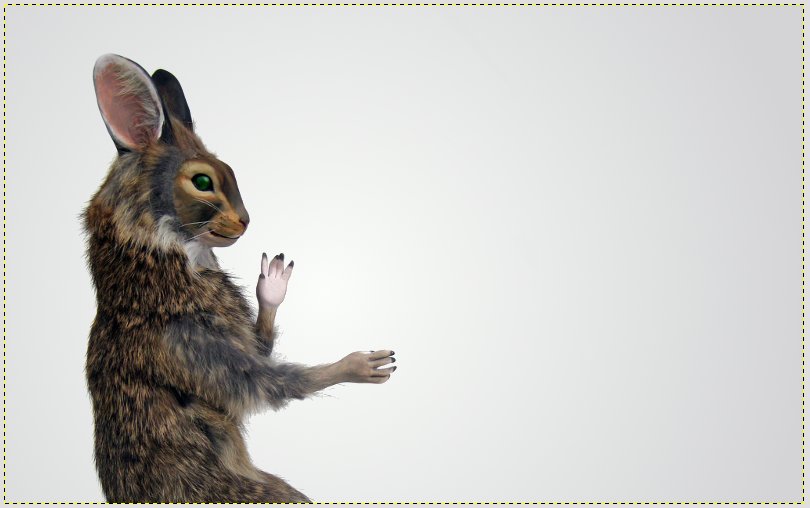
Click on CTRL + ALT + I to swap the selection and right – click—> Add a layer mask—> From selection. Then apply a nuance on the background layer with gradient tool from color #f4f5f4 ( light grey) to color #d4d4d6 ( dark grey).
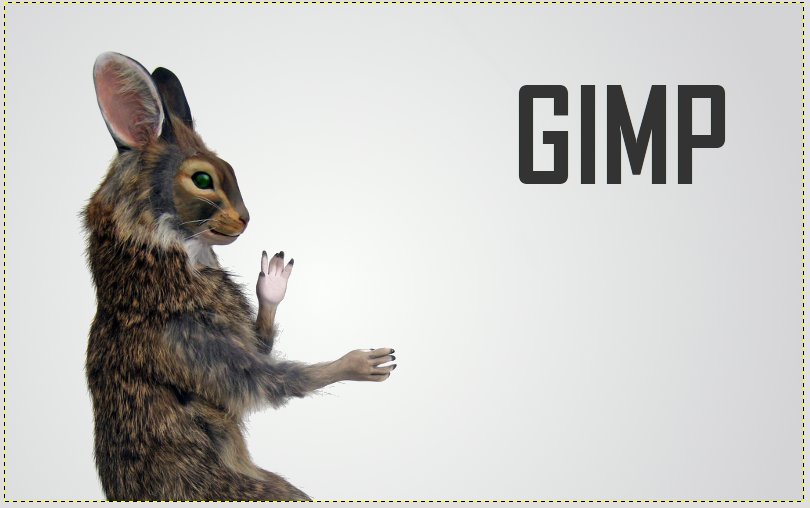
Select the text tool to write “Gimp” at the top right with color #373737.
Draw a line parallel to the writing with path tool, as in the image below:

Check that brush tool size is 6px and the color of the writing is #373737. Then click on Modify–> Sketch path with the option dynamic brushes in order to create a nuance on the line extremities.

This will be the outcome:

Select the upper half of the line with rectangular selection tool and hide it with a layer mask (swap the selection and then add a layer mask to the selection layer).

Add a little customization to the splash screen using text tool.
Don’t forget to add our mascotte: the Gimp logo! 😀
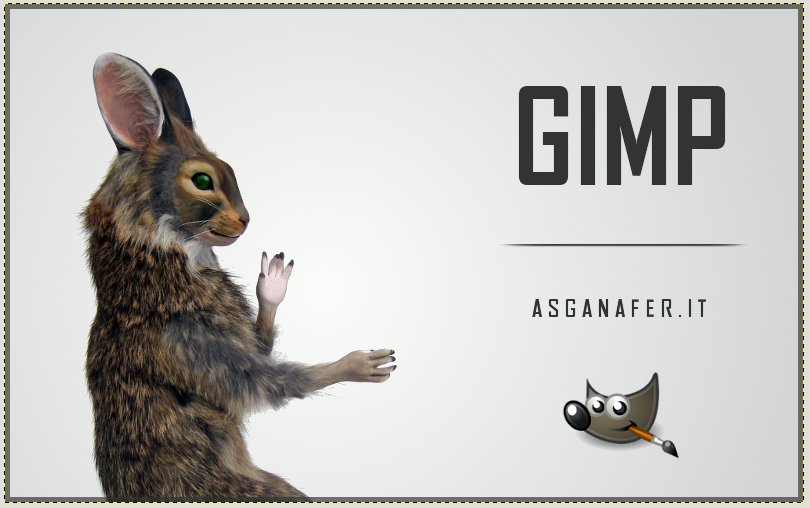
Creare a new layer, and click on CTRL+A to select the whole image. Then Selection—> Reduce and set 20 as value, invert the selection clicking on CTRL+ALT+I and fill the contour of the writing with color filling tool using the grey color of the initial writing ( #373737 ). Finally reduce opacity to 65.
This is the splash screen!