Hi everyone! In today’s tutorial, I will show you how to realize a season’s greetings card using Blender & Gimp. Start opening up Blender (here you can download it), select text tool in the tab on the left and click on Create.
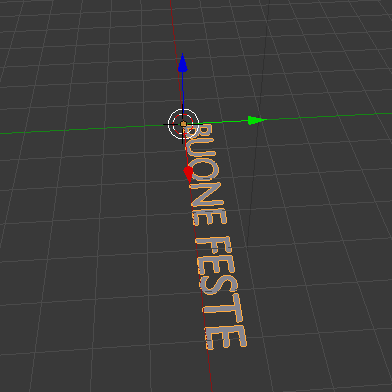
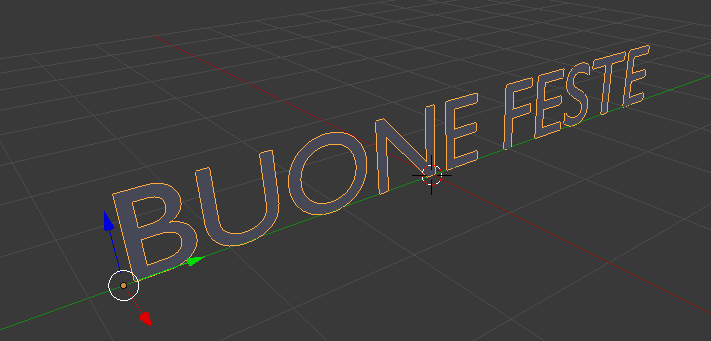
Click on the box icon in the tab on the right, and, in the Trasform tab set the value in X to 90 in order to rotate the writing.
Click on the wrench tab, select Add modifier and choose Solidify to give a three – dimensional effect to the writing.
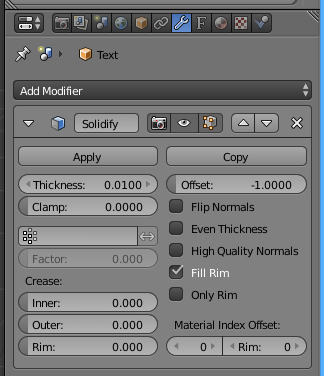
Adjust the depth of the subject setting Thickness to 0.0100
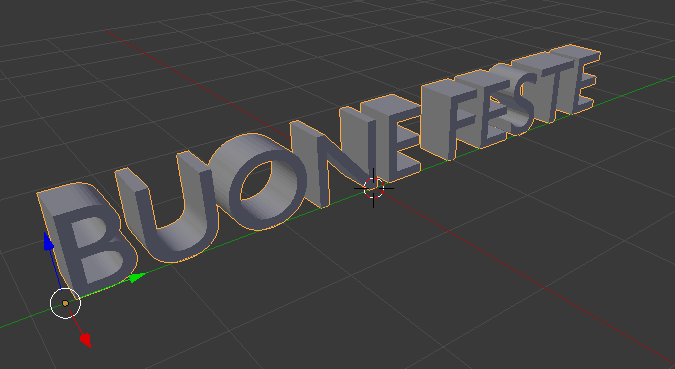
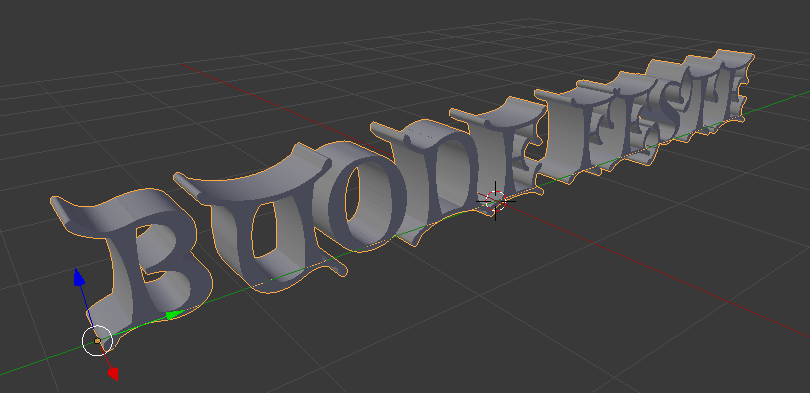
In the Text tab on the right (with an F icon), select the section Font and install a new font (I have downloaded this).
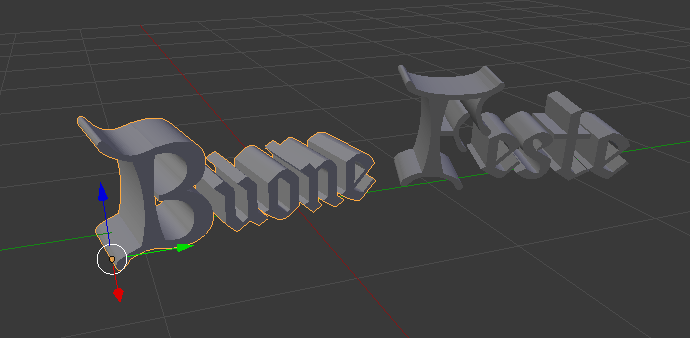
Then split the writing in two parts, and rotate them using the tab with the cube.
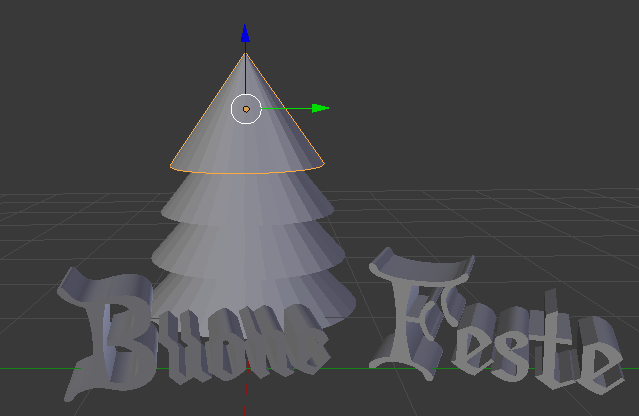
Insert a Cone selecting it and resize it.
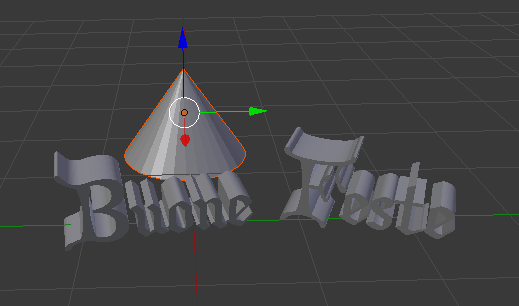
Duplicate this object (CTRL+C & CTRL+V) four times. Resize each cone clicking on Trasform in order to make the higher cone smaller than the lower one: you should obtain a Christmas tree.
Add an object Sphere (on the left) to create Christmas baubles.
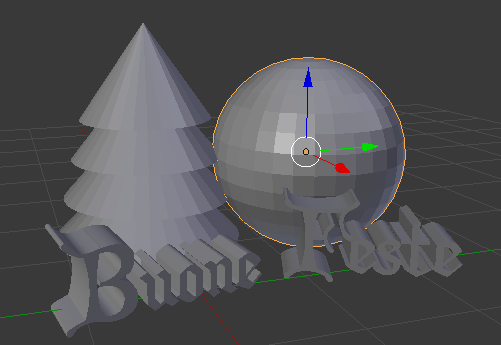
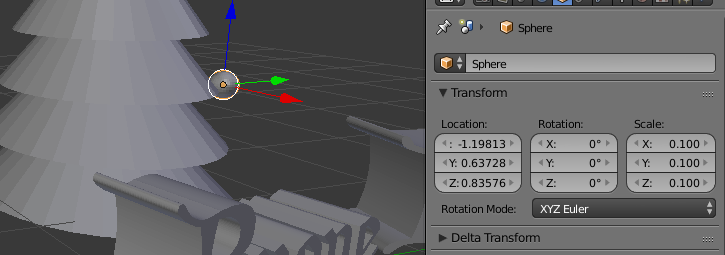
Resize the Christmas bauble just created.
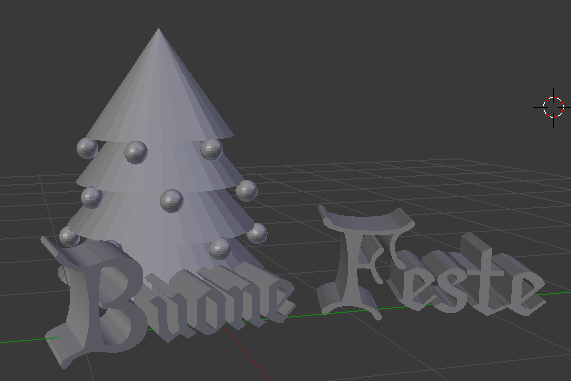
Repeat the process to create lots of Christmas baubles to decorate the tree.
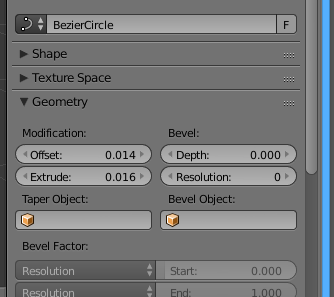
Select the object Circle from the menu on the left and position it at the top of the tree to add a garland.
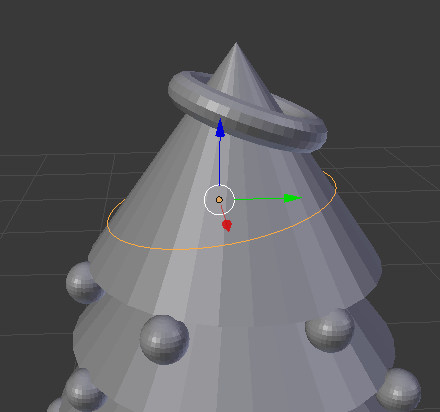
Click on the rope icon tab on the left and look for the section Geometry: modify Extrude and Offset.
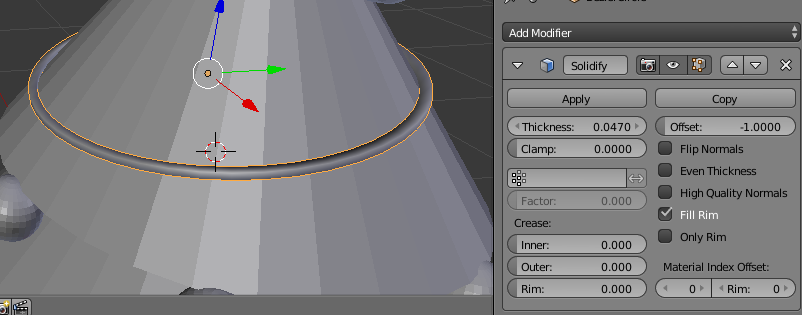
Give a 3D effect to the garland as you did for the text in the previous steps:
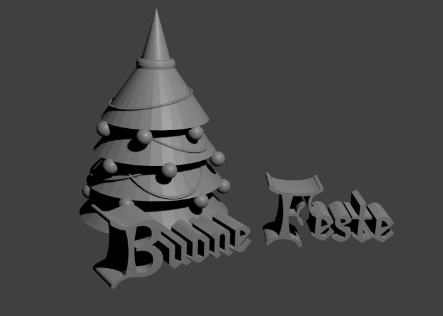
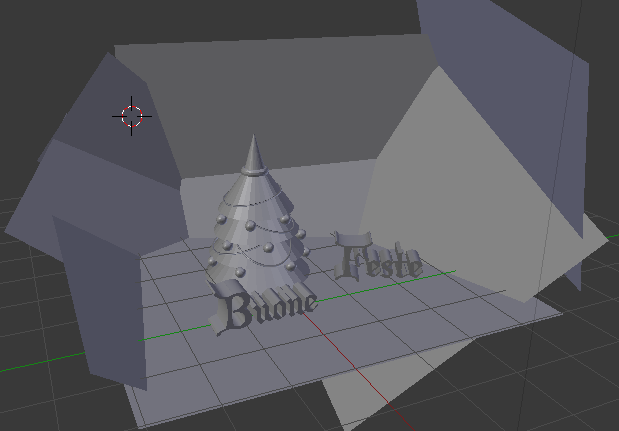
Duplicate and paste the garland to create many others. At the end click on F12 to render. The result will be this:
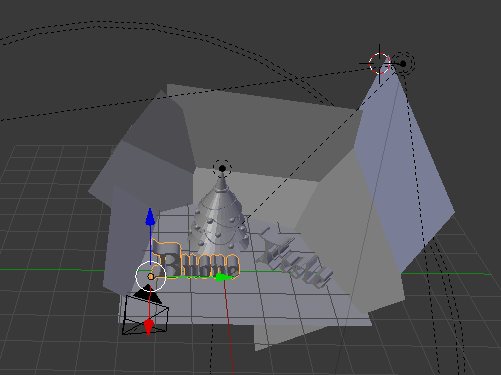
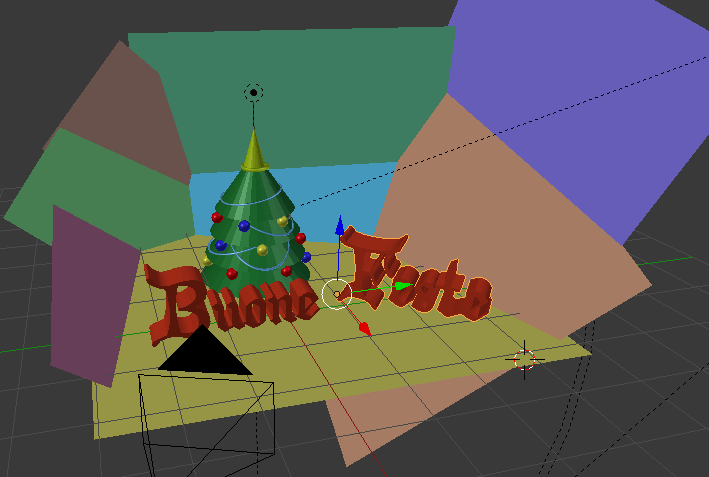
To realize the background you can use a series of objects Panel and position them around the subject created. This will be the structure:
Add a lamp on the top of the tree to make it sparkling.
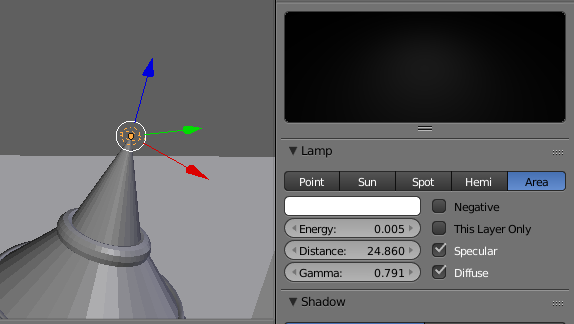
Add an external light click on Lamp with Spot mode.
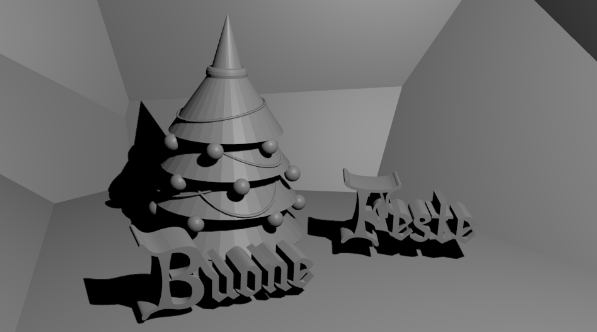
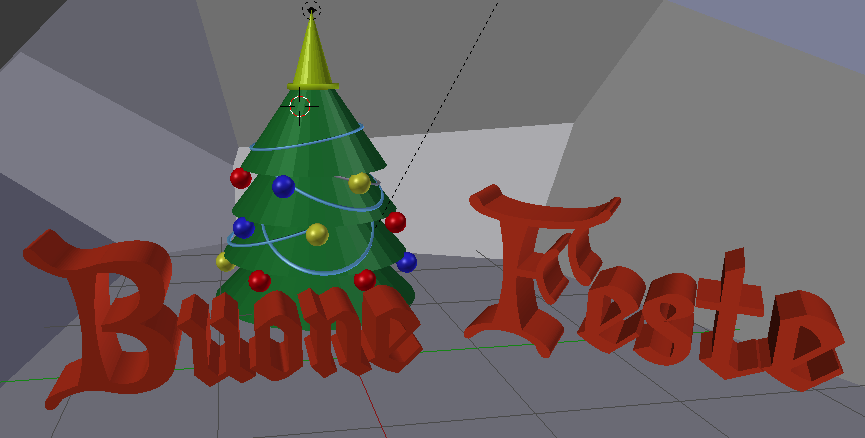
After the rendering, this will be the result:
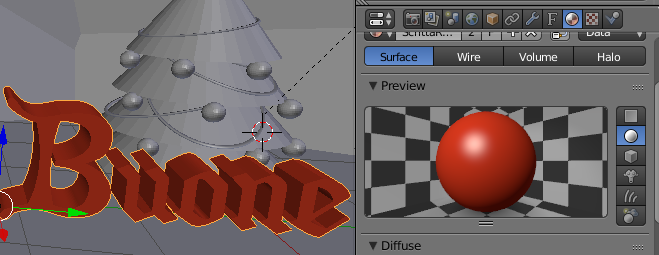
It’s time to color the image, starting from the writing. Select it and click on the circle tab on the right.
Click on New and select red color in the Diffuse section.
Color all the other elements of the draw too.
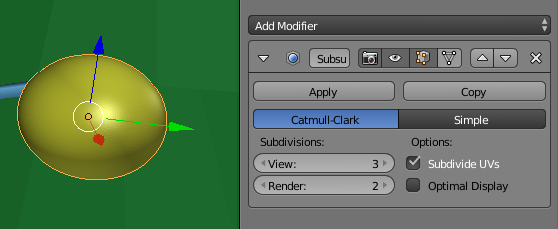
The Christmas baubles are too squared, to adjust them add the Subdivision Surface modifier in the wrench tab.
You sjould get a result similar to the image below:
Color the panels on the background.
You just need some little details:
- Add a reflection effect to the baubles: click on the circle tab, Mirror section
- Adjust the top of the tree
- Better position and modify the writing
- Add a gift box image
- Better position the light on the top of the tree

Open up Gimp and add your signature on the card!

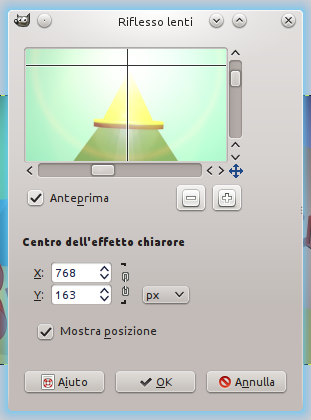
Filters—> Light and shadow—> Lens reflection
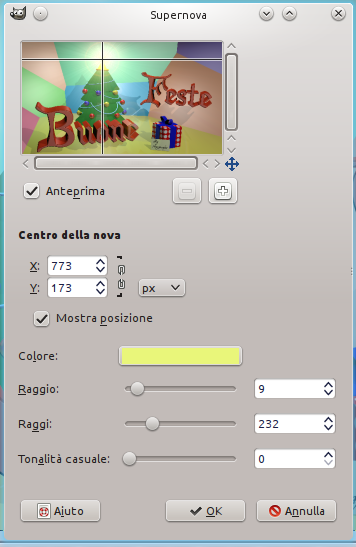
Add some other light beam clicking on Filters—> Light and shadow—>Supernova and configure the settings below: (I used the color #e9f67a).
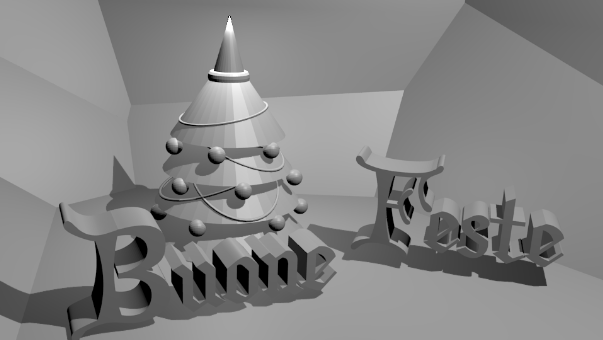
This is the final result: