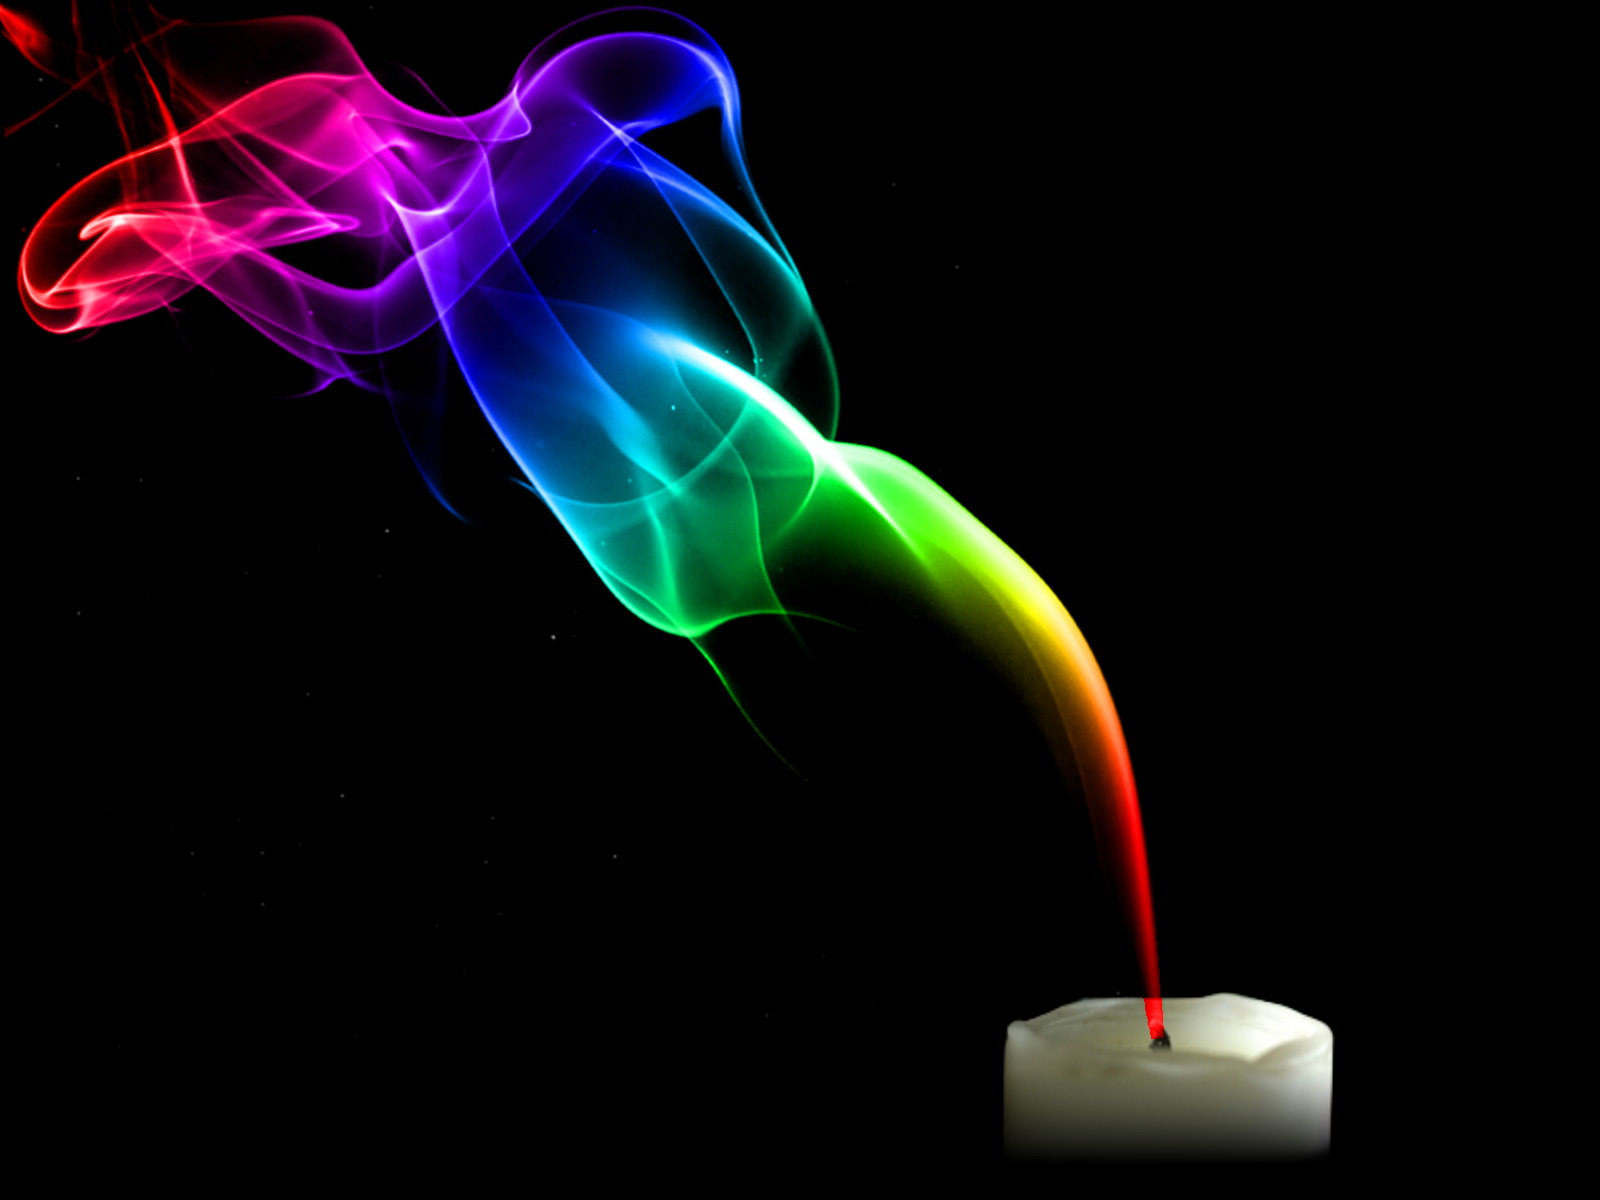
Hi everybody! In this tutorial you will learn how to create a smoke effect, using bruhes and the layer mode “color”! You will need specific brushes that you can download here (check this per guide to install them).
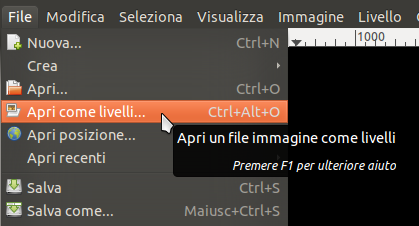
As first step, create a new image with a black background, click on File –>Open as layers: this function allow you to open another image in the same window, but on a new layer.
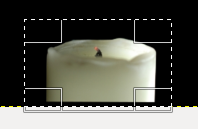
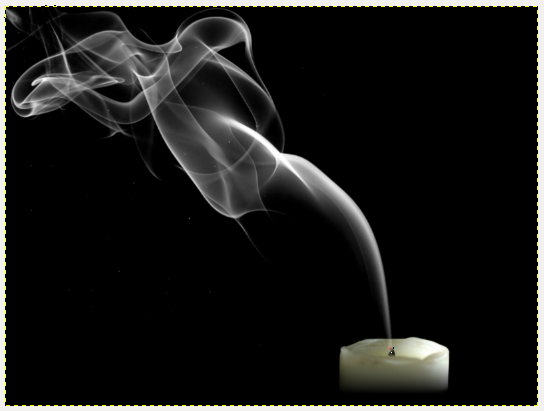
Add the image of a candle, cut it and position it at the bottom right. Then use a layer mask to soften the lower part of the candle. Select the candle, and, on the candle layer, right – click–> Add layer mask. Finally, trace a line from top to botton with blur tool in this way:
Create a new layer and call it “smoke”, select one of the smoke brushes downloaded at the beginning of this tutorial.
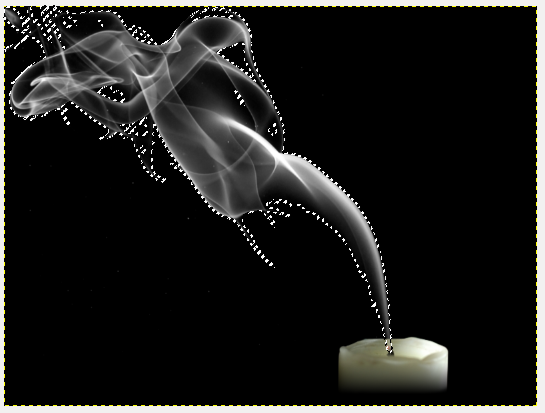
 Select the smoke with fuzzy selection tool and click on a point in the smoke image. As you can see in the image below, the tool will select the smoke only:
Create a new layer called “color” over the smoke one. Select blur tool and gradient “Full saturation spectrum CW” (a rainbow color gradient).
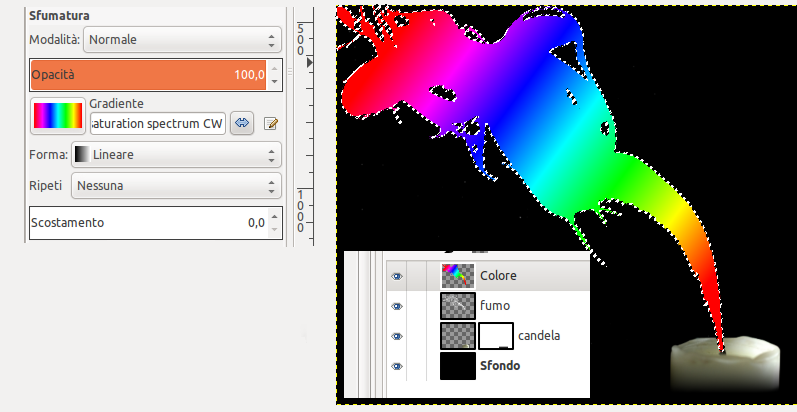
Eventually, change color layer mode from Normal to Color: you will get colored smoke!