Hi everyone! Today you will learn how to realize a metallic text effect.
Before starting, download these brushes, this Script-Fu and this image (check here for installation guide).
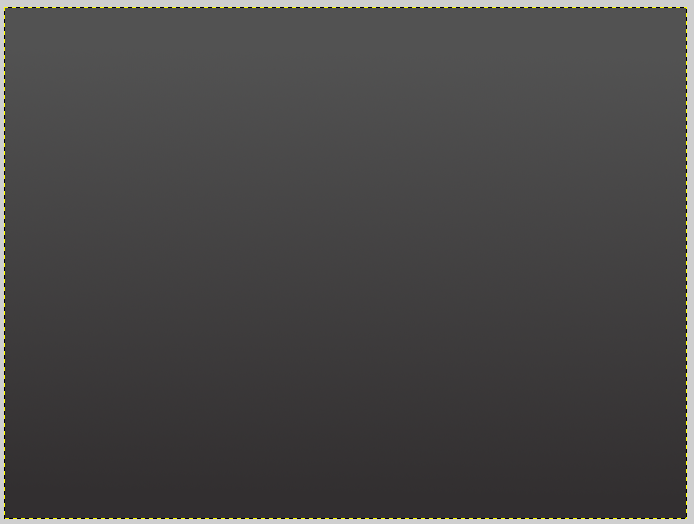
Open up Gimp and create a 1024 x 768 sized document, then apply a gradient from #535353 to #333031 in order to have a lighter color at the top, as in the image below:
Write something using text tool, and transform the writing into an image melding it with a new layer.

Right – click—> Alpha to selection on the writing. Select—>Resize in order to have a not too big border, nor a too small one, the value depends on the size of your writing.

Delete the inner part of the writing and create a new layer called “inside” over the writing one. Click on File—>Open as layers and select the pois image that you can see below (you can find the link to download it at the beginning of this tutorial). Position the image ahead of every letter, in order to cover completely the letter.

Select the inner part of the writing with fuzzy tool, then click on Selection—>Invert (in order to select everything apart from the inside of the writing). Delete the selection clicking on canc.
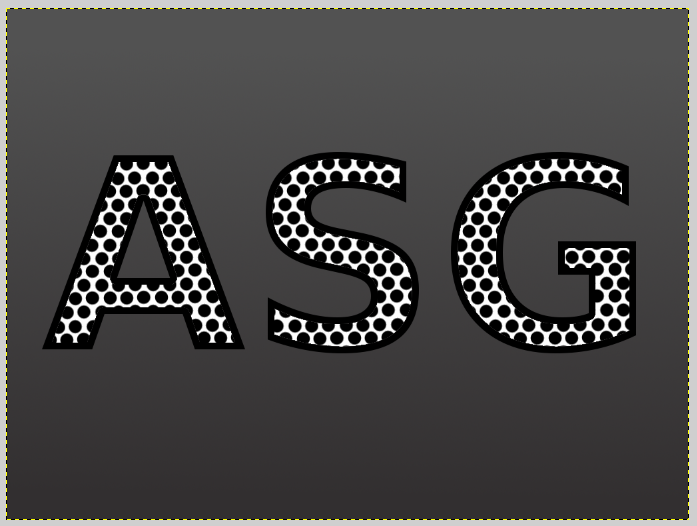
Colors—>Invert to invert the colors of the image, then click on Colors—> Color to alpha (the default color should be white) and click ok: everything white will become transparent.

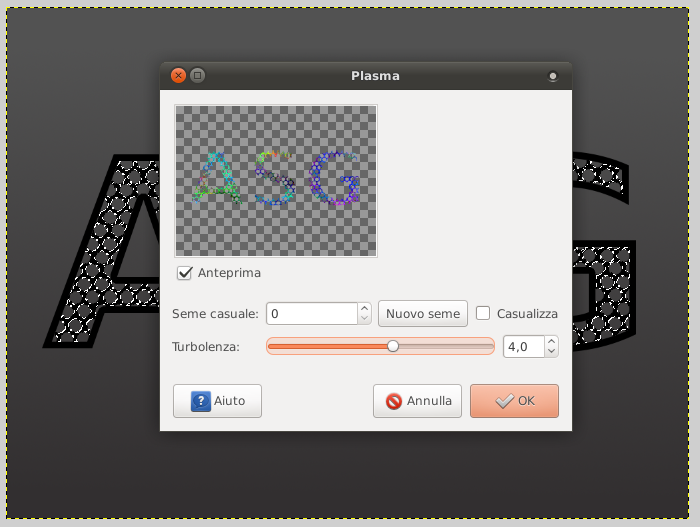
Now we will dirty the grid cretaed inside the writing. Right – click—> Alpha to selection (the grid layer), then create a group of layers, and inside it create a new layer named “dirt_1″. Select the new layer, and click on Filters—>Render—>Clouds—>Plasma (set turbulence to 4).
Colors—> Desaturation (to color the dirt in grey) and modify the layer opacity to 25.

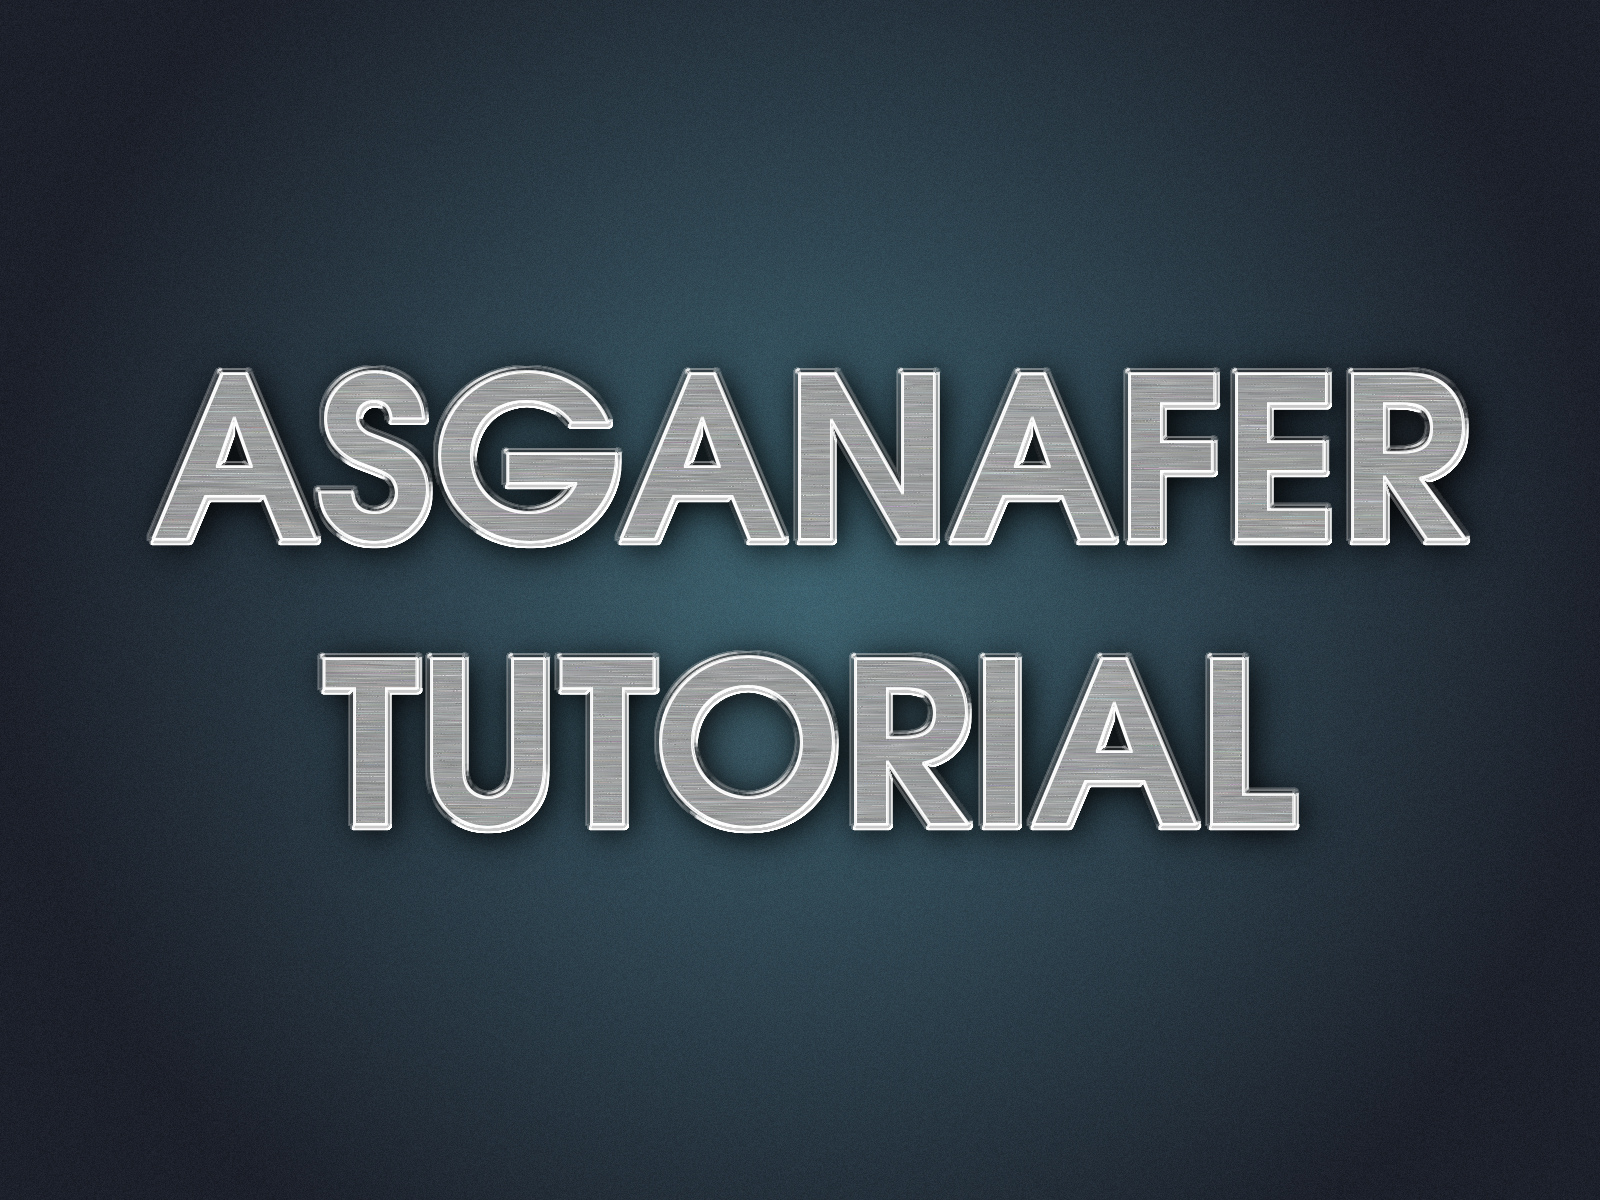
To give a 3D effect to the border of the writing, click on Script-Fu—>Layer effect—> Bevel and Emboss: set opacity to 4, and change size to 2. Click ok to get this:

Click on Filters—>Light and shadow—>Project shadow (setting opacity to 35) both to the internal grid layer and the border layer.

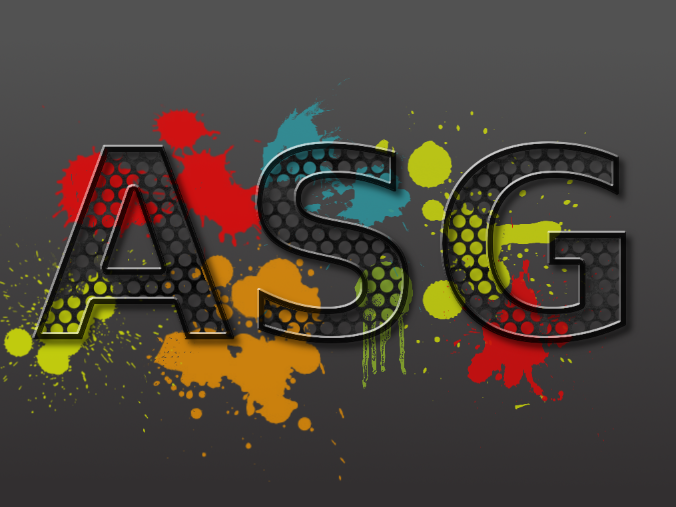
Finally, create a new layer over the background and dirty the background with colored paint spots. This will be the final result. Cool, isn’t it? 🙂