Today I will teach you how to use Gimp’s tools and settings to realize a three – dimensional metallic text effect. First make sure to have installed this Script-Fu, an essential plugin for this tutorial and for many other text effects.
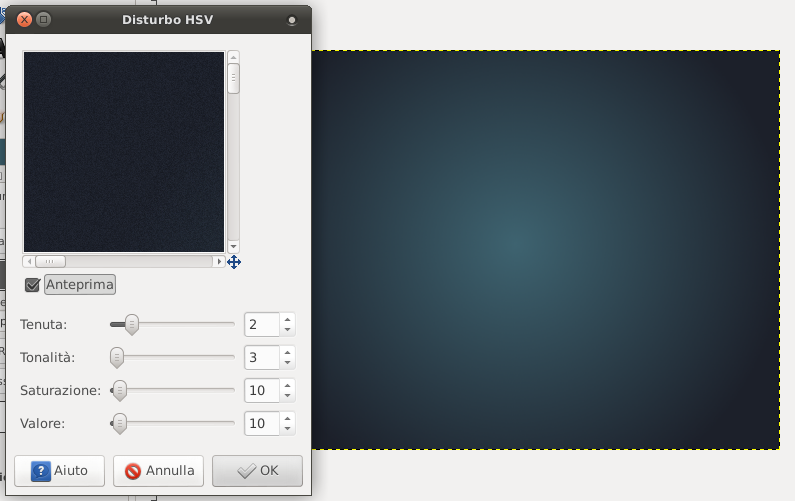
Begin by creating a new 1600×1200 sized document in Gimp. Change primary color to #3e6370 and secondary color to #1c202a, and apply it to the background with gradient tool (radial mode), in order to have the lighter at the centre. Then click on Filters—>Noise—> HSV and configure the settings below:
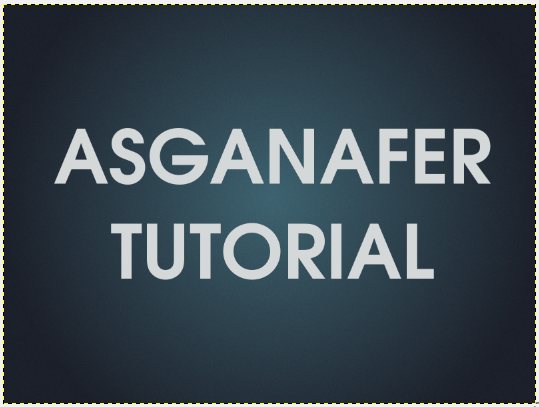
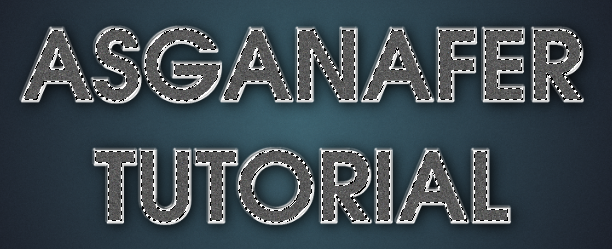
Select text tool with color #d4d8d9 and write something:
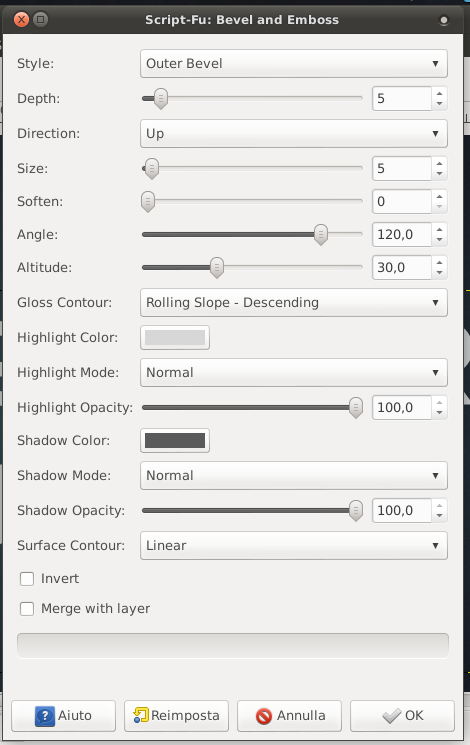
Now click on Script-Fu—> Layer Effect—> Bevel and Emboss. Select the two colors to #d7d7d7 and #5a5a5a, and set the options below:
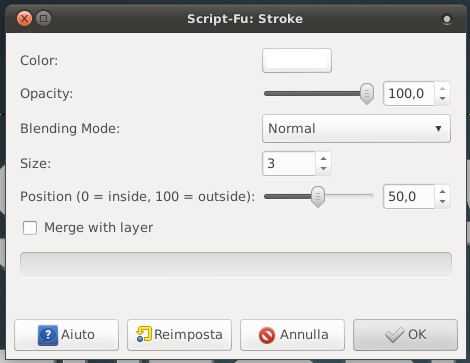
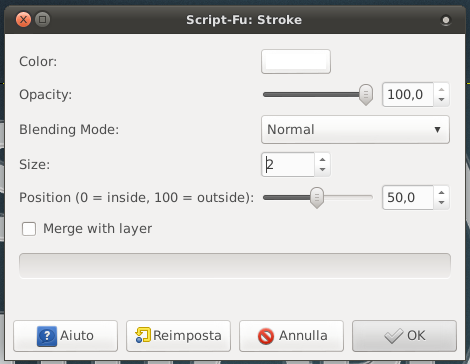
On Layer Effect click on Stroke twice: the first one with the layer created in the previous step active, the second one with the writing layer active.
Keeping the writing layer active, click on Filters—>Light and shaodow—> Project shadow. Disable the entry “Allow resizing” and modify the blur range to 50px and opacity to 100%. Do this operation twice.

Create a new layer called “metallic effect”, and click Alpha to selection on the writing to select it. Fill the selection with color #585858, then click on Filters—> Noise—> HSV Noise and set all the maximum values.
Then click on Filters—>Distorsion—> Wind:
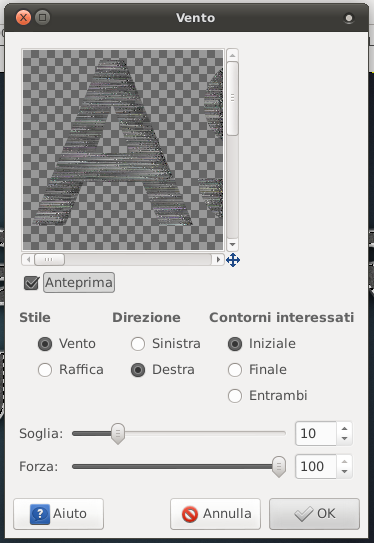
On “Direction” click first “Left” and then “Right” to apply the effect on both directions, you will get this:
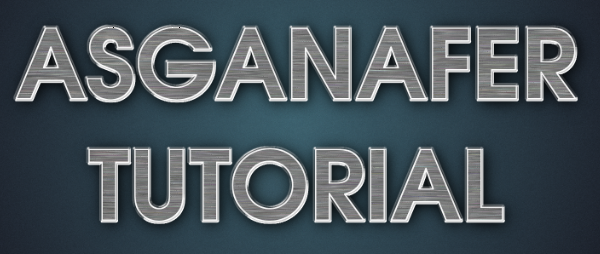
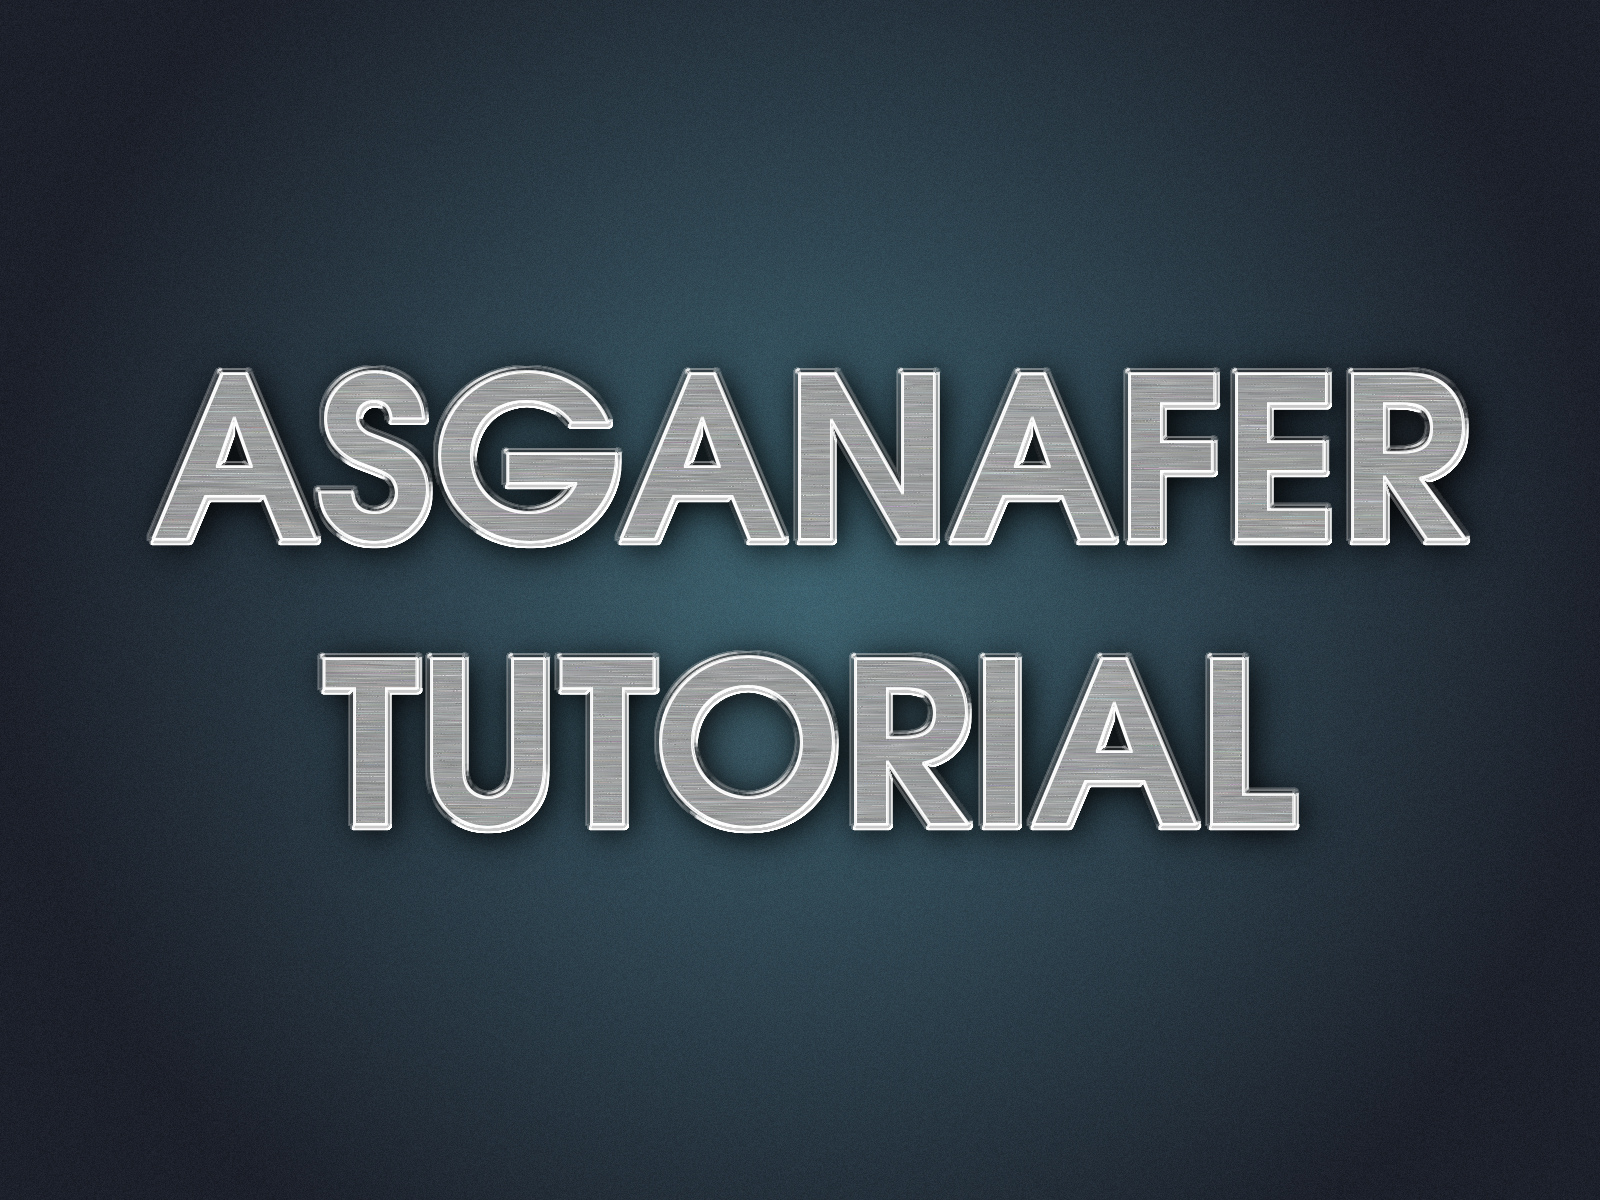
Eventually adjust the opacity of the “metallic effect” layer and you will get the text effect below: