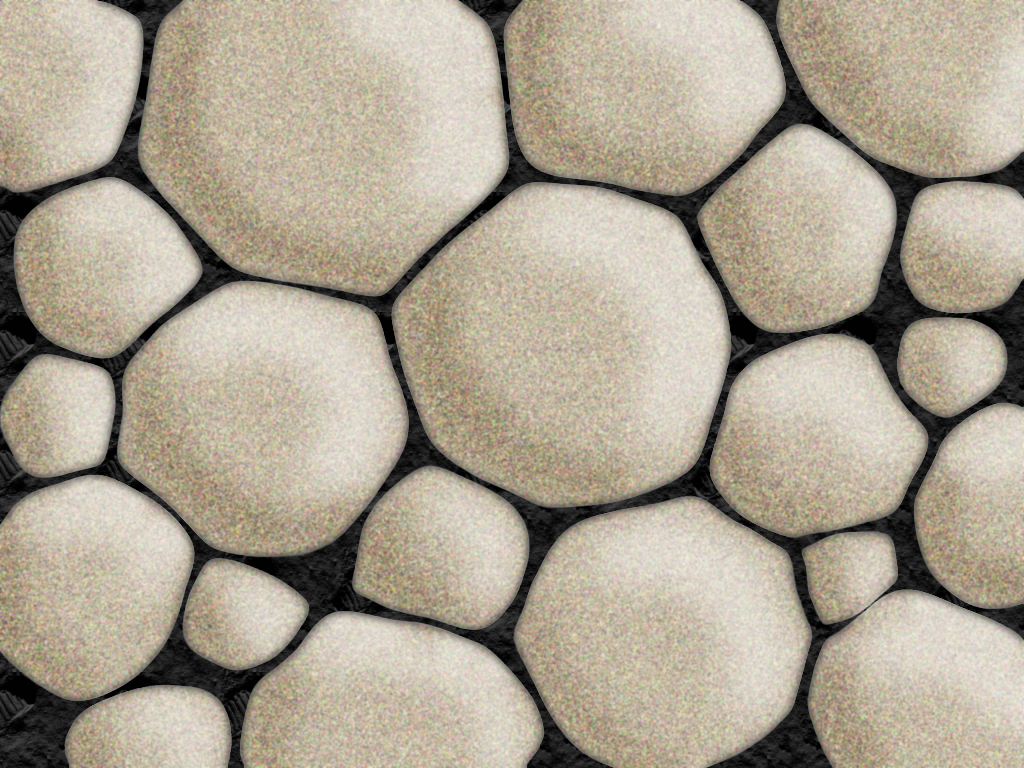
Follow this step by step tutorial to draw stones starting from scratch.
I found this photoshop tutorial here, so I decided to make a Gimp tutorial too.
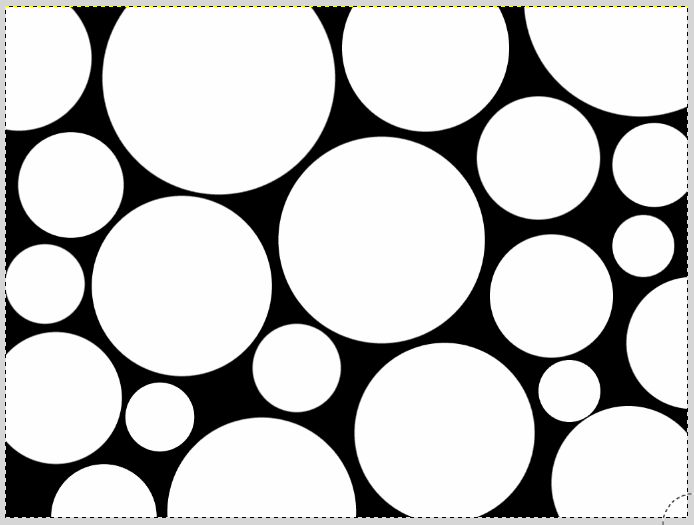
First open a new document with a black beakcground, create a new layer called “stones”, and draw many circle with different dimensions, in order to get a similar result:
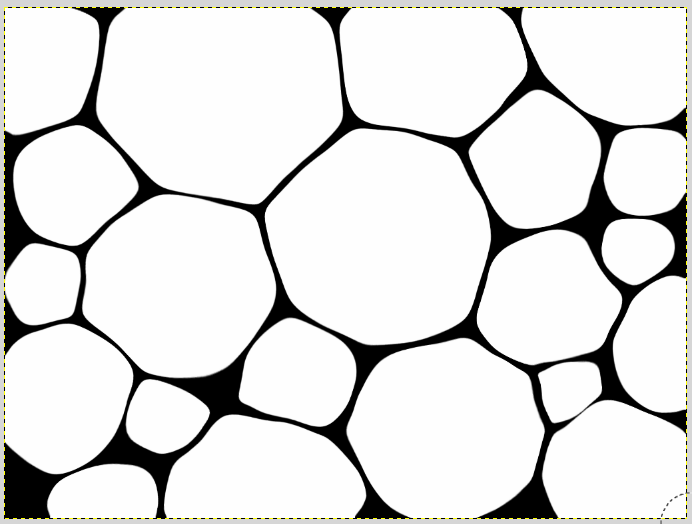
Now we must made these circles more similar to real stones. Click on Filters—>Distorsion—>IWarping.
As first step click from the inside of the circles toward the outside with move tool:

Then select reduce mode to make the space between the stones smaller, you will obtain the effect in the image below:
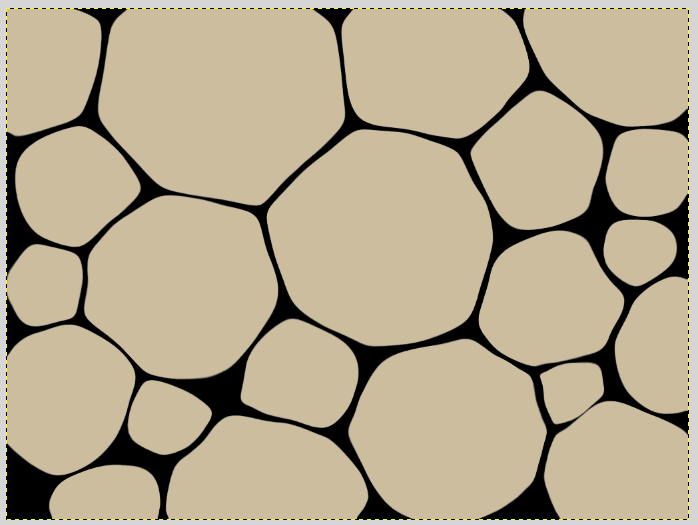
At this point, position the cursor on the stones layer and right – click—>Alpha to selection (in this way you can select only the stones), then change the primary color #ac9362, create a new layer called “color” and color the stones. Change opacity to 60 and layer mode to multiplier.
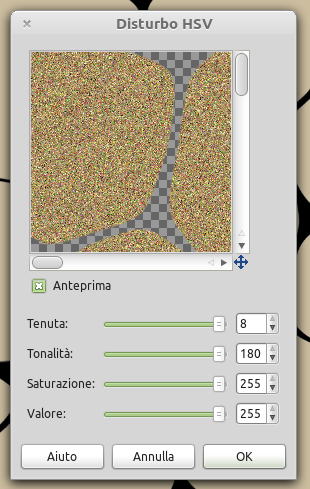
Click on Filters—>Noise—>Noise HSV and configure the options below:
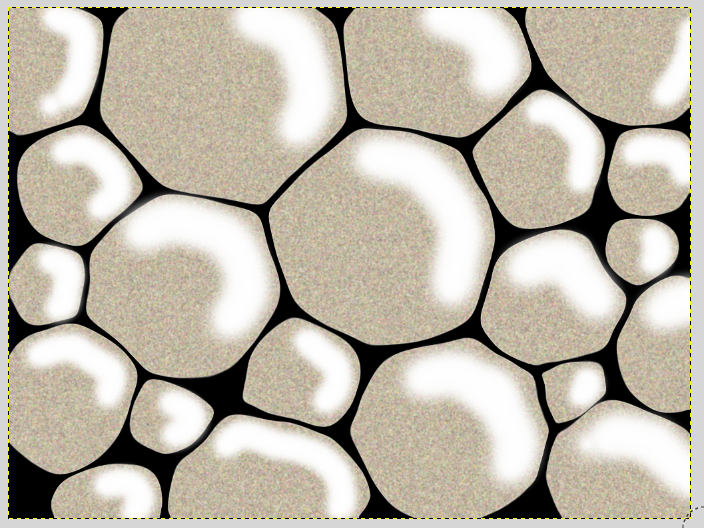
Click on Filters—>Blur—>Gaussiana and set blur range to 2. The create a new layer called “lights”, select the Hardness brush (a Gimp default brush) and draw lights with white color, they must all have the same direction.
Click on Filters—>Blur—>Gaussiana and soften lights to 50, then change layer opacity to 65.
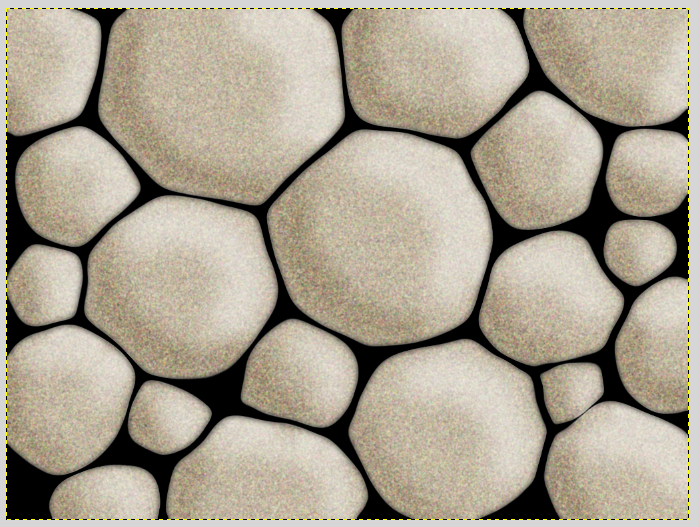
Create a new layer called “shadow”, change layer mode to weak light and repeat the process done for the lights, but with balck color and the direction must be opposite.
As last step, add a theme and soften the black background between the stones. Right click—>Alpha to selection on the stones layer, then position the cursor on the backgound and apply a gaussian blur in order to get this: