Hi everybody! Today I will show you how to use G’MIC to create a pastel effect.
Before starting, you will need the following materials:
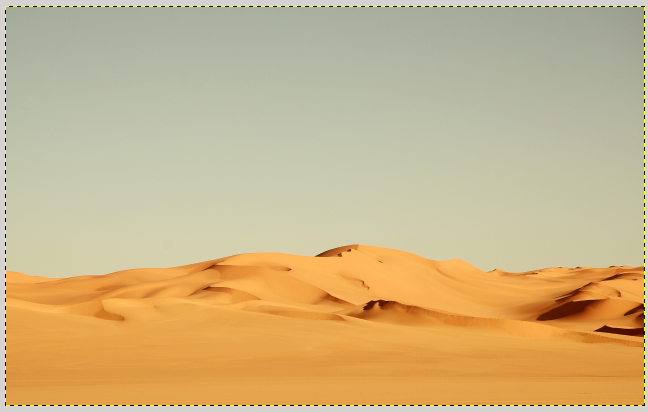
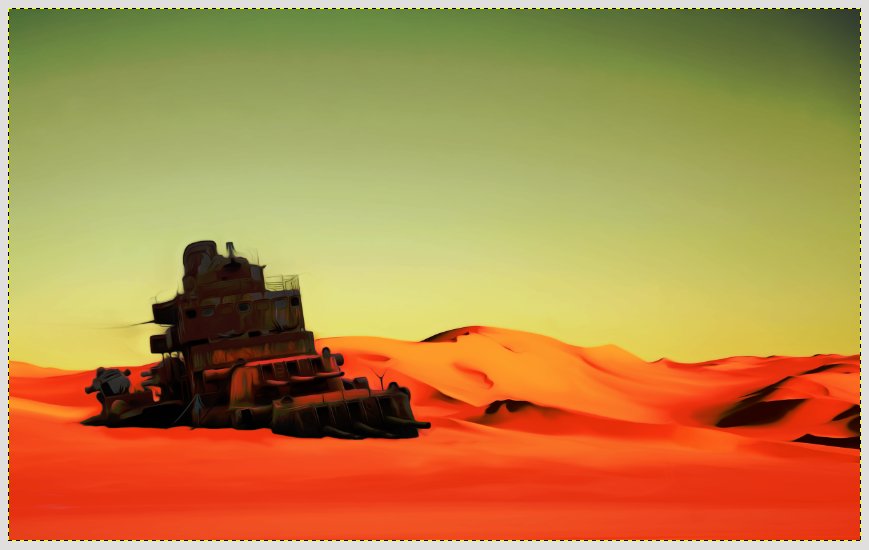
Begin by creating a new document in Gimp, and open the desert image:
Now click on File–> Open as layer and open the ship in the middle of the sea image.
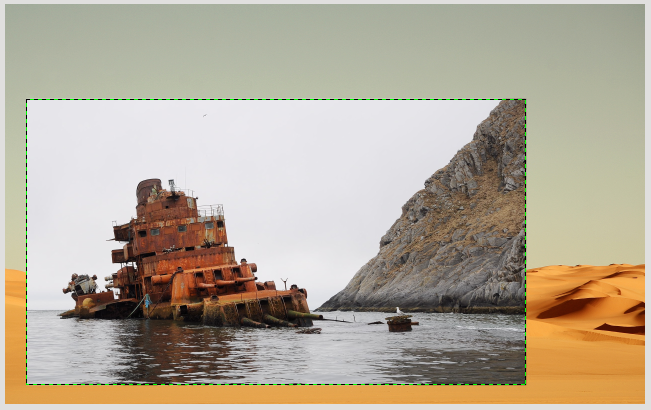
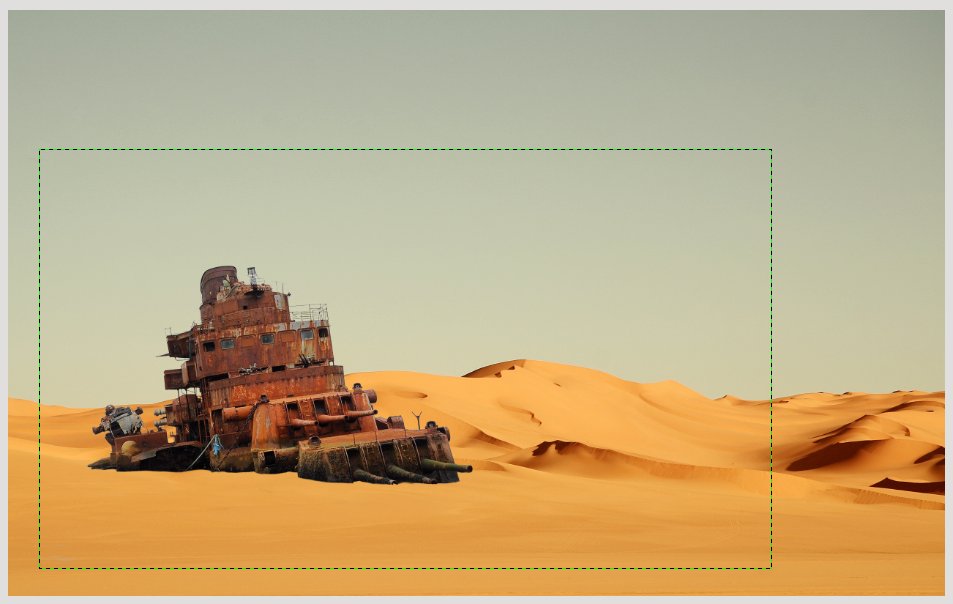
Add a layer mask to the ship to remove the background of the image, right – click–> Add a layer mask. Block out the ship image, then resize it with resize tool and position it on the document.
At this point you can proceed in two ways: you can join all the layers together, or right – click–> New from visible, this function creates a new layer with the final image and it is better than the first method because it allows modifications. Repeat the process 5 times (to have 5 identical images), then select the lowest layer and open Filters–> G’MIC–> Artistic–> Dream Smoothing, configure the settings below:
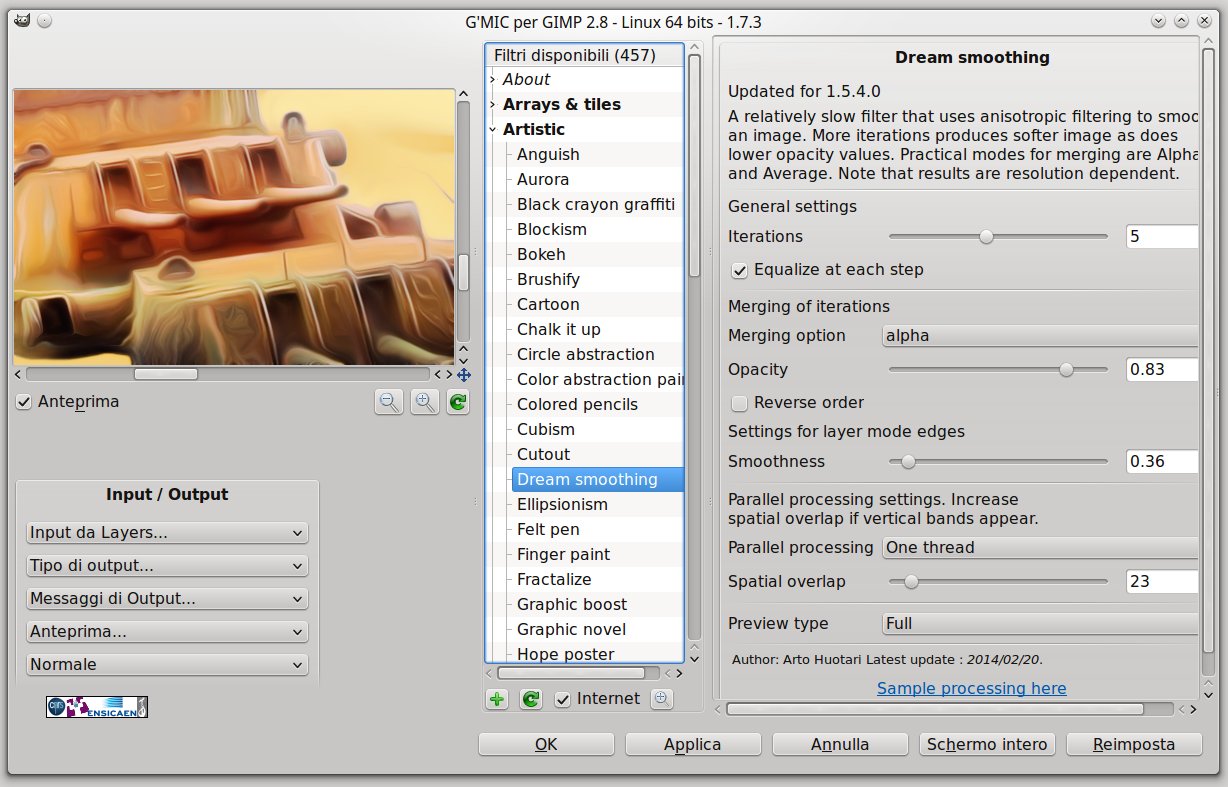
The last one of the 5 images will be like this:
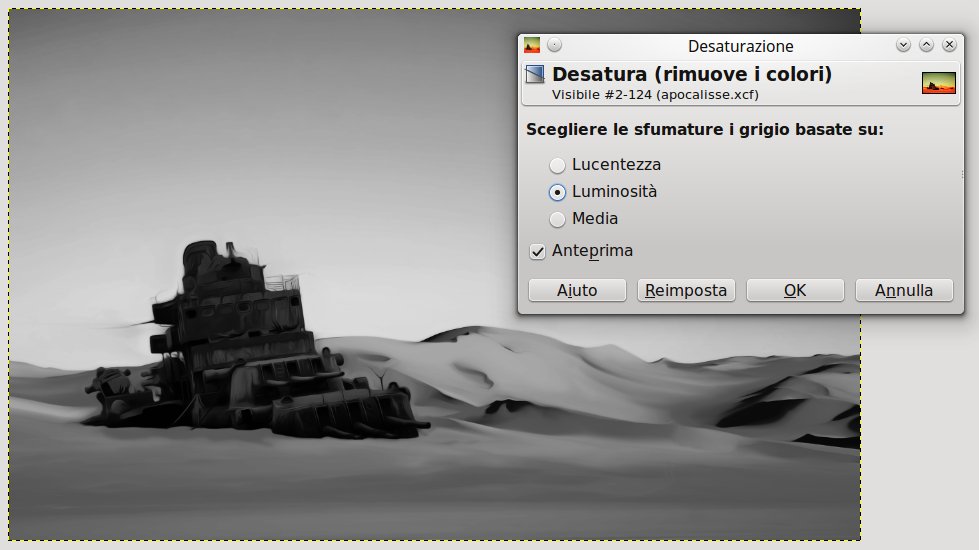
Now desaturate the image in order to make it black and white, click on Colors–> Desaturation.
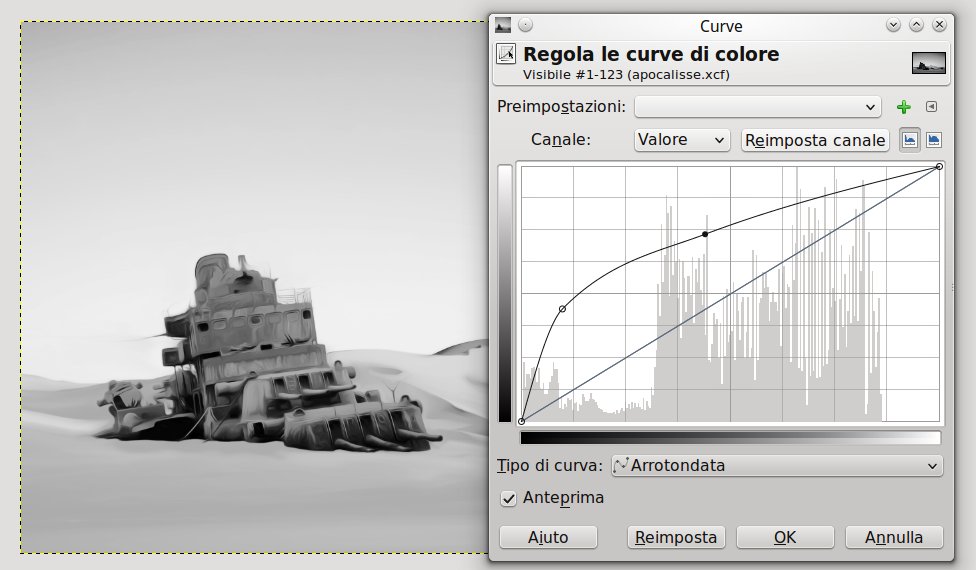
The image is a bit too dark, you can adjust it using layer curves that you can find in Colors–> Curves. This tool allows you to regulate the chiaroscuro layers (in the black and white image) moving a curve.
Now we can pass to the next effect on the penultimate image created, on G’MIC click on Details–> Dynamic Range Increaser and set the options below:

Set the layer mode to Color and you will get the image below:

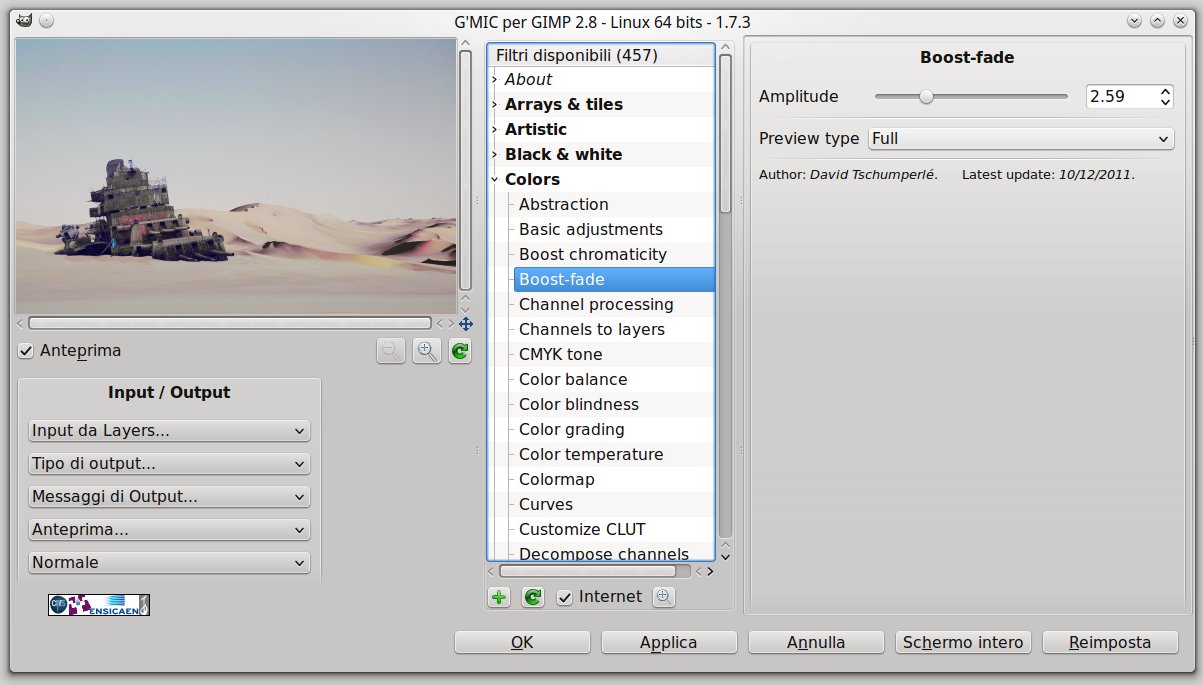
Now position on the third layer and apply the Boost-fade effect in the Colors section. Click ok and set the layer mode from Normal to Color.
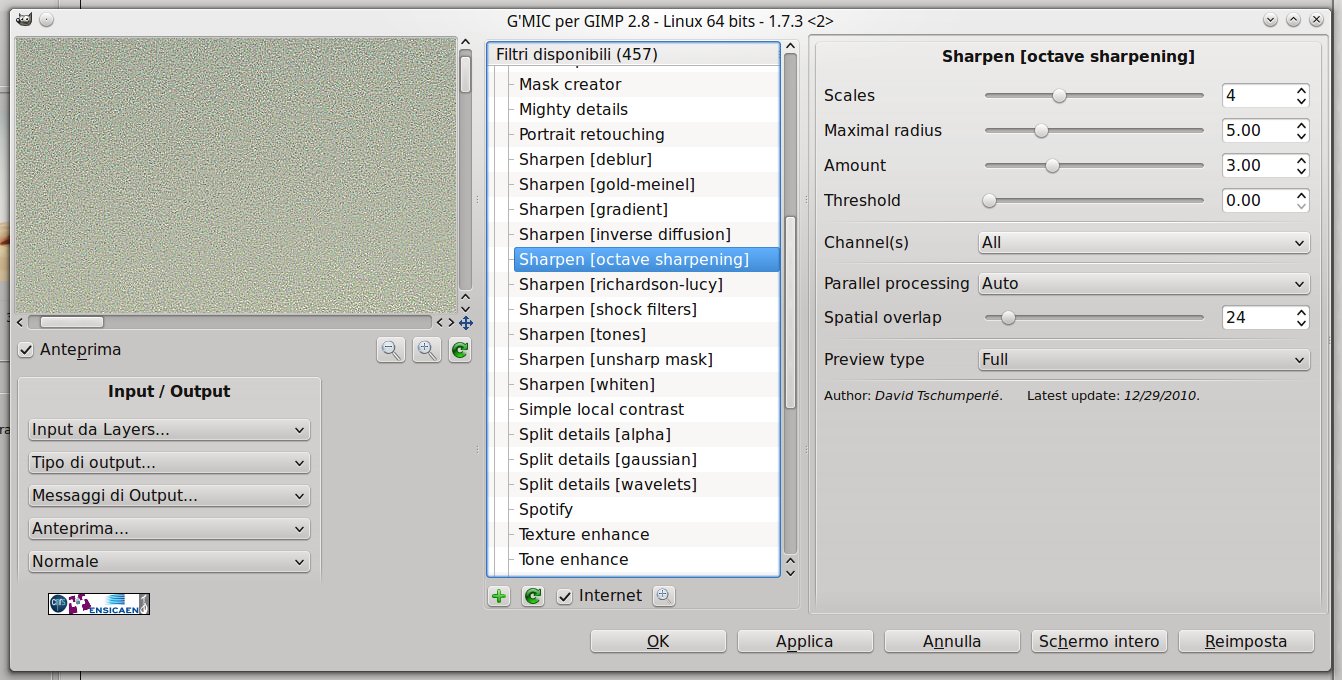
Select the penultimate layer and set the Sharpen – octave sharpening effect to better emphasize the contours. Set the layer mode to Screen and opacity = 50.
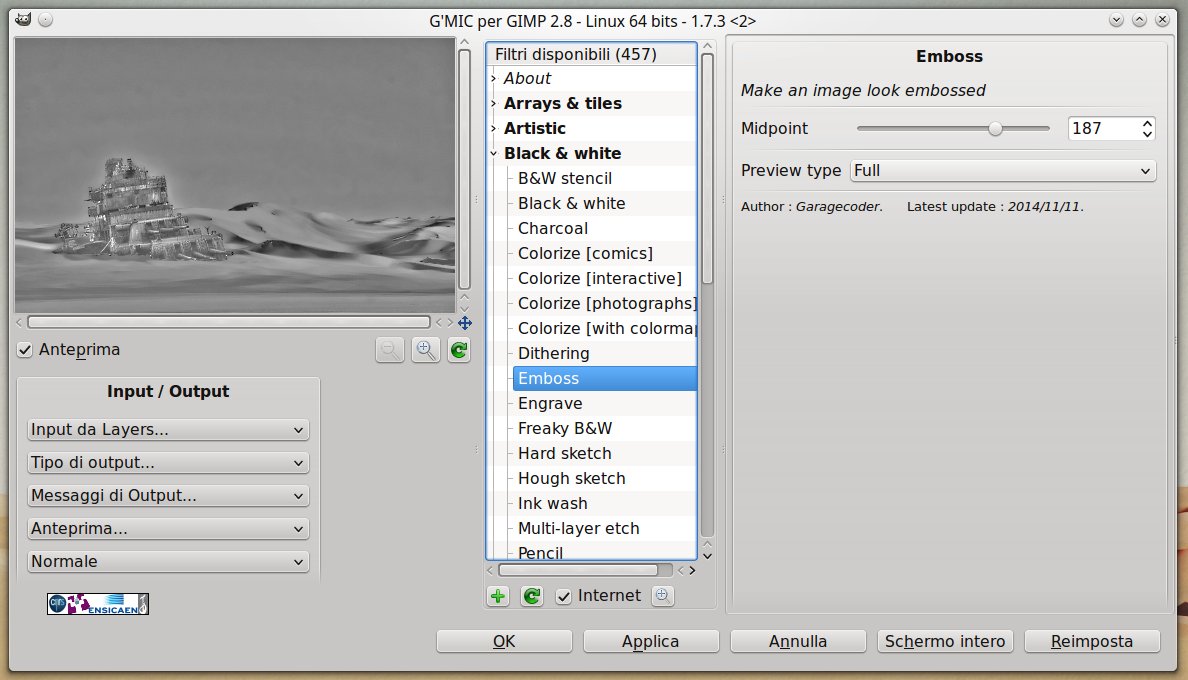
On the first layer set the Emboss layer in black and white category. Set the layer mode to “Only bright tones” and opacity = 50.
The layer order will be this:
- Emboss
- Sharpen – octave sharpening
- Dynamic Range Increaser
- Boost Fade
- Dream Smoothing
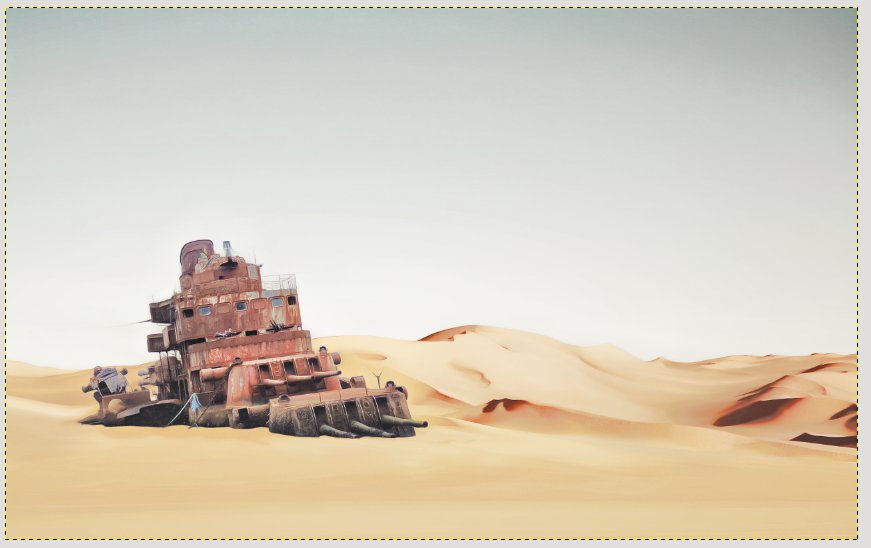
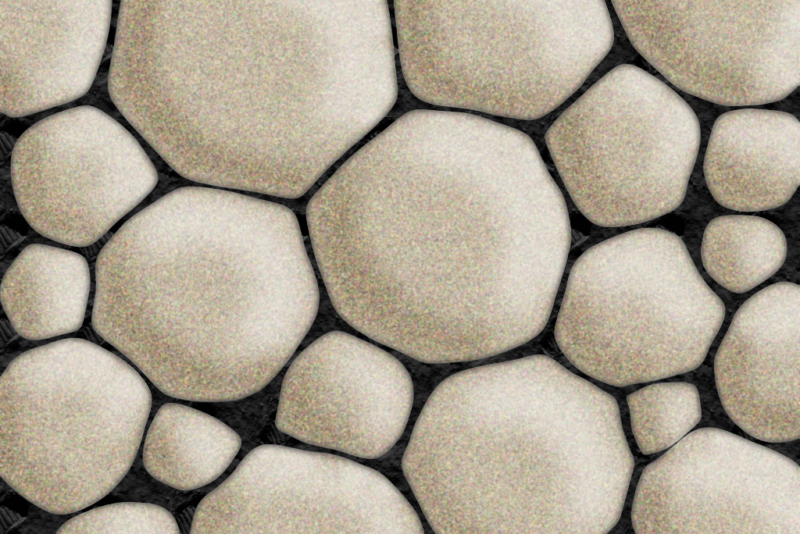
At this point the effect you should get an effect similar to the image below:
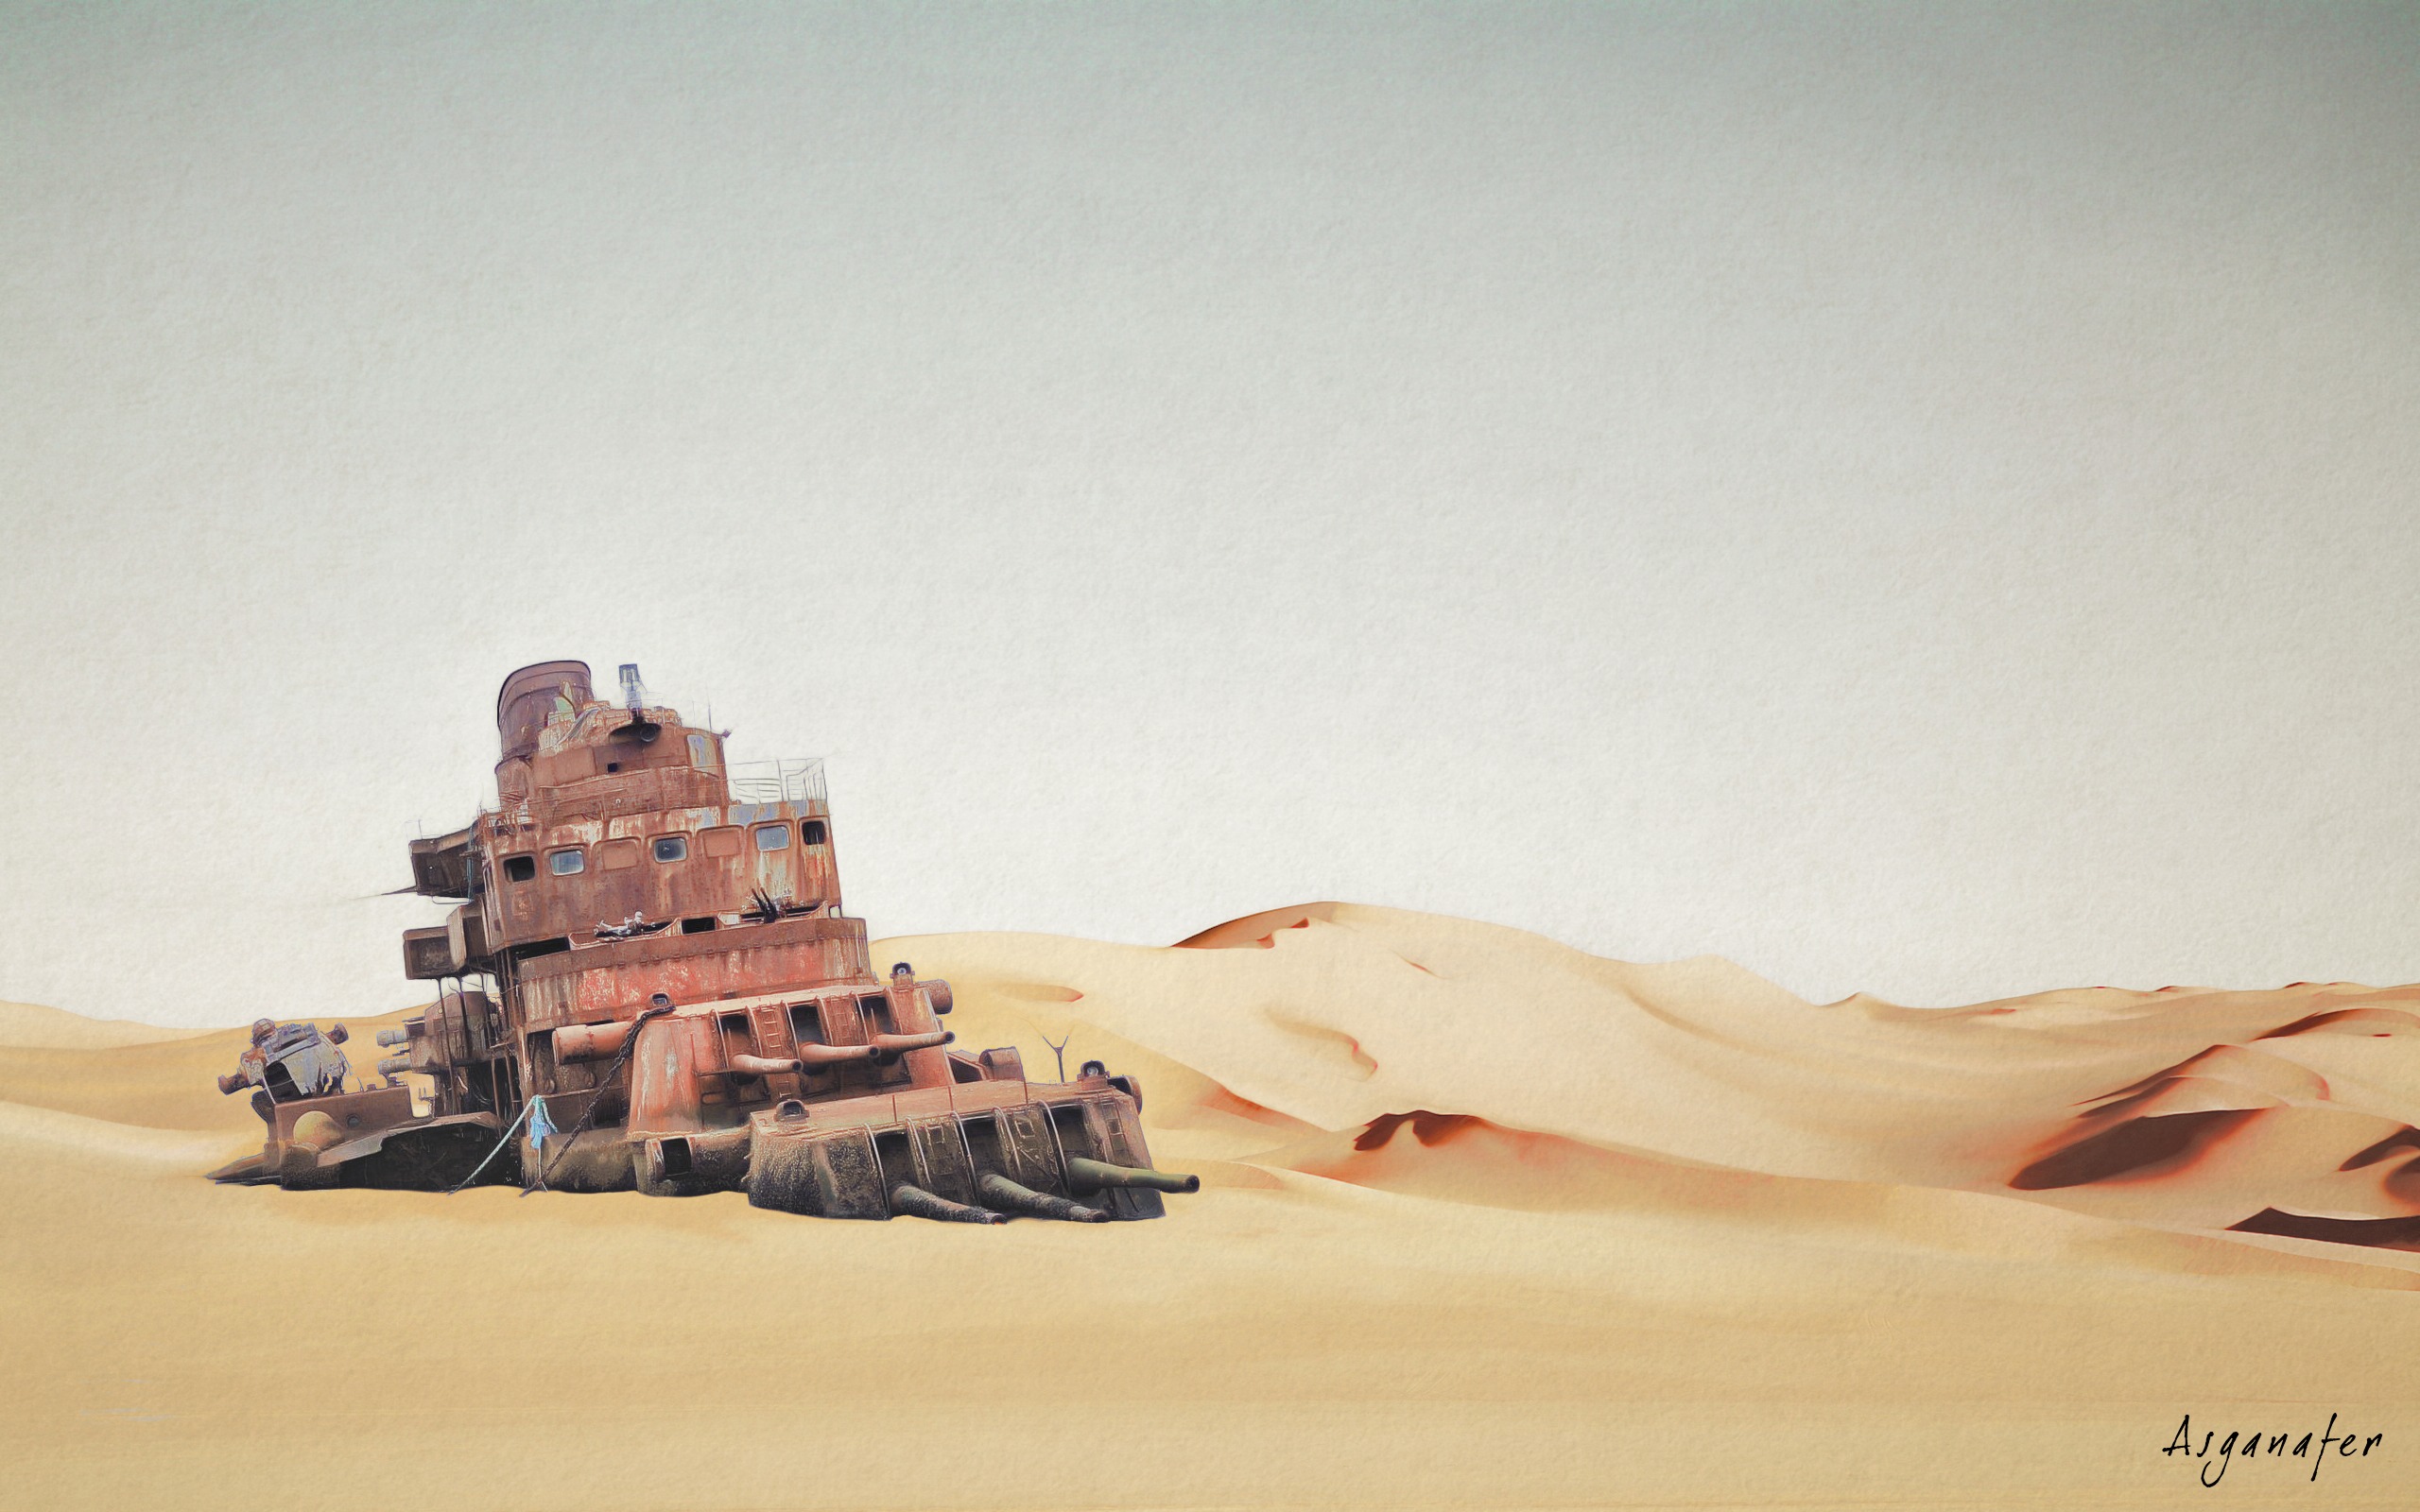
Open as layer the paper image downloaded at the beginning of this tutorial, position it over all the other layers and set opacity to 70 and the layer mode to Multiplier.
This will be the final effect! Cool, isn’t it? 😀