Welcome to this new tutorial!
Today you will learn how to draw a realistic numeric PhonePad, to do that you will need a script ( you can download it here and check the guide on my site for the installation).
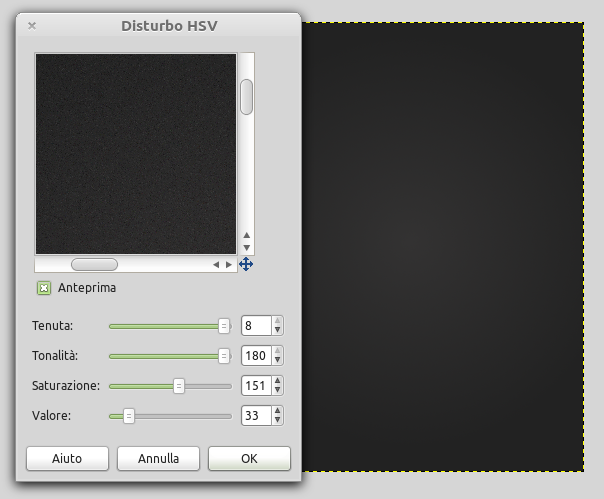
Begin by creating a new 700×900 sized image, use a linear round gradient from #333232 to #222222. Then click on Filters—>Noise—>Noise HSV
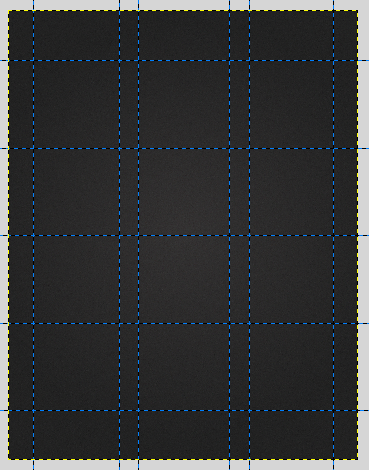
Now build a scheme on your image, it will be necessary to draw accurately the buttons of the phonepad. To draw the scheme, click on the side of the document, where there is the measuring tape, and, holding the left mouse button, drag it on the image. You will get a result like this:
Create a new layer collecting called “button 1”, then create a new layer “button” inside that. Use the scheme just created to draw a circle with elliptic selection tool. Then click on Ctrl+Maiusc+T to hide the scheme.
Color the circle with radial gradient from #464646 to #333232. Finally, click on Filters —>Noise —>Noise HSV.
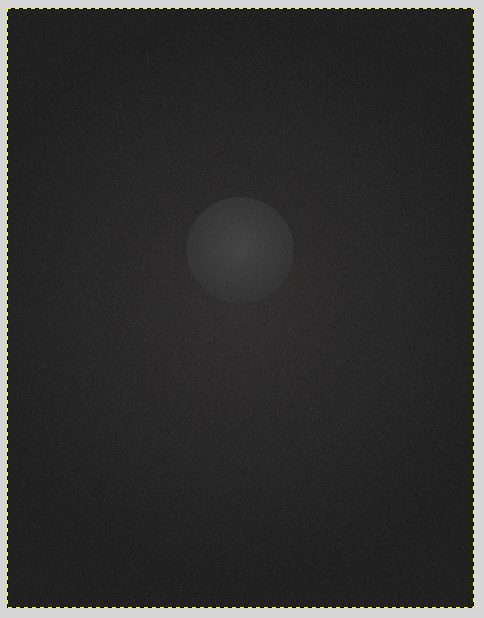
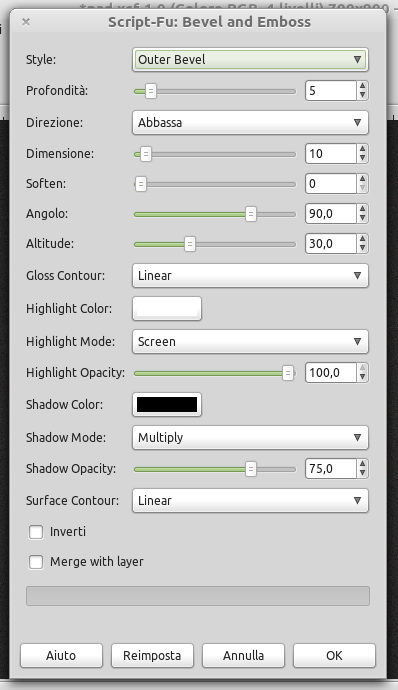
Now click on Script-Fu —>Layer Effects —>Bevel and Emboss and configure the options below:
Apply a gaussiana blur of 3, in order to soften the effect. You will get this result:

At this point, position the cursor on “button” layer and click on Sciprt-Fu —>Layer effects —>Inner Glow and configure the settings below:
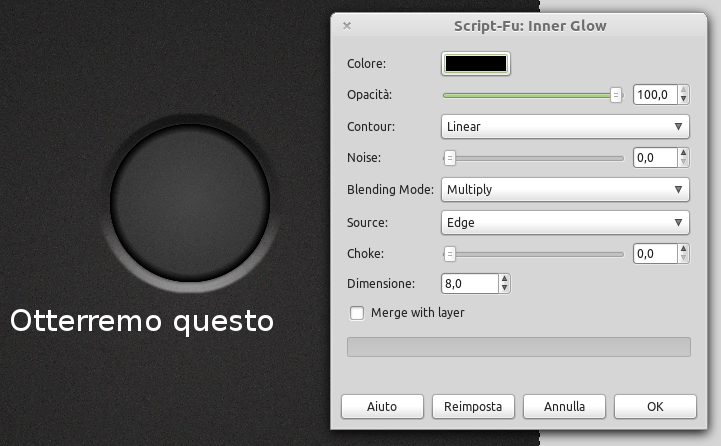
Now click on Script Fu —>Layer effects —>Inner Glo, in order to give a light effect.

This step consist of creating a light effect at the top of the button, click on Script Fu —>Layer effects —>Inner Glow and set opacity to 100. Your button will be covered in white color.
Then select the button with elliptic selection tool in this way:

Click on canc to let only a half – moon at the top of the button. Then soften it with soften tool and you will obtain the desired effect.
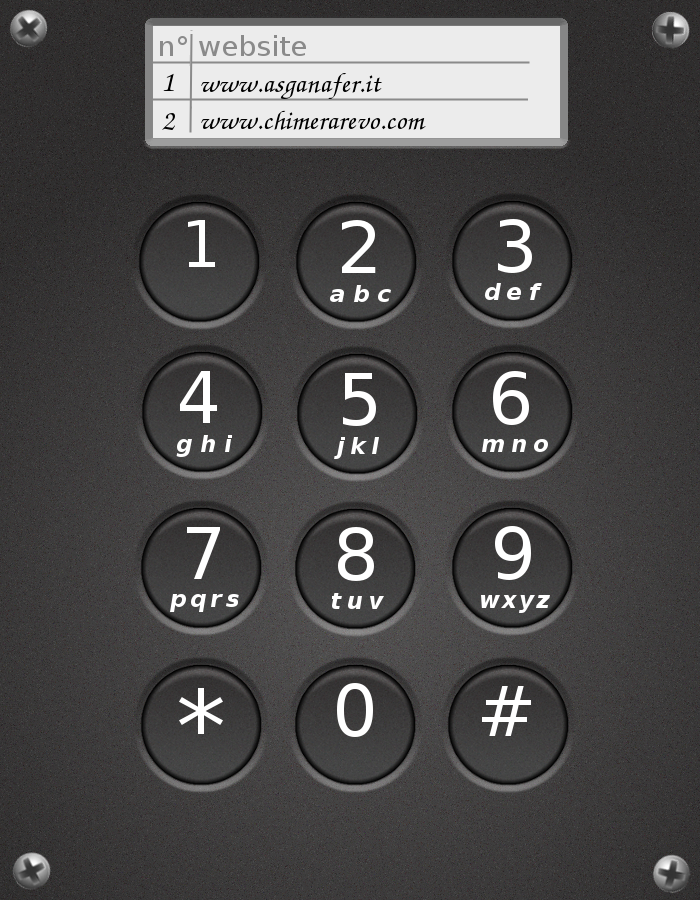
Select text tool to write the button number with the biggest font size, under that, write the corresponding letters with a smaller font size.
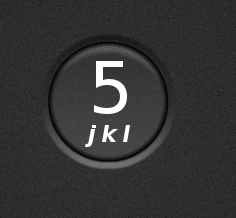
Reactivate the scheme (Ctrl+Maiusc+T) and copy the layer collecting of this first button until you have the complete numeric pad. Add also some details, as some screws and a post – it to write phone numbers.