Welcome everybody to a new Gimp tutorial!
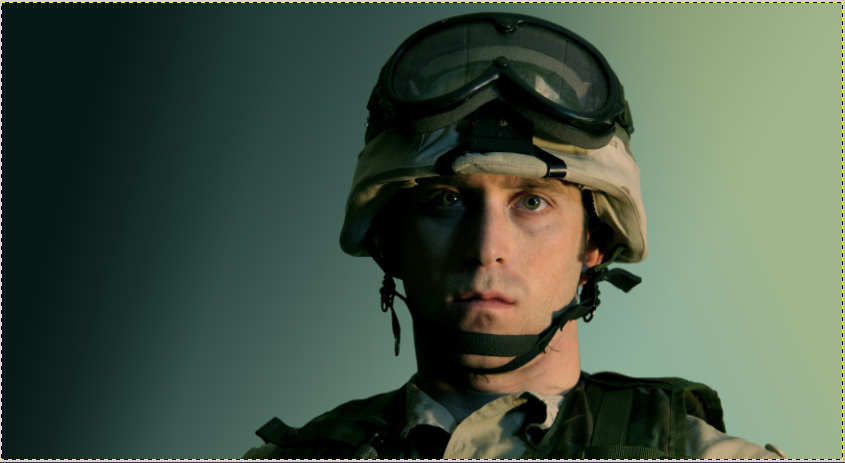
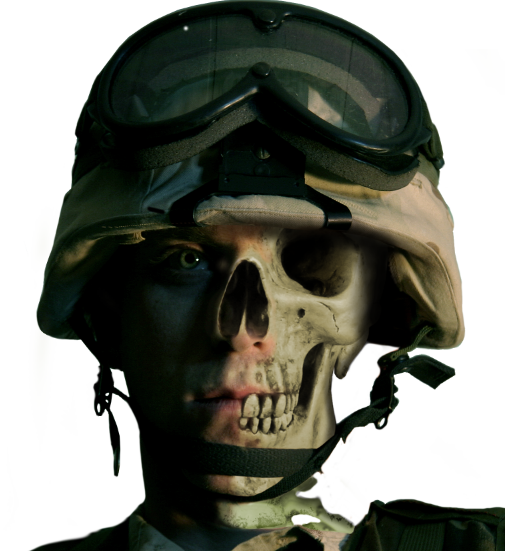
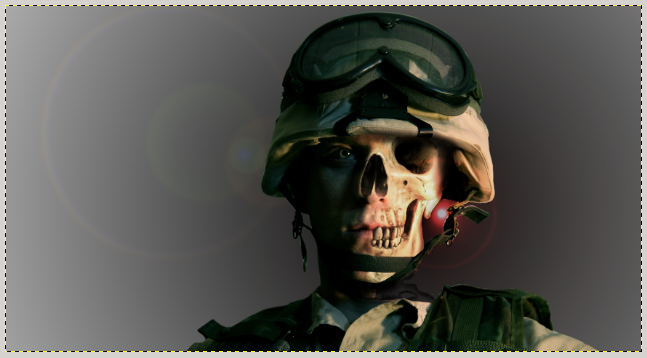
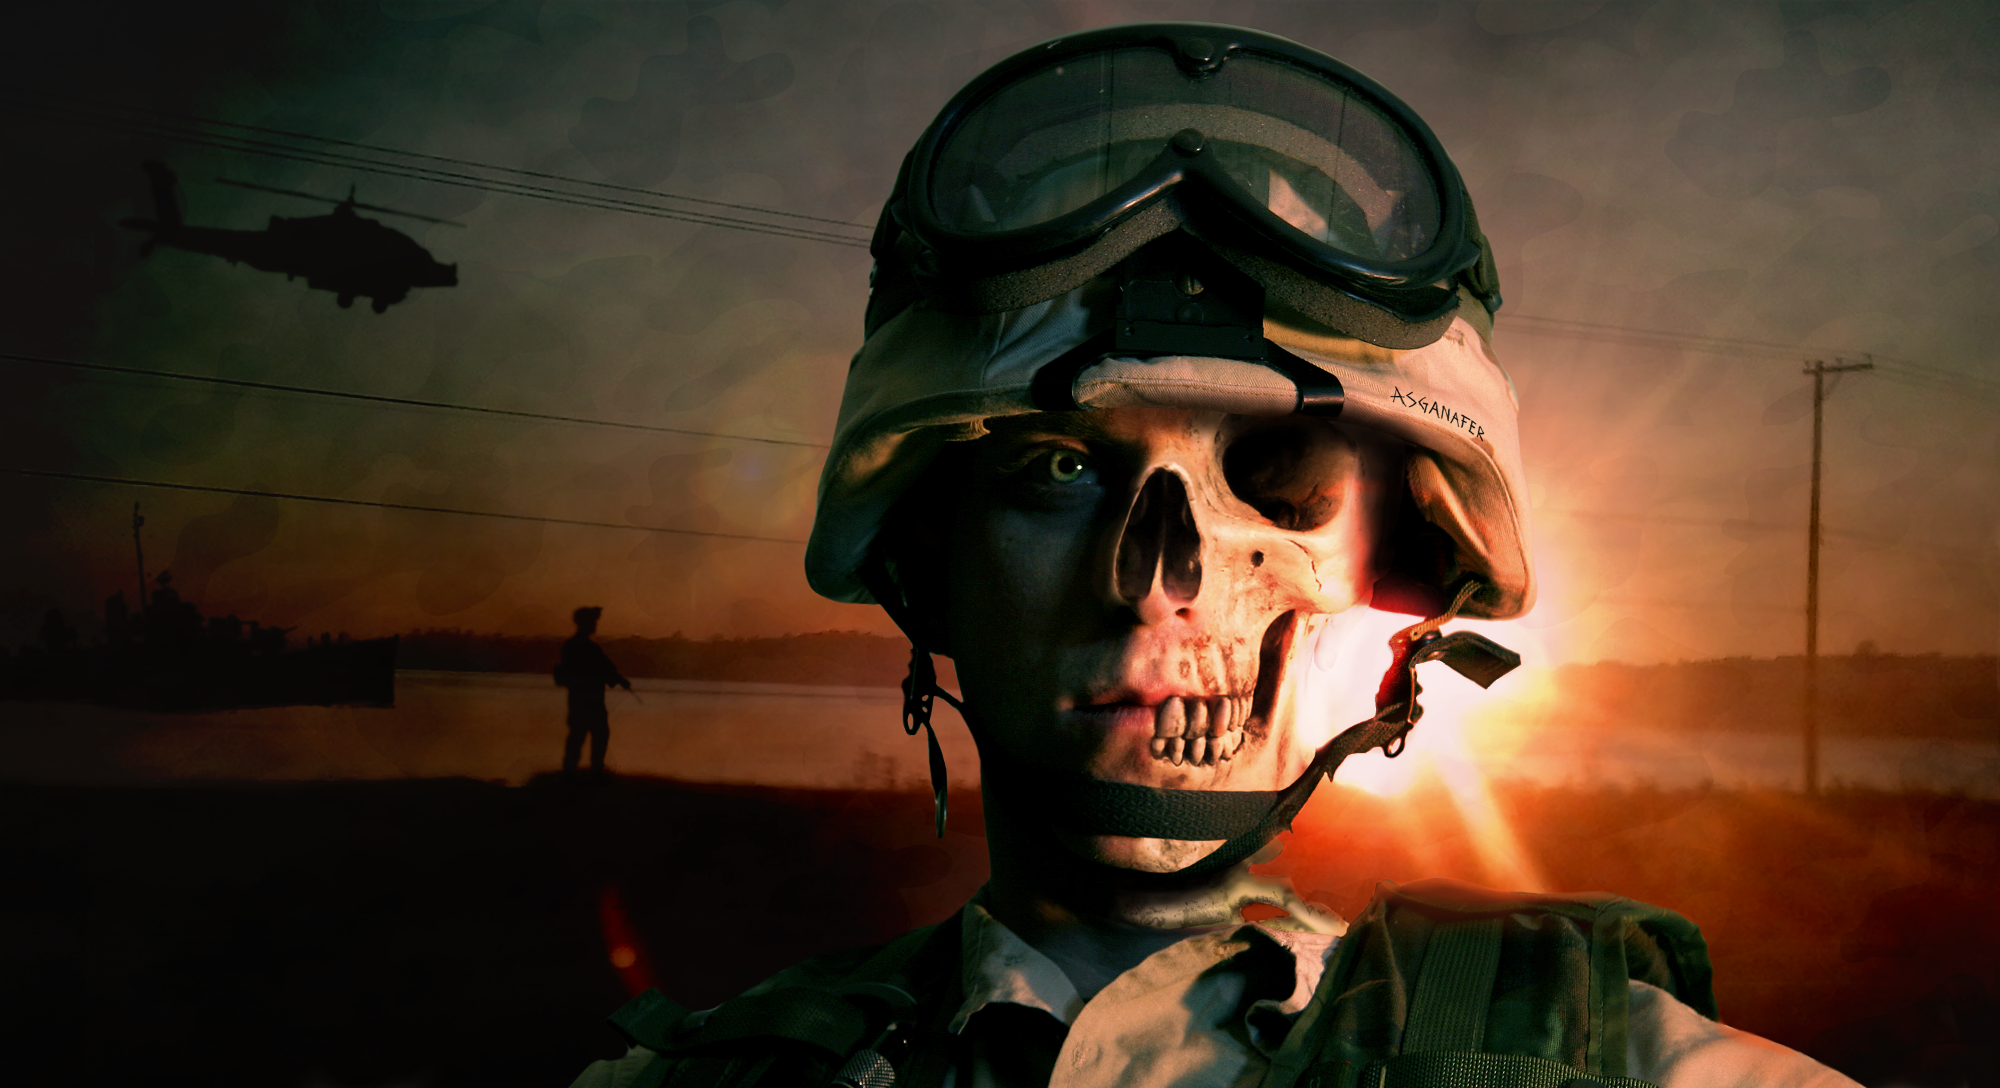
Today I’ll show you how to realize a meaningful image. I want to create something that expresses the idea of a soldier as a man, or a woman, who fights each day for peace, for democracy, to save and protect people, risking life for others every single day. I decided to focus my attention on this last point, the death which daily accompanies a soldier. The shady face of the soldier voices his wish to escape from death, while the lit skull means the constant risk of dying.
In honour of all the soldiers who risk their life to bring peace and save lifes.
Now we can start with our tutorial by getting the following materials:
Make sure to have installed also the plugin G’MIC (if you don’t know how to install it, look up in the Edit Gimp section of this site for the guide). Now that you are ready… You can start!
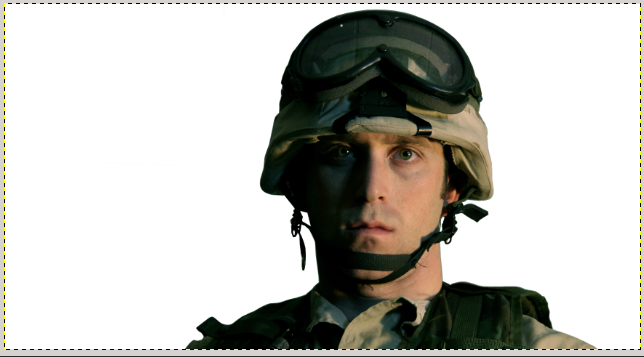
Right click—> Add layer mask and block out the image.
File—> Open as layer and import the image of the skull that you have downloaded at the beginning of this tutorial. Add a layer mask and block out this image too.
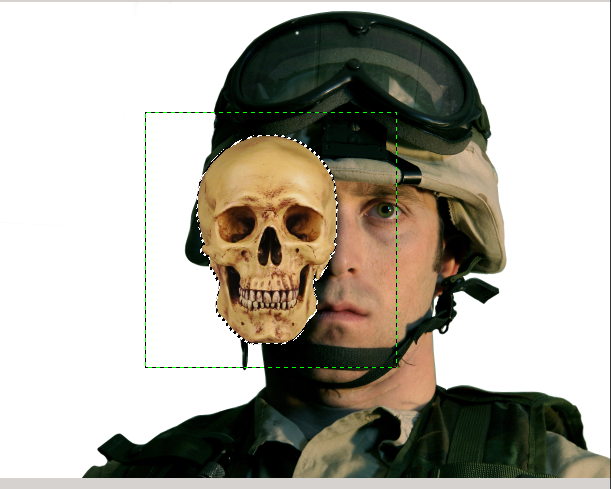
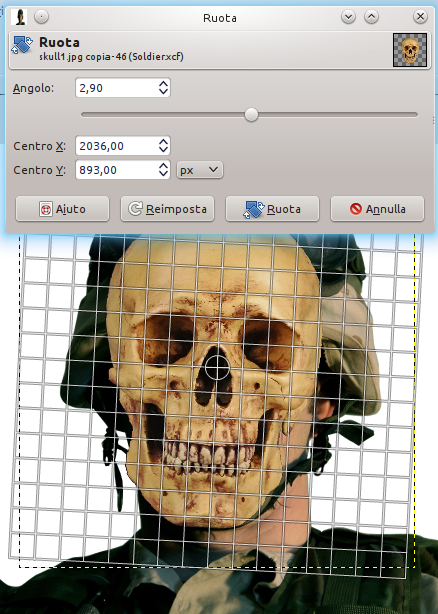
Modify the opacity to glimpse the underlying image and calibrate the size of the skull proportionally to the size of the soldier’s face with the scale tool:
Once you have set the size, calibrate also the slope with rotation tool.
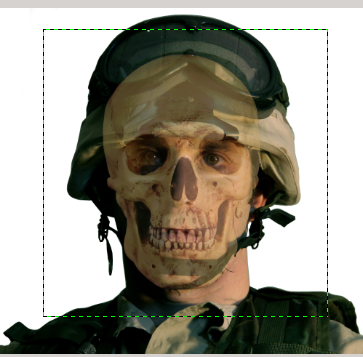
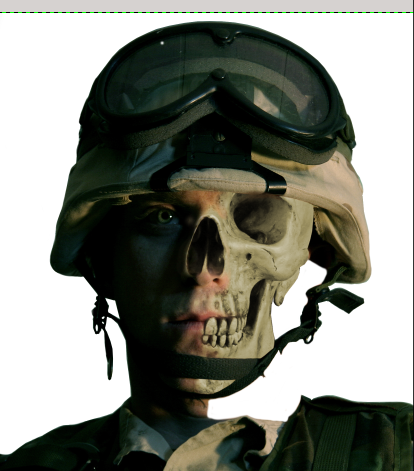
Add a layer mask to the skull and start removing the hidden part of the helmet.
Remove the left side of the skull too. Then, set the opacity to 100 and remove the strap of the helmet.
Now pay attention to one of the most delicate part of our work: the center of the face. A great deal of patience is required, select the brush tool (calibrate to 10% the opacity of the brush) and try to “mix” the two faces operating on the layer mask of the skull (the layer of the skull is over the layer of the soldier). It won’t be an easy and immediate work, but trying more times it is possible to get a good result.
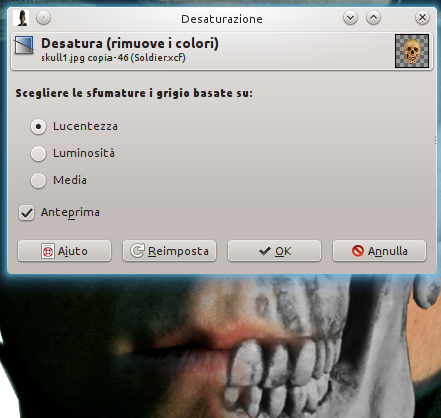
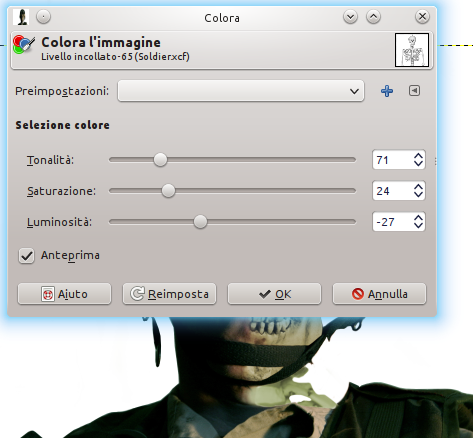
Select the level of the skull clicking on Color —> Desturation.
Now click on Colors —> Color to choose the best color for the skull. I’ve set the options in this way to get a color I like:

Return to the layer of the soldier (in particular on the layer mask) and remove the part of the face that you can see on the right, then remove the neck too.
Import as a layer the image of the second skull downloaded and position it above the image.
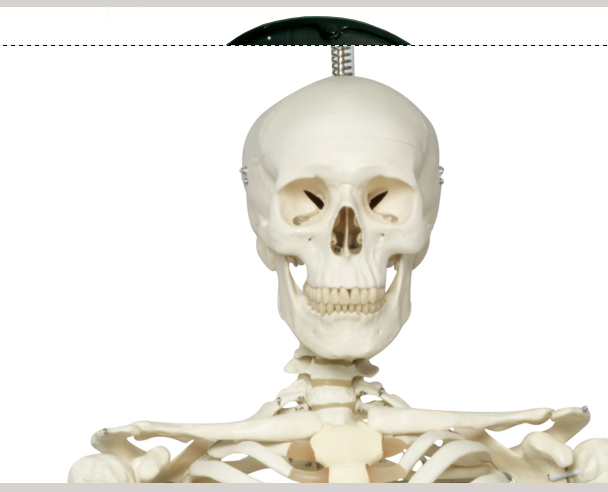
We will use only the cervical part of this image. Right key—> Add a layer mask and remove all the excess trying to get this:
You must change the color for this part of skeleton too. So click on Colors —> Desaturation.

Like we did previously, choose the color you want (try to choose a color very similar to the one used before). The two images are different, so the parameters to set won’t be the same.
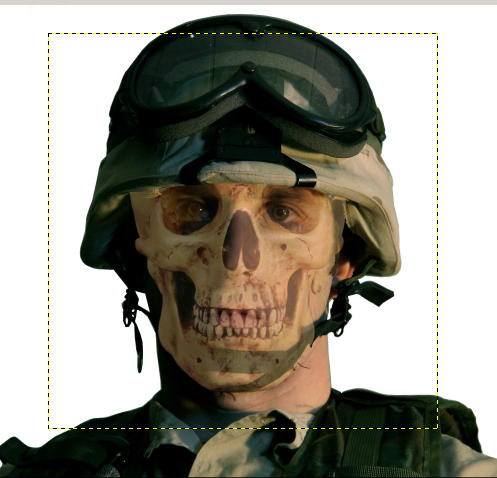
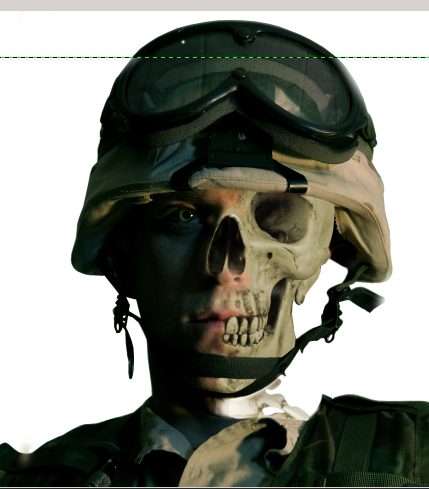
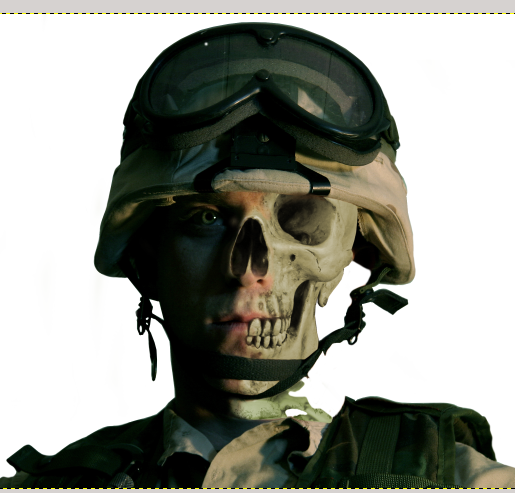
The result will be this (I dirtied a bit the bones to give a more macabre and realistic effect):
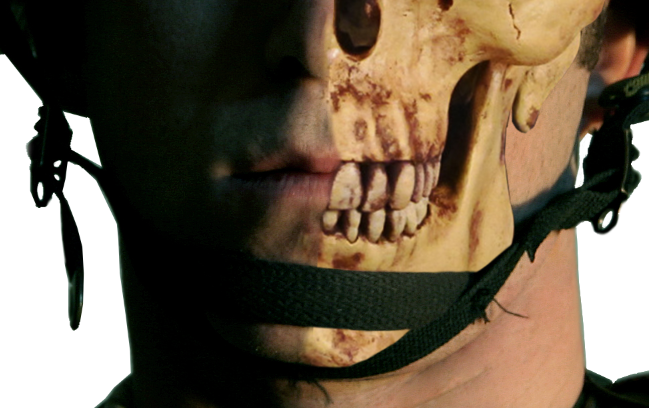
Create a new layer, then position the skull above and select the brush tool: color totally the eye of the skull and, then, change the modality of the layer from Normal to Soft light.
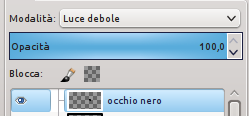
As you can notice, the eye is darker. Repeat the operation for the right side of the skull too, so you can overshadow the part of skull under the helmet.
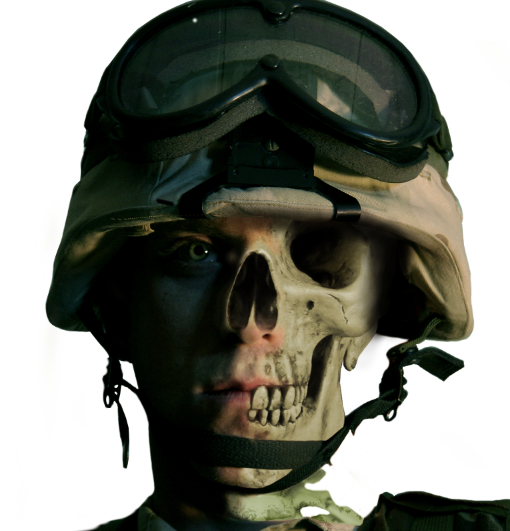
Also the backbone appears too fake, add some shadows to adjust it.
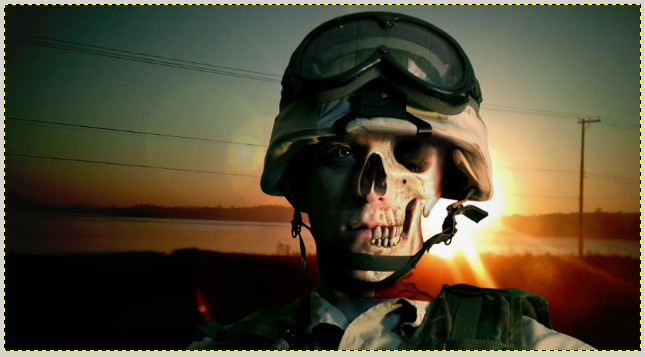
It’s time to handle the background! File—> Open as layer and open the background downloaded at the beginning of this article.
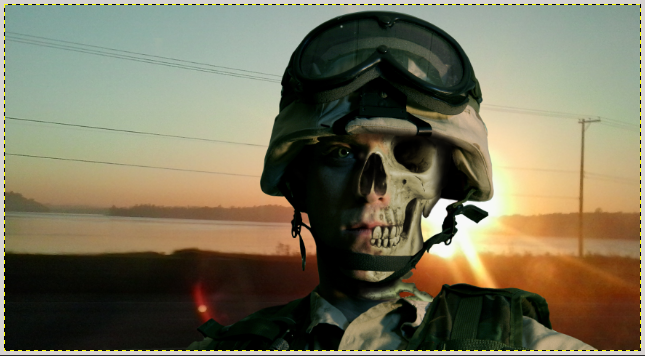
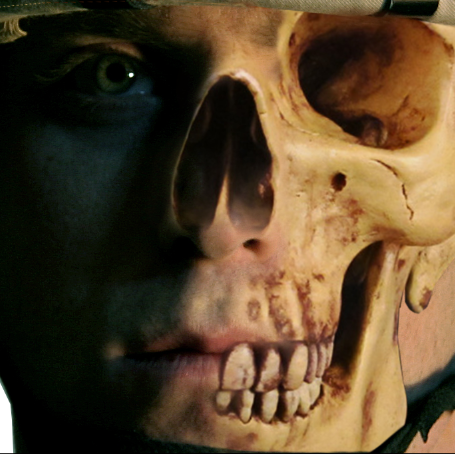
I chose this image because the sun is exactly between the skull and the strap of the helmet, and rays give a wonderful effect. Create a new layer above all (entirely black), then click on Filters —> Lights and shadows —> Lens reflection. Position the center of the reflection where there is the sun. This layer will have to be placed higher than the others.
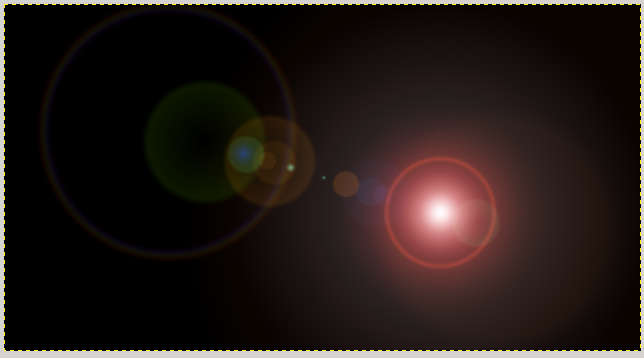
Modify the opacity to 70 and change the layer mode from Normal to Screen.
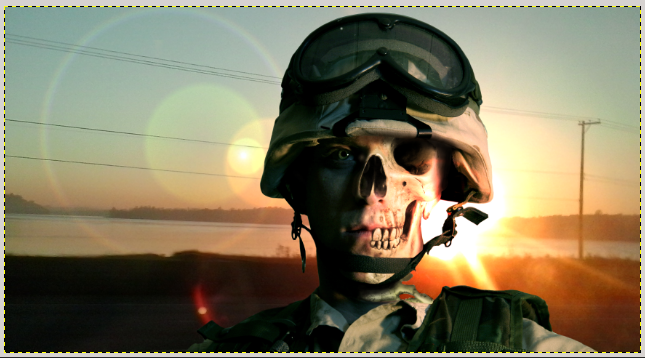
These layers will be placed above the background image. Create a new layer under the one with the reflection and use the gradient tool to apply it in this way:
Change the layer mode from Normal to subtraction and set opacity to 90. In this way you can give shadow effect on the sides, more marked on the right one.
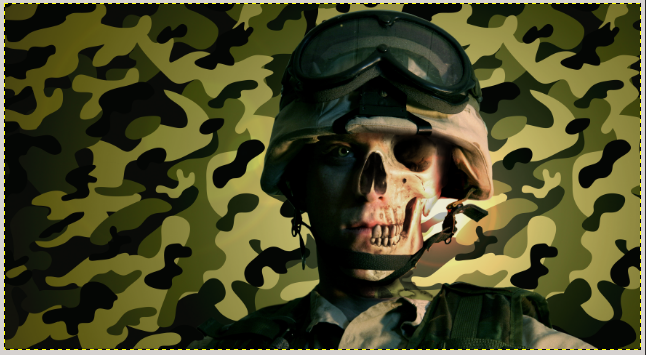
At this point I allow you to download the type of texture you prefer (I chose a military texture).
Change the opacity to 5.5 to glimpse the texture.
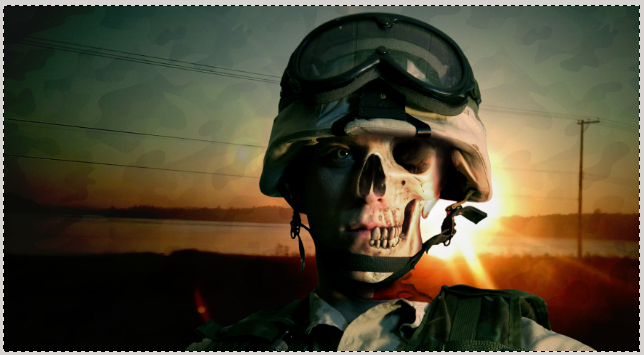
Create a further layer just below the gradient layer. Filters —> Render —> Clouds—> Plasma.
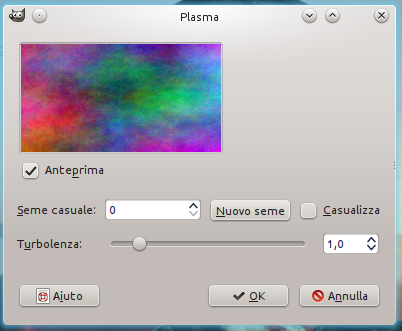
Click on Colors —> Desaturation, then modify opacity to 30. Add also some details on the background (the background is slightly blurred, so I applied a guassaina blur, 5 px to the subjects).

We have nearly finished! At this point I recommend to press CTRL+D on the keyoard: in this way the project will be copied. In the copy of the project, join all the layers (Right key—> Join visible layers), now you should have only one layer. Open G’mic, click on Color—> CMYK Tone and set options to “remove” the color cyan and emphasize the color red. This will be the final effect:
0 thoughts on “Face of Soldier”