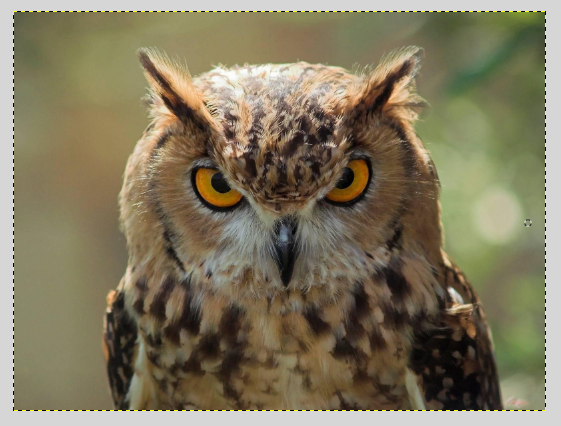
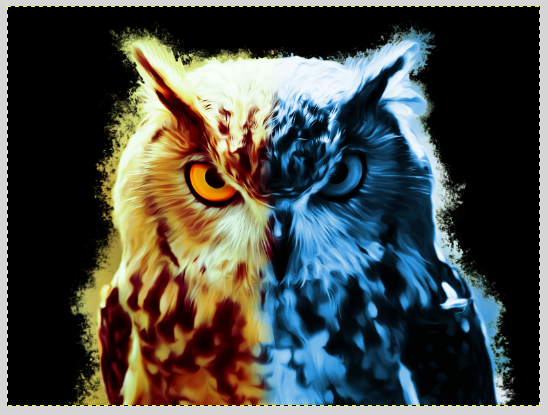
In today’s Gimp tutorial I will explain how to get a particular effect on thi owl.
Before starting, you need:
Now open up the image 🙂
Click on freehand selection tool and select the area around the owl:
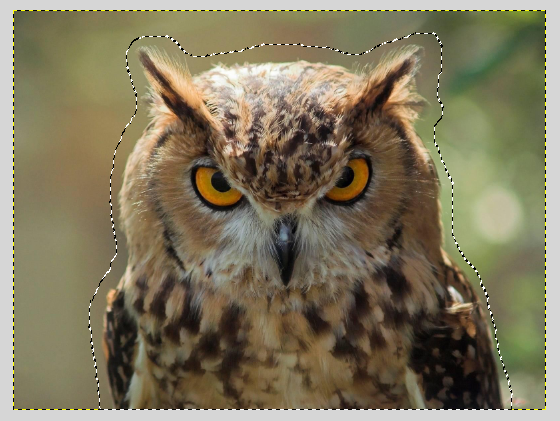
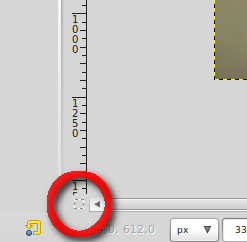
At the bottom left there is a dashed square. Once you have clicked the image, the non – selected part will become red.
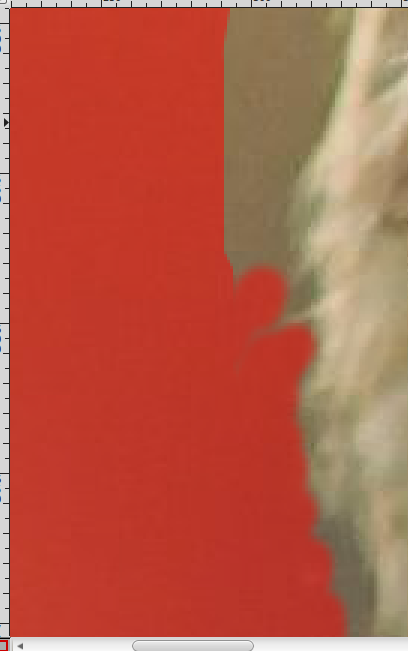
Select the brush tool to color the image. The red area will be the not selected one. Use this method to better select the irregular outline of the owl.
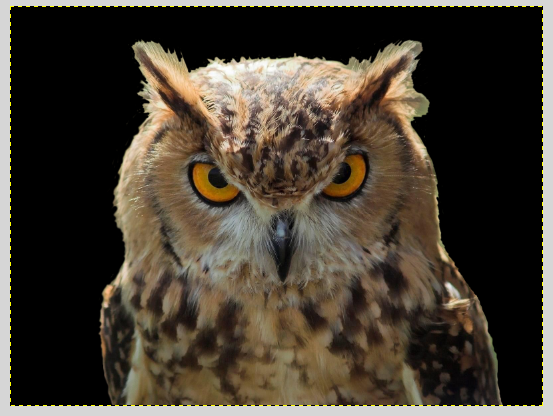
Once you have finished to color, click again on the button at the bottom left and the selection will appear. Right click on the layer—> Add layer mask and choose “Selection” in the options: the image will be blocked out as in the image below:
The background is black because I added a black layer under the owl one.
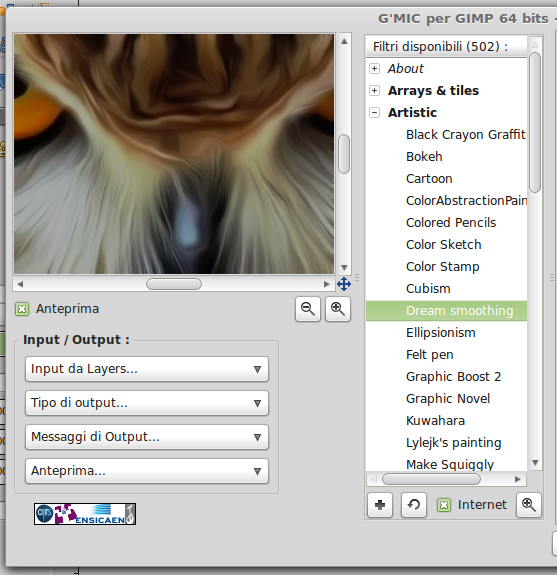
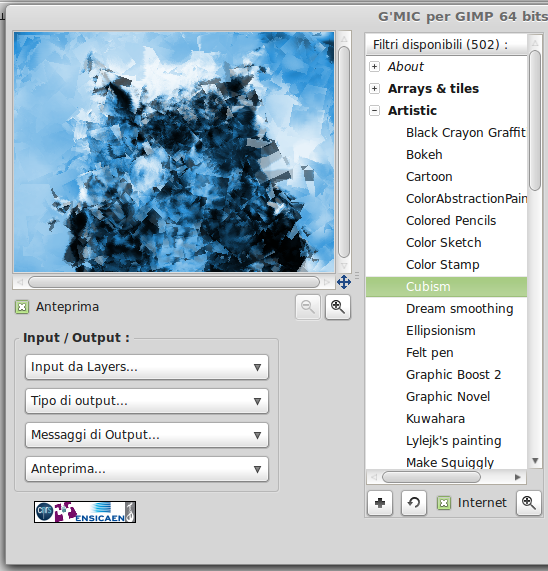
Duplicate the last layer and click on Filters—> G’MIC, then click on Artistic—> Dream Smoothing.
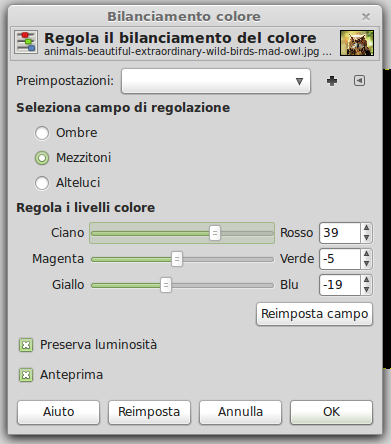
Apply the effect, then click on Colors—> Color balancing to color the owl with red.
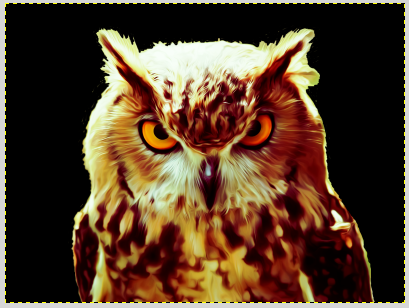
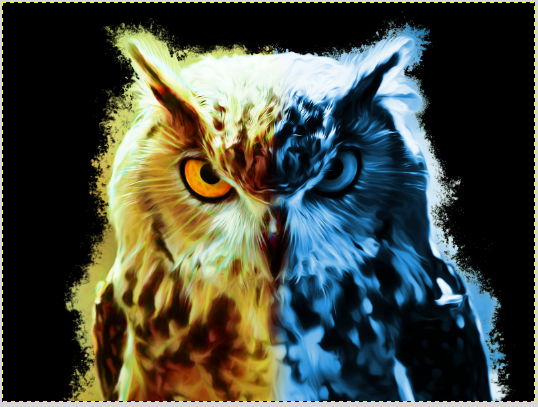
This is the outcome we will get:
Select the layer mask of the effect just made and, with brush tool, try to ruin the outline.
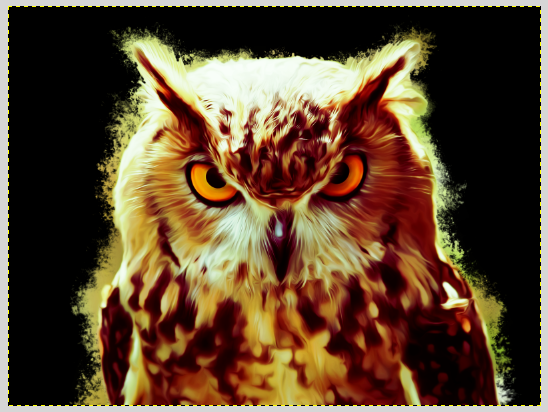
The yellow part you can see is the background of the original image.
Duplicate again the layer, and select half the owl with rectangular selection tool.
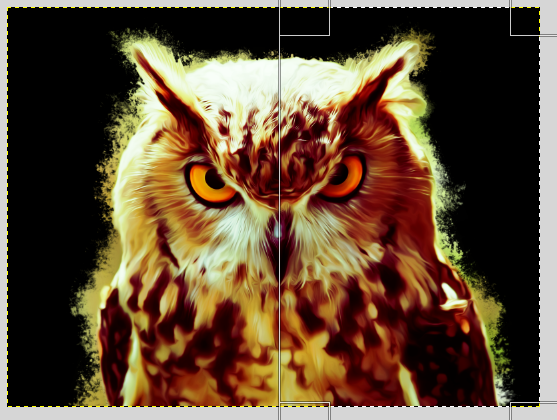
Color all the selected area. Then click on Coloris—> Color balancing and click the owl with blue color.
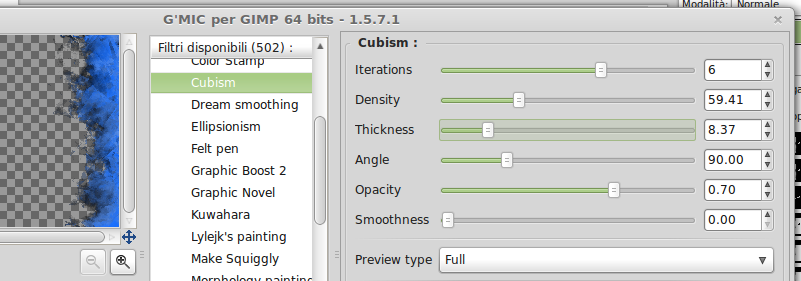
Duplicate the blue layer just created, Filters—>G’MIC —> Artistic—> Cubism (change the options in order to get an effect you like).
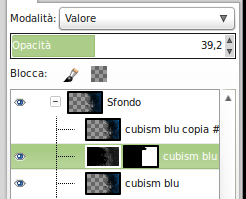
Change layer mode from Normal to Only dark tones and set opacity to 62%.
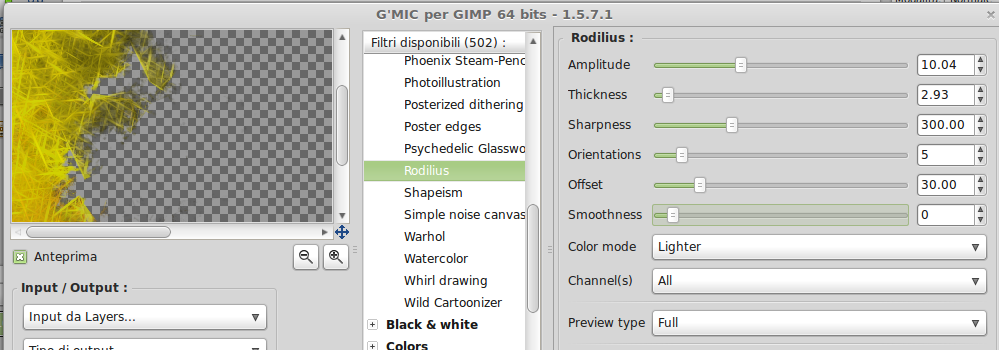
Duplicate again the red layer and click on Filters—> G’MIC—> Artistic—> Rodilius (default options). Change layer mode from Normal to Tone.

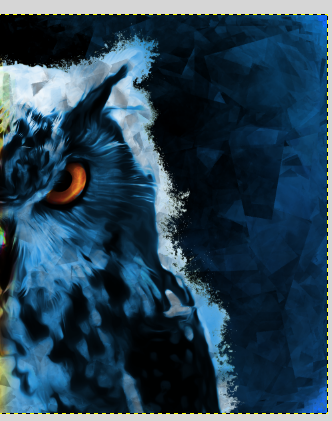
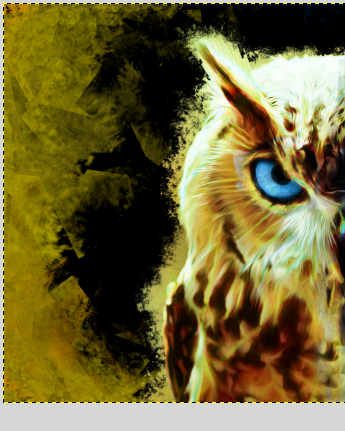
This is the result so far:
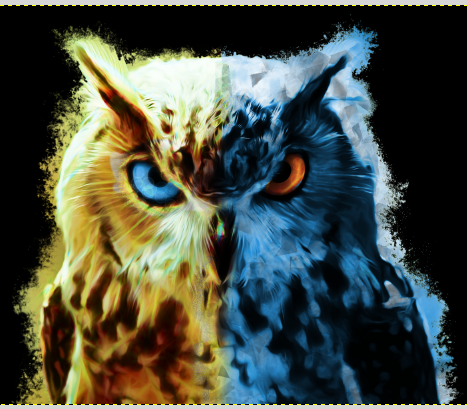
Now change the eye color using layer masks. Start from the blue half, color with white color the eye you want to show and with black color the eye you want to hide. Once you have colored all the layer masks, the eyes color will be reversed.
Create a new background layer over the black one, and use brush tool with different shades of blue to draw something similar to the image below:
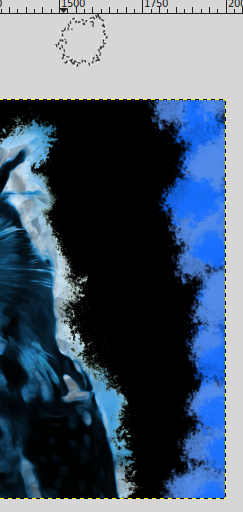
Open up G’MIC and select Cubism as effect.
Repeat more times the effect in order to get the outcome below:
Duplicate the layer, and click on Contours—> Gradient Nor in G’MIC, this effect will allow you to highlight the borders.
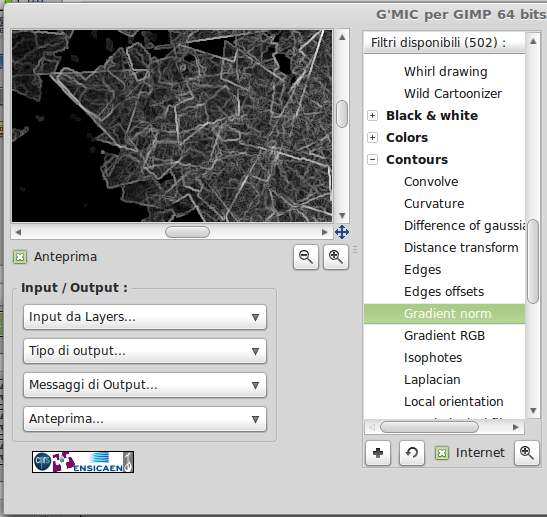
This effect does not support transparency, so all the transparent part will become black. Add a layer mask in order to hide the opposite part and change opacity to 40 and set Value as mode.
To realise the other part, create some spots using brush tool with yellow color, then click on G’MIC—> Artistic—> Cubism.
Duplicate the layer just created and click on G’MIC—> Artistic—> Rodilius.
Apply the effect and change layer mode to Multiplier.

Your artwork is finished! What do you think?