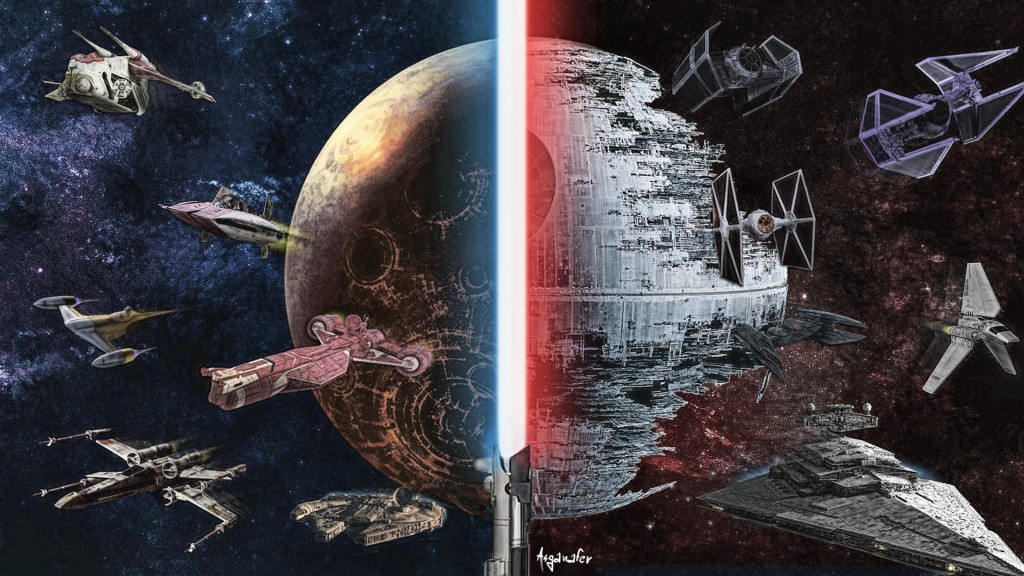
Hi everybody! Follow this step by step tutorial inspired by the latest Star Wars movie to realize the sketch effect below!

You will need the following materials:
- Space background
- Death Star
- Coruscant
- X-Wing
- Millenium Falcon
- Star Destroyer
- TIE Fighter
- Star wars ship ZIP
- Lightsabers
- G’mic plugin (linux installation guide – windows installation guide)
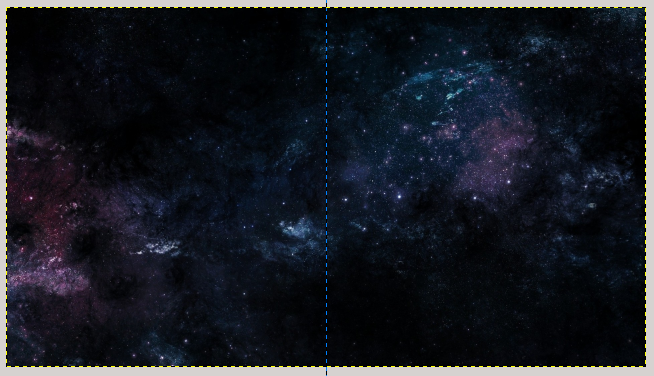
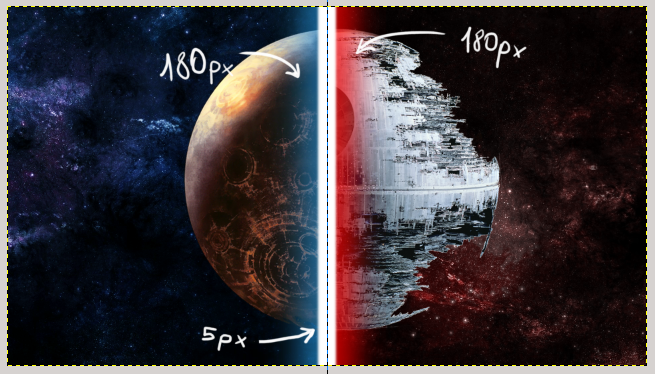
Open tha space image to create the background (the line that you can see in the centre of the image is only necessary to distinguish the two halves, create it using the rule on the left).
Select the rectangular selection tool and draw a thin rectangle (on a new layer), it will be the laser beam of the lightsaber!
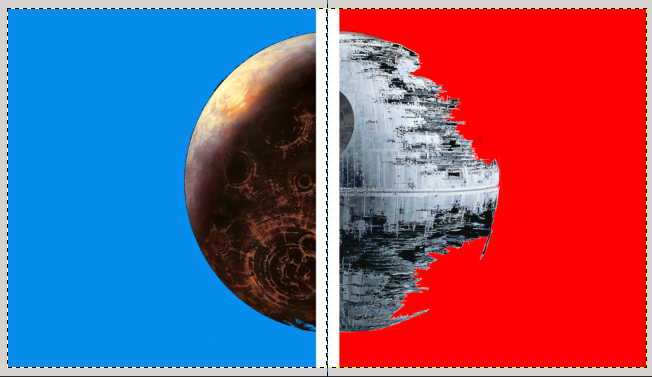
Start from the dark side clicking on File–> Open as layer and the Death Star image.
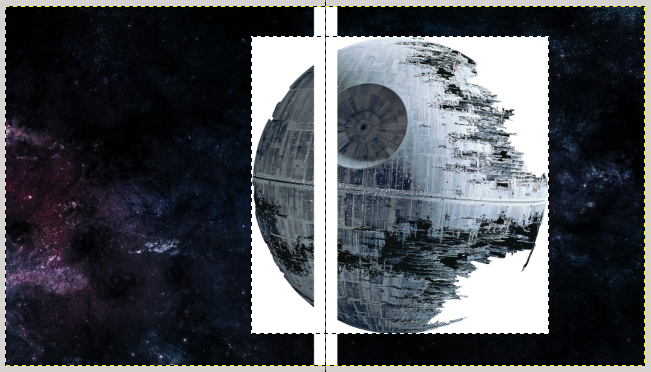
Click on the white part o fthe image with fuzzy selection tool, and invert the selection. Right – click—> Add layer mask—> Selection to block out the image.
Delete the left part using brush tool.
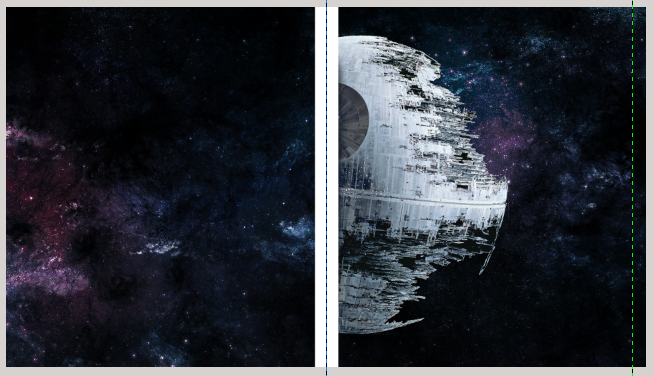
I chose Coruscant, the headquarter of Jedis Council, as a symbol of the Force. dove risiede il consiglio dei jedi! File—> Open as layers—> Select the planet.
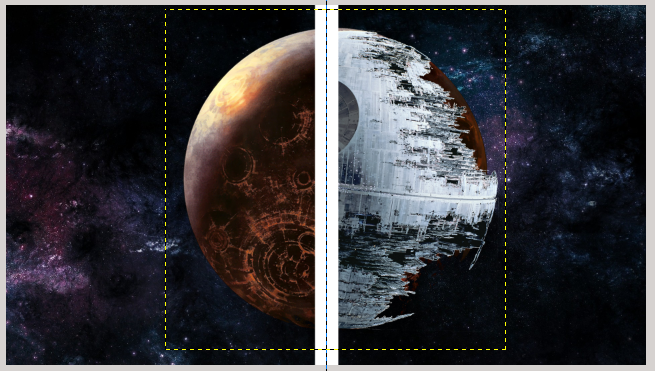
Delete the right part of the planet with a layer mask (repeat the same process used for the Death Star). The rotate the Death Star with rotation tool in order to align it.
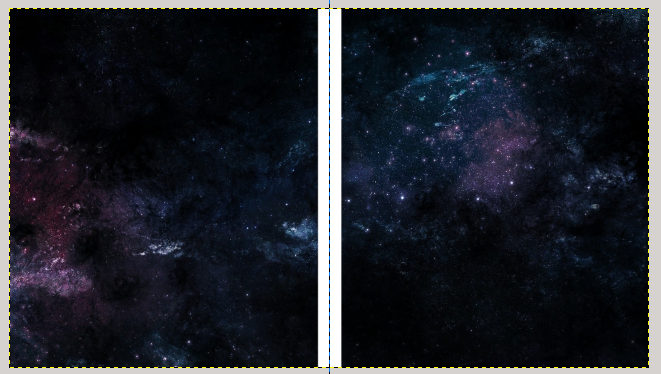
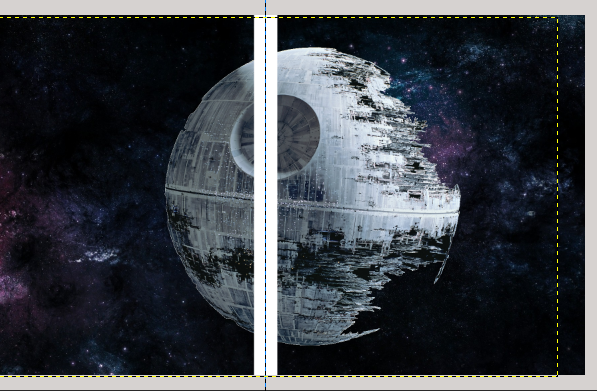
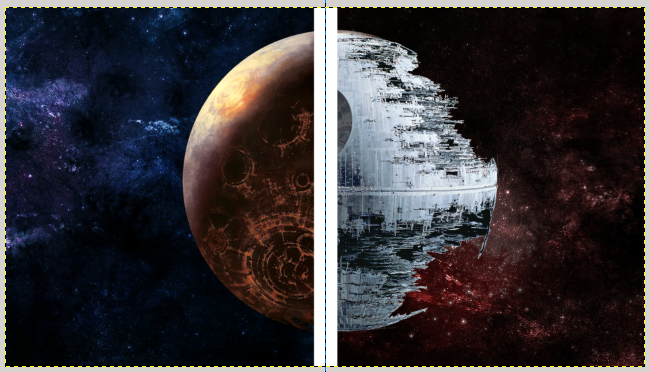
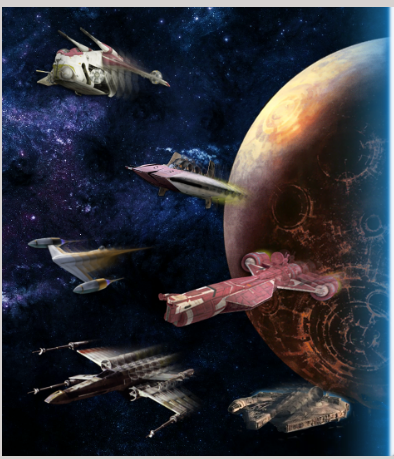
Invert the background with mirror tool to put the galaxy light where there is the planet light.

Organize the solution in 4 folders: one for the background, one for the lightsaber, one for the dark side and one for the Force. Inside the last two folders, create two layers and color them in red ( #ff0000 ) and blue ( #048ded ): we will use these layers to give a background color to the scenery.
Change layer mode from Normal to Soft light and set opacity to 50%.
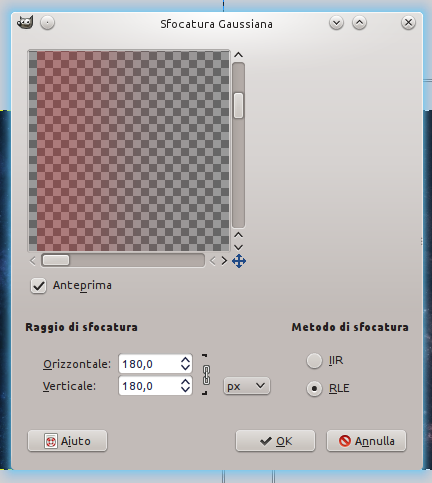
To create the lightsaber, select half of the white part with rectangular selection tool and color with red/blue (depending on the side: red #ff0000, blue #048ded). Then click on Filters—> Blur—> Gaussiana and set blur range to 180px.
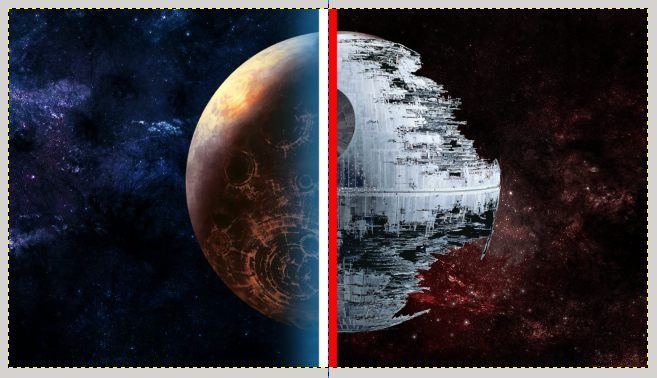
Soften the white laser beam created at the beginning of 5px.
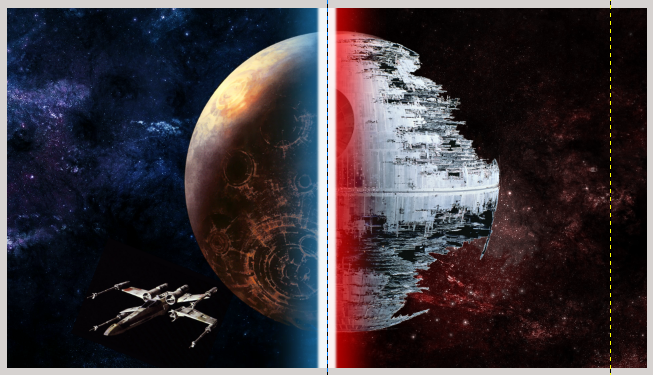
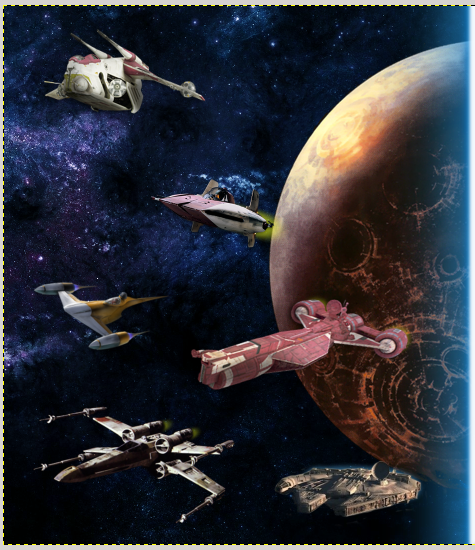
It’s time to insert the spaceships, starting from the X-Wing! Open as layers the X-Wing image and position it at the bottom left, resize it with resize tool.
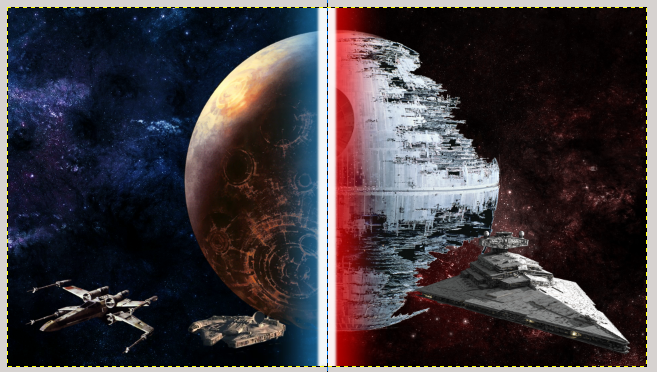
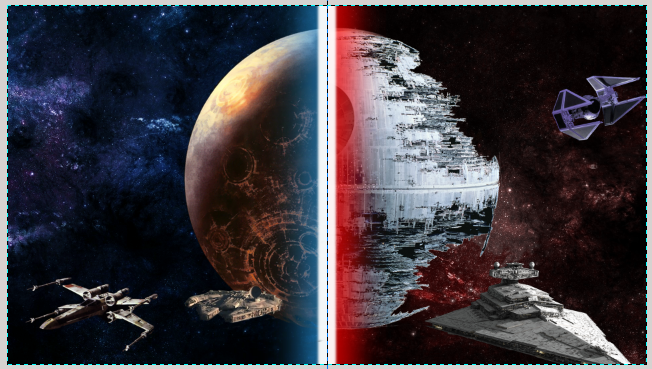
Add now the Millenium Falcon and the Star destroyer, I suggest to fill the parts on the left and on the right little by little.
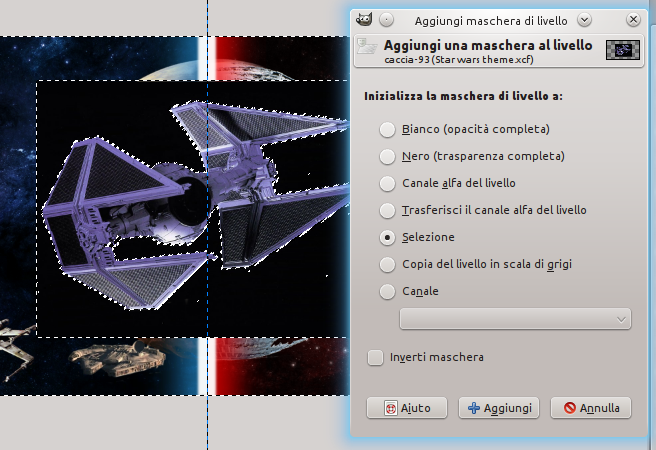
Open the TIE Fighter image.
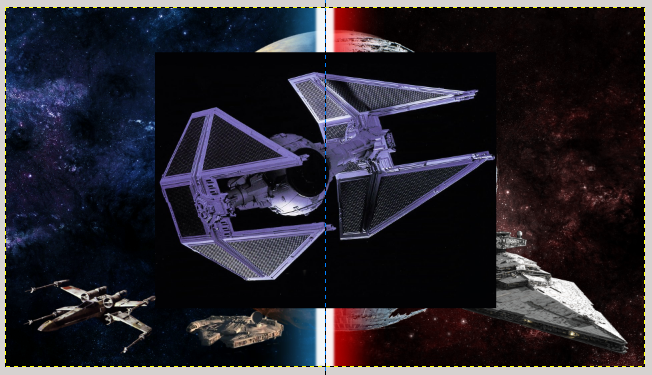
To adjust the images with a background, select the fuzzy selection tool and click on the black part, Selection —> Invert. Then right – click—> Add layer mask.
Resize the TIE fighter image with resize tool and position it where you want.
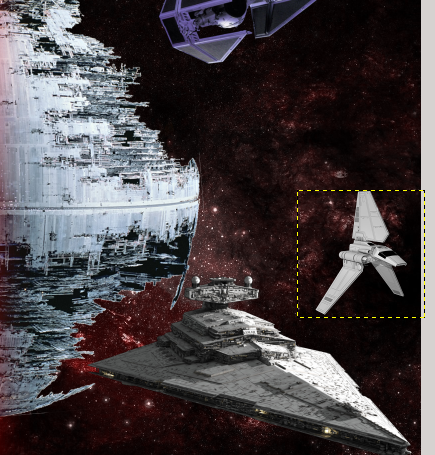
Open the imperial spaceship too:
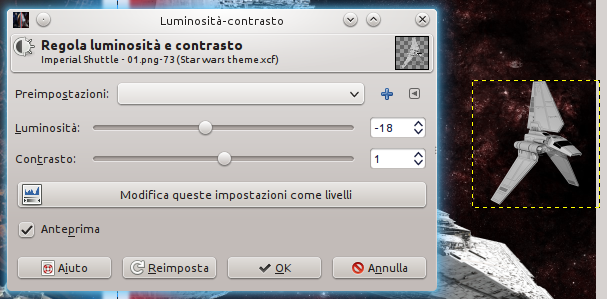
Adjust brightness clicking on Colors—> Luminosity and contrast.
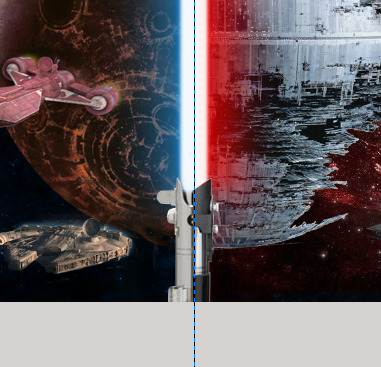
This should be the result once you have positioned all the spaceships:

Add some effects, for example the lights of the engines. Select brush tool with color #fff000 (yellow, or #62c2ff for blue lights) and set opacity = 40.
Give a movement effect to the spaceships using stump tool with brush size = 250. Position the cursor on a spaceship, click and drag a little. Repeat this process for every spaceship: first duplicate the spaceship layer, then apply the stump effect on the copy. The result should be this:
Reduce opacity in every softened layer in order to make it barely visible, in some cases I used a layer mask to hide the effect on the spaceship.

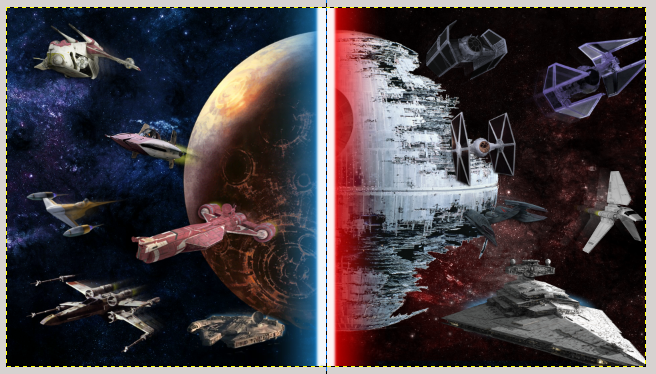
Repeat the same operation on the other side of the image and you will get this:
Open tha lightsaber image downloaded at the beginning of this tutorial, and block the Darth Vader’s lightsaber out with a layer mask.
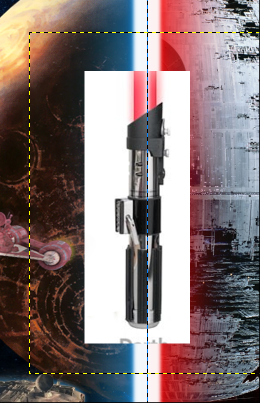
Position the lightsaber in the centre and delete the left side with the layer mask in this way:
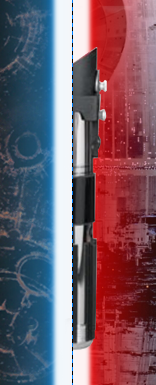
Now block Luke Skywalker’s lightsaber out and let visible only a half of it:
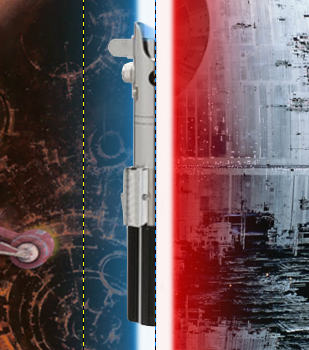
Join together the two halves:
Right – click on one of the layers and click on “New from visible” twice. Now we will use two G’mic filters:
1. Dynamic Range Increase
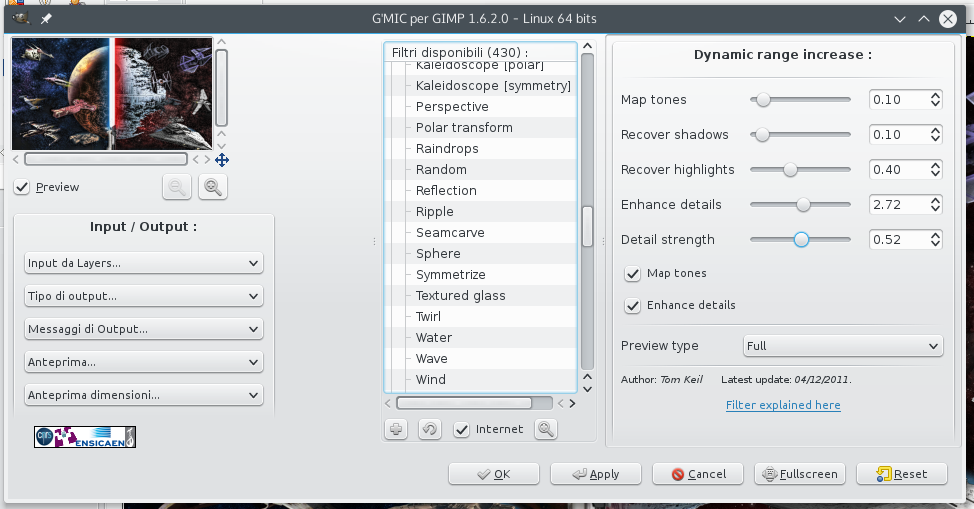
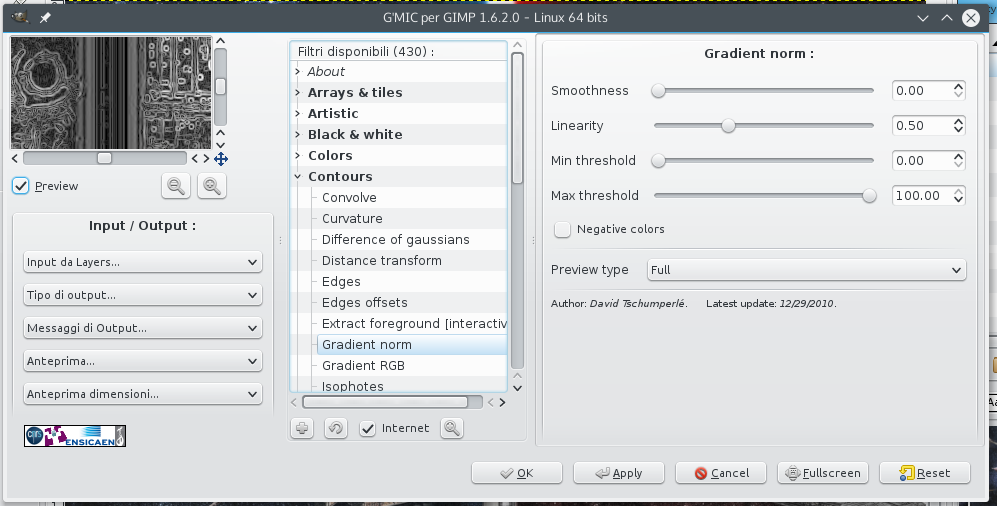
2. Gradient Norm (position it over the Dynamic Range Increase), set layer mode on Saturation and opacity to 30.
This will be the final artwork! Feel free to comment!